I had the pleasure of first sampling this rich and tasty dessert at a friend’s house over the holidays. After my first bite I was hooked and inquired after the preparation of the dish. Luckily, everyone here is happy to share their secrets and pass on tips. First, let me explain, chocolate salami is not salami at all (even though Greg wolfs this dessert down, he has a hard time getting past the name). This simple, no bake dessert only resembles salami. This Italian favorite was originally served around the holidays but now is acceptable any time of year. I think it’s the perfect dessert to serve while entertaining. The best part is that you can prepare it ahead of time and store it in the freezer.
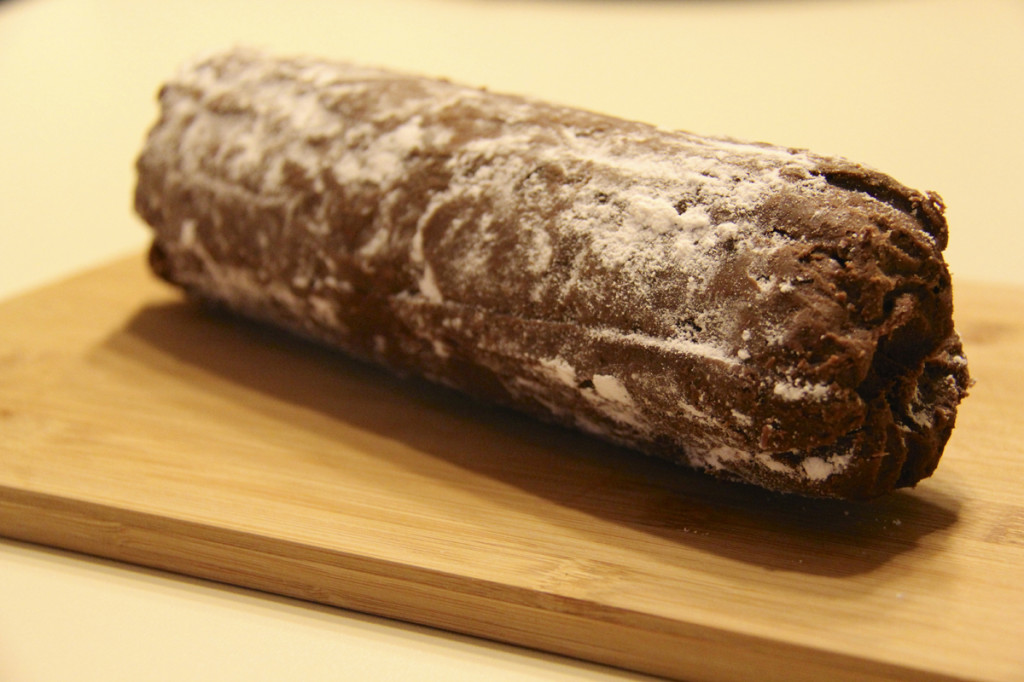
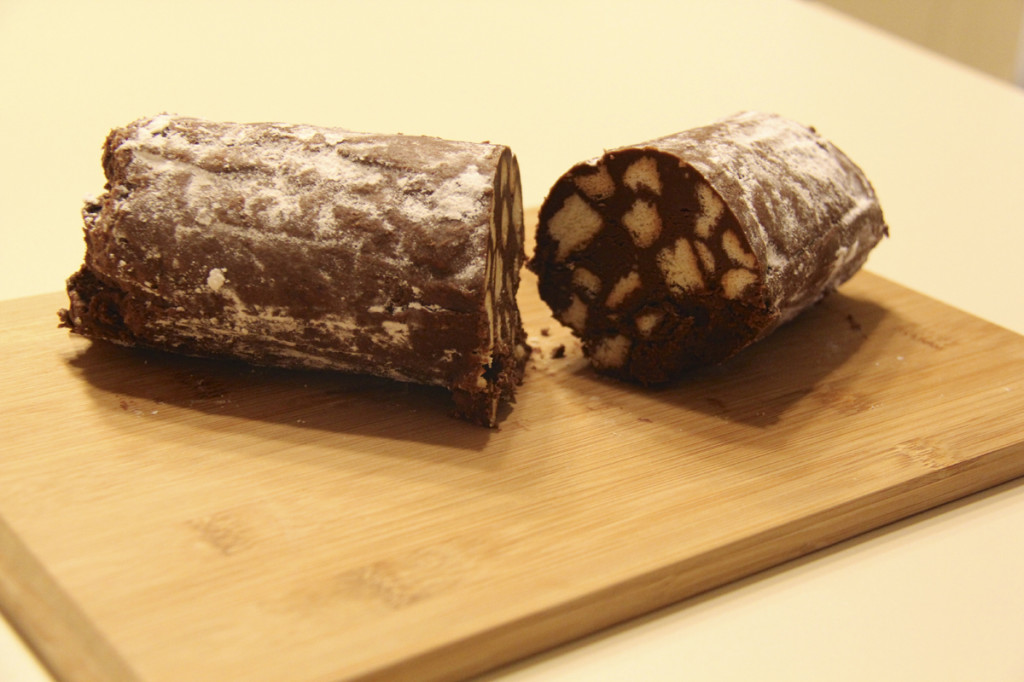
Voilà! A salame di cioccolato (chocolate salami)
INGREDIENTS (serves 8 people)
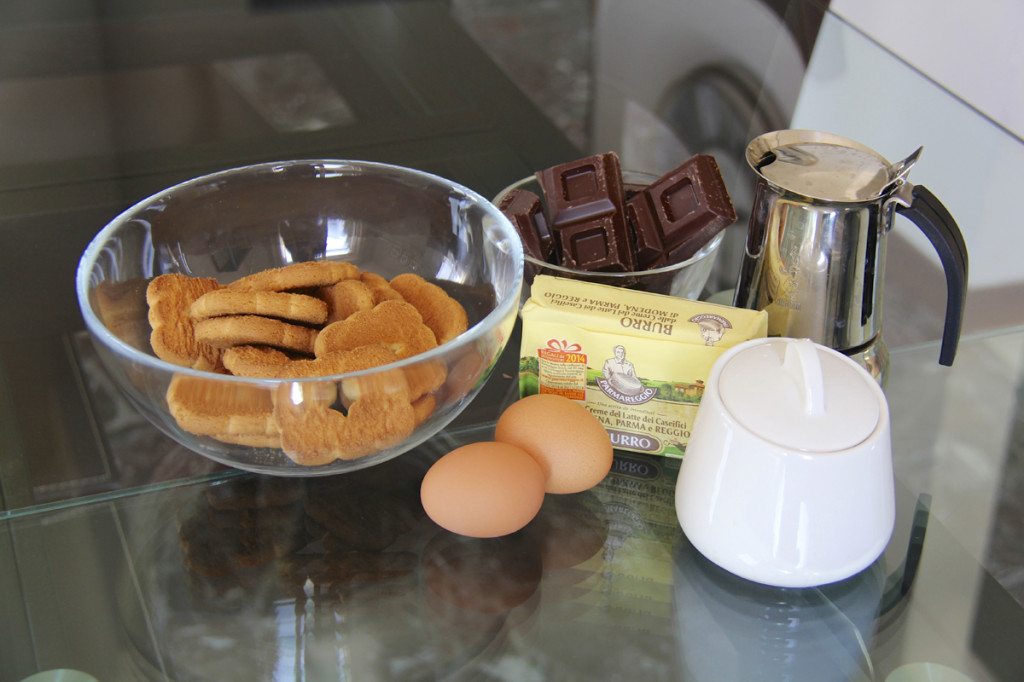
>One (1) cup of biscotti or dry cookie broken into pieces >Eight (8) ounces of dark chocolate. I used 70% >One (1) stick of high quality butter, softened >Two (2) eggs, very fresh >Half (½) cup of sugar >Quarter (¼) cup, freshly brewed espresso >Confectioners’ sugar, as needed >Chopped nuts optional (I didn’t use them but I think I will try next time)
***RAW EGG WARNING. I have been told you can make this dish without using eggs but I haven’t tried this myself.
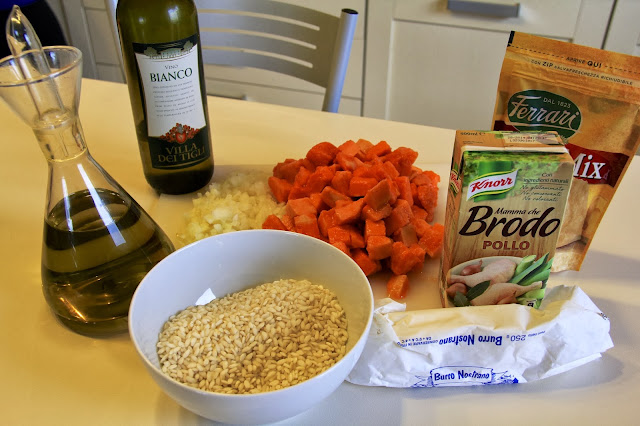
Your ingredients
DIRECTIONS
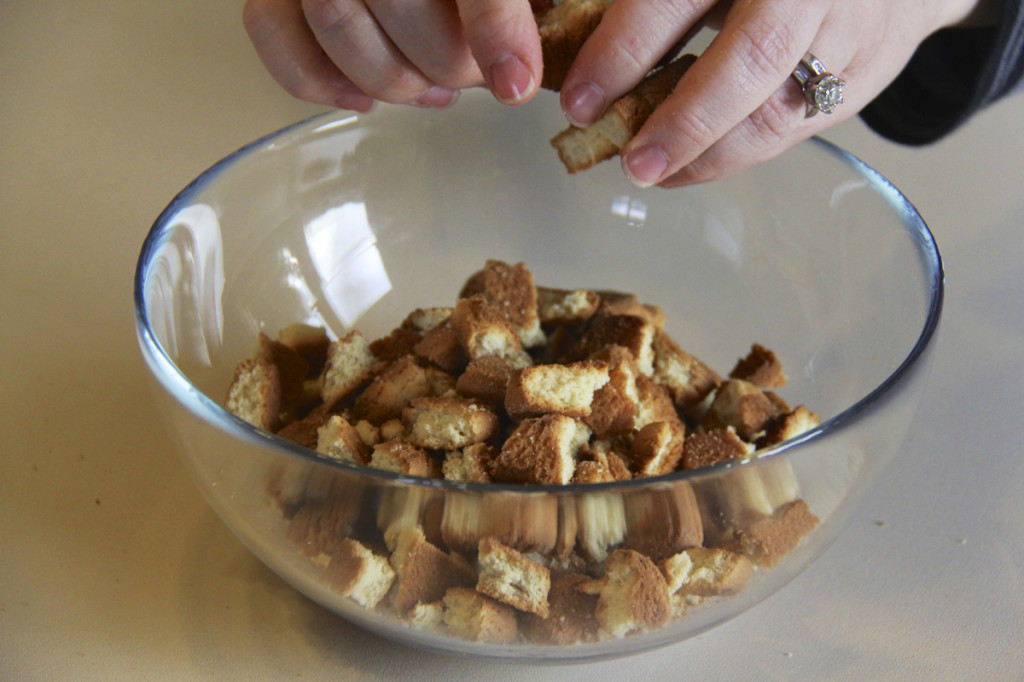
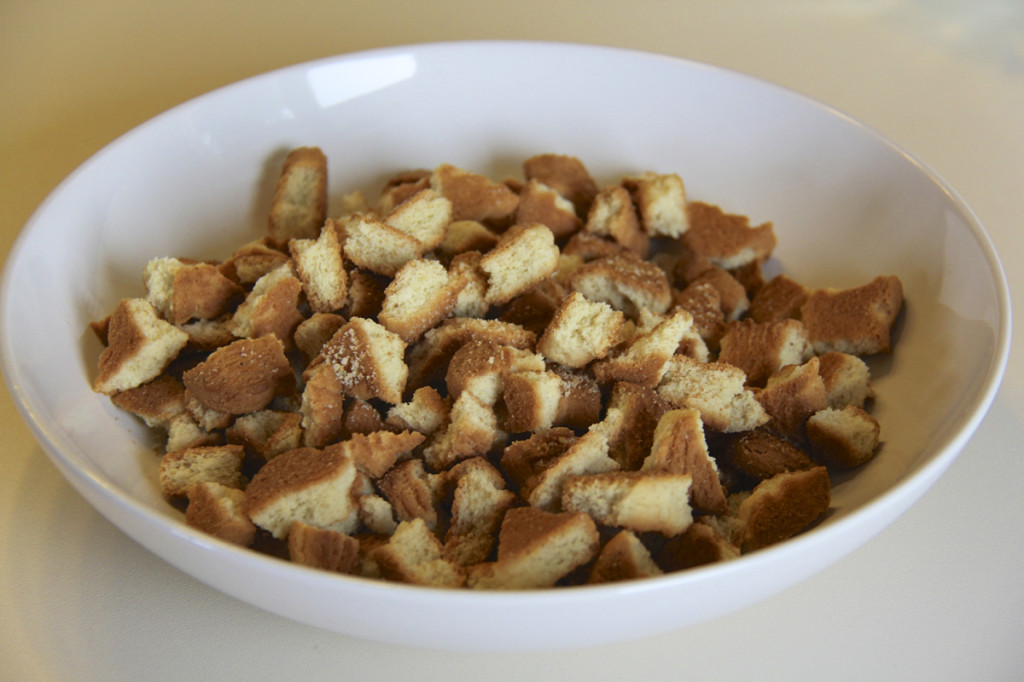
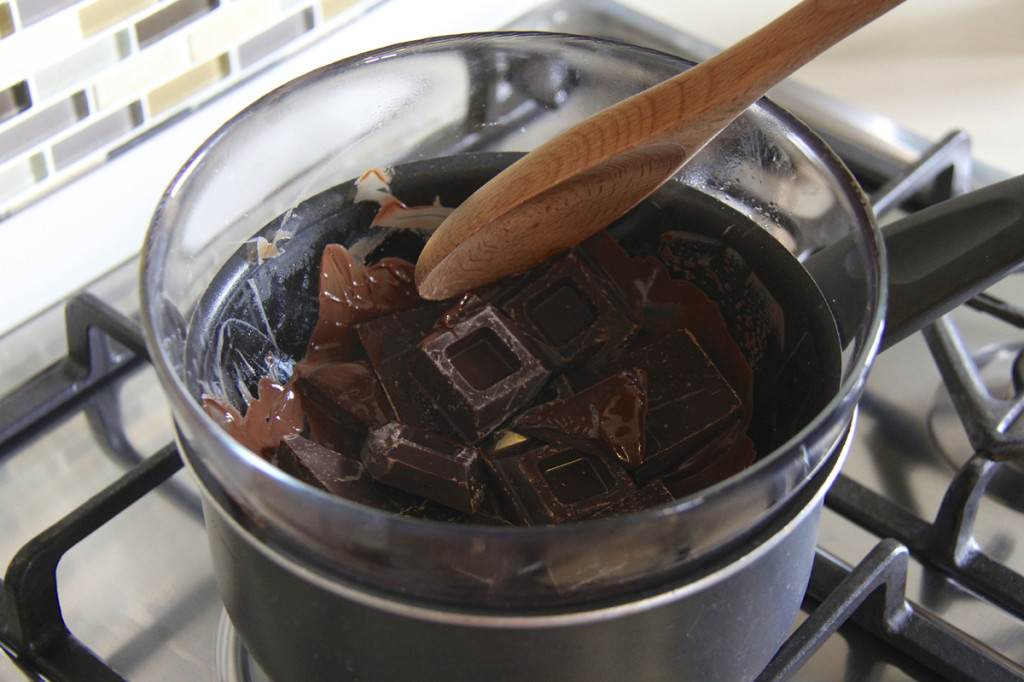
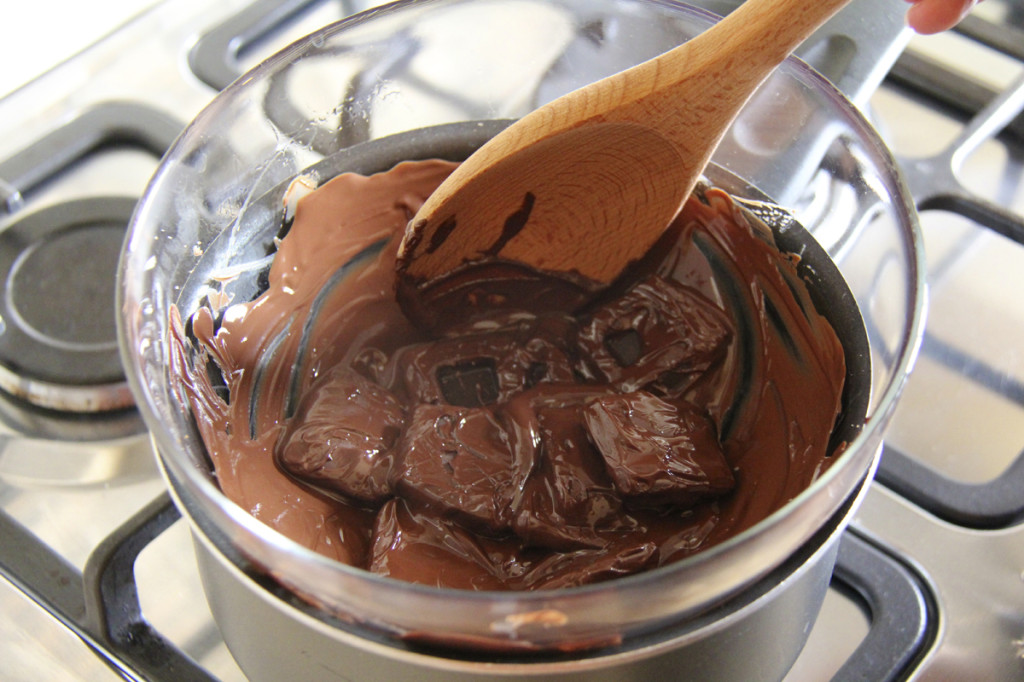
Begin by breaking up the biscotti and setting them aside. Melt the chocolate using a double boiler and stir until there are no lumps.
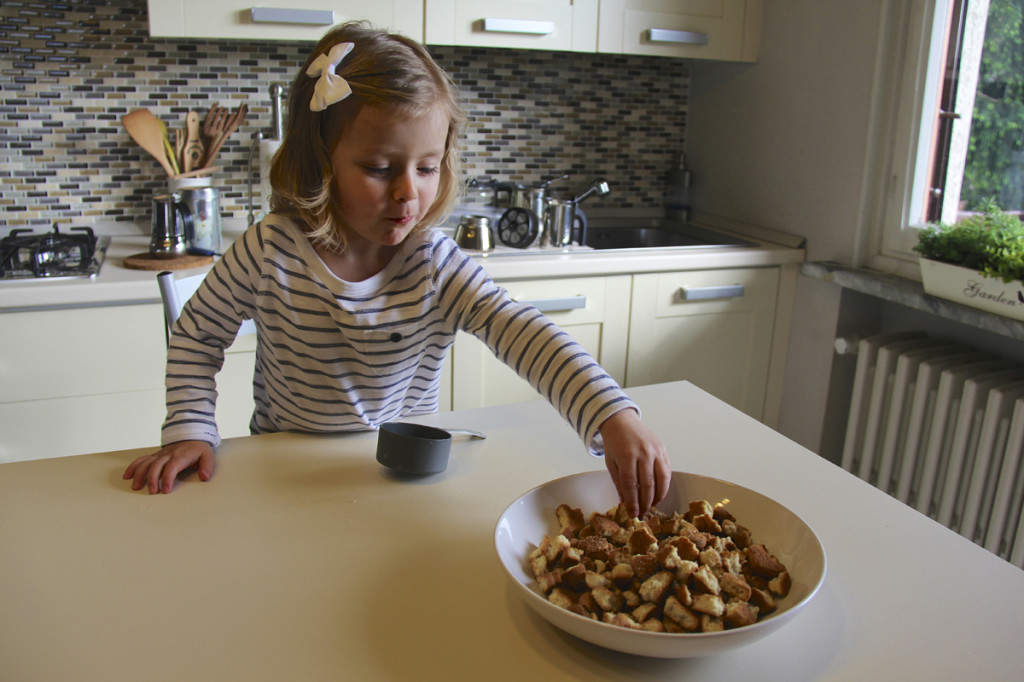
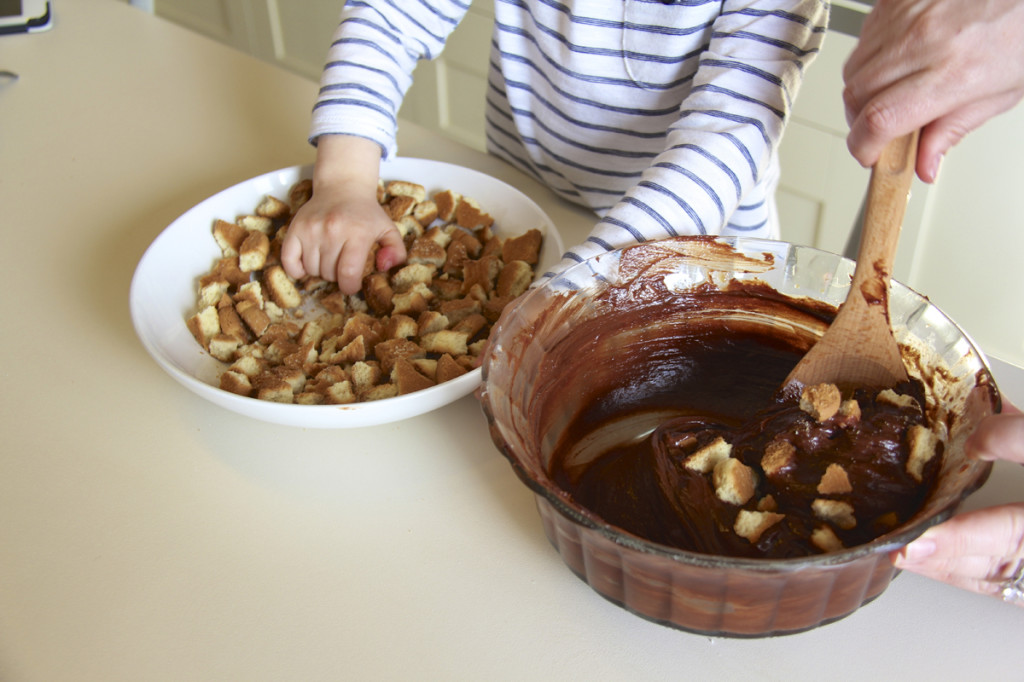
Break the bits of biscottiDon’t crumble them too much – they’ll need to represent the inside of a salamiTry not to lose any too many of your cookie crumbles in the processUse a double boiler to melt the chocolateThe double boil method is easy and brings the chocolate to a perfect consistency
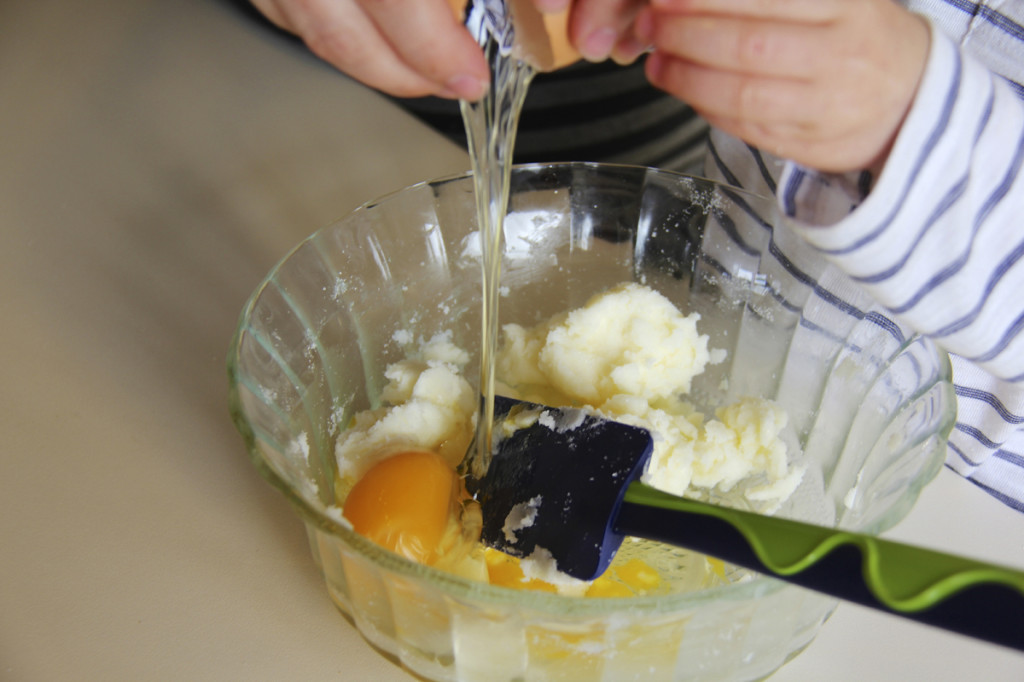
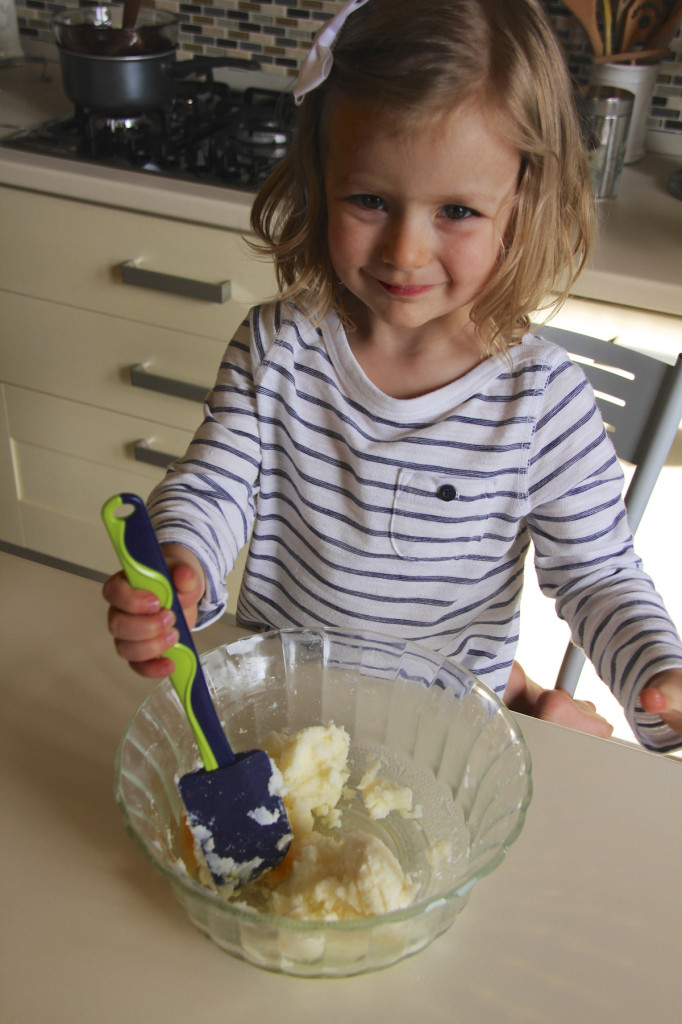
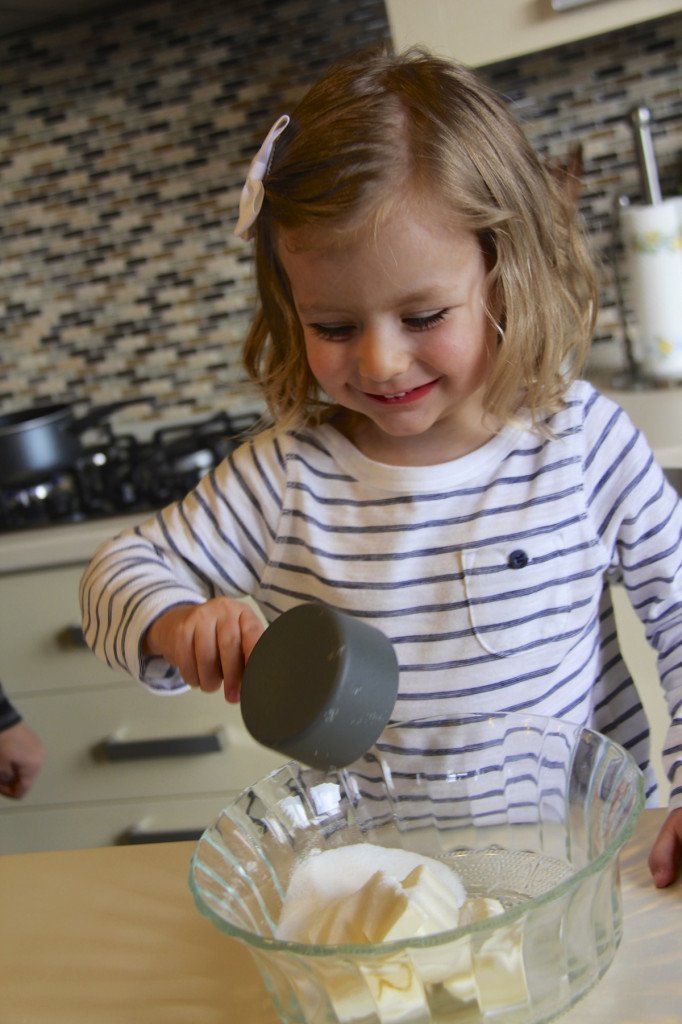
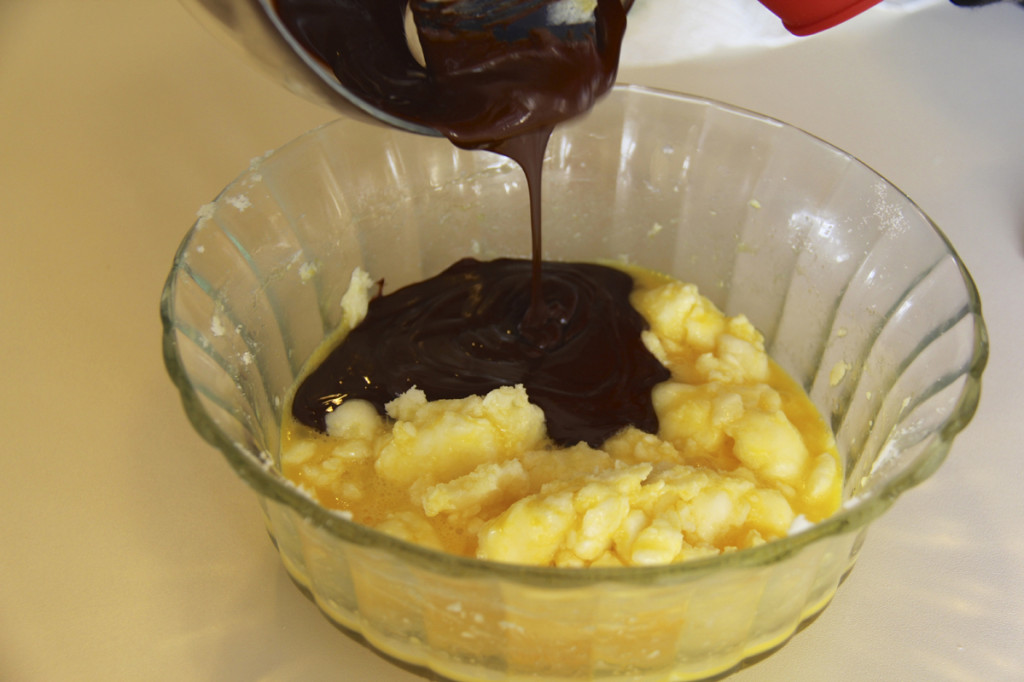
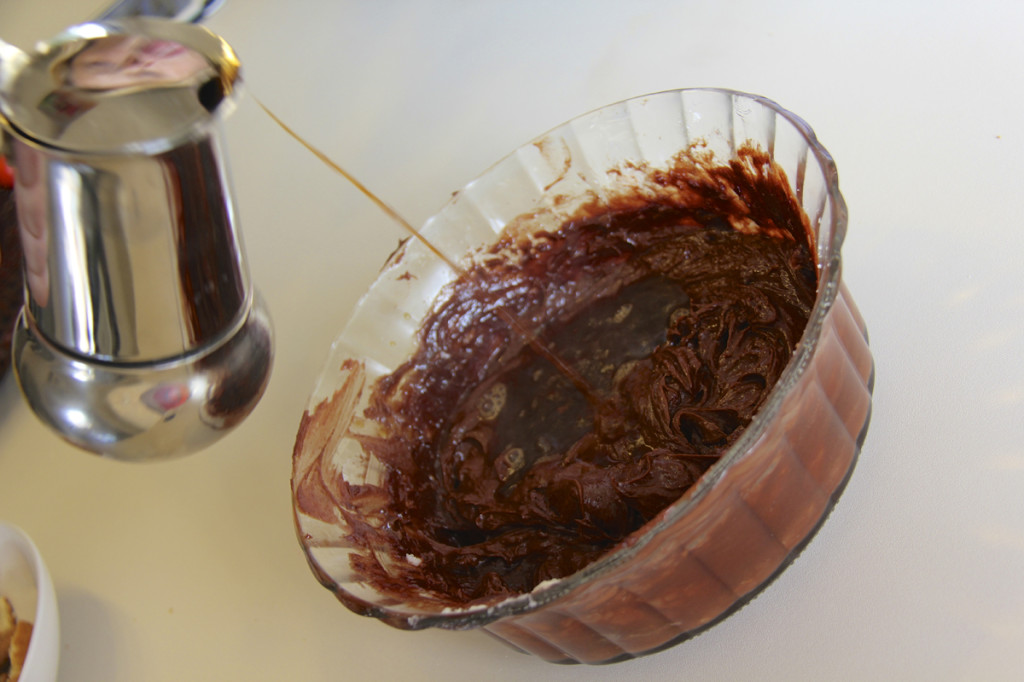
Stir butter in a large bowl. Continue stirring and add sugar and eggs. Once combined stir in the chocolate and add the espresso. Stir the cookies into the chocolate mixture until well combined.
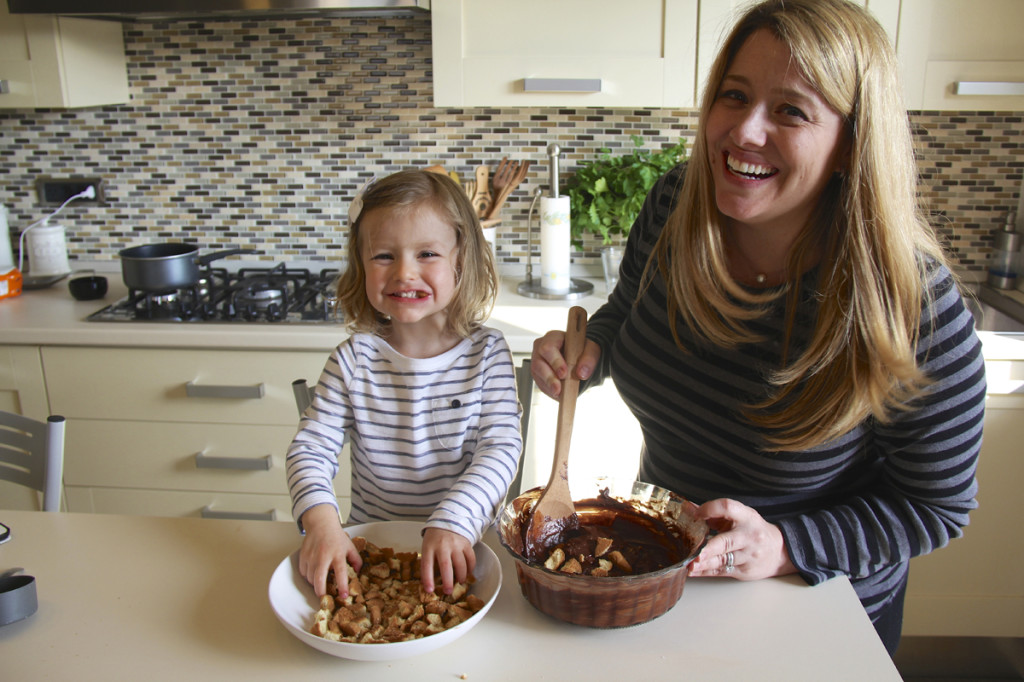
Combine the wet and dry ingredientsMix thoroughlyIt’s always nice to have a helping handAdd your chocolate and mix wellPour in the espressoSlowly combine your biscotti cookiesStir together and watch little “biscotti thieves”
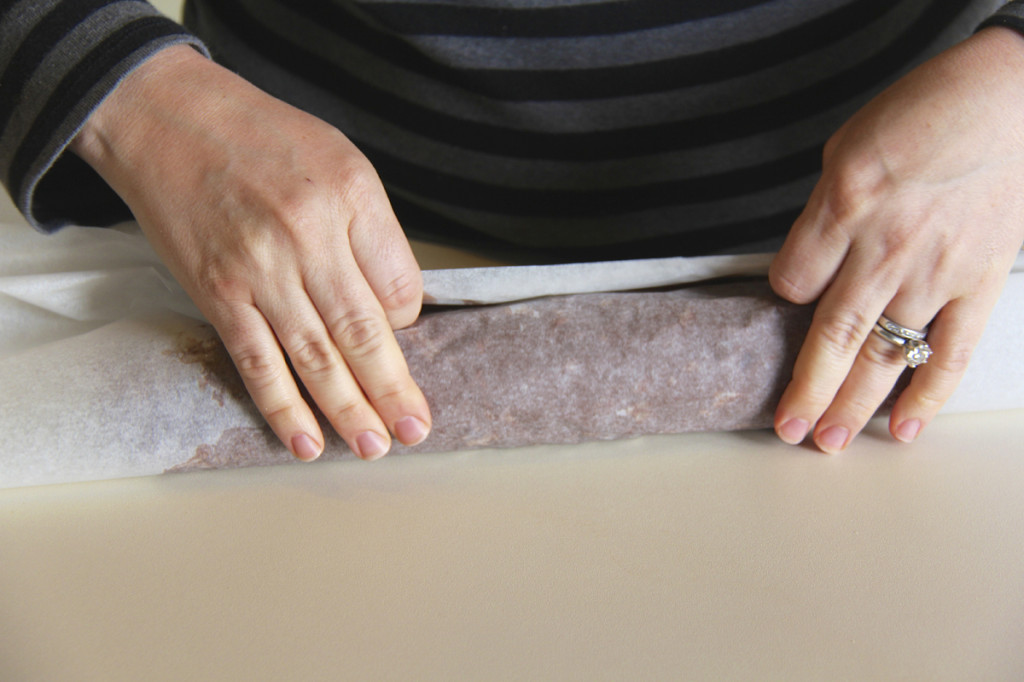
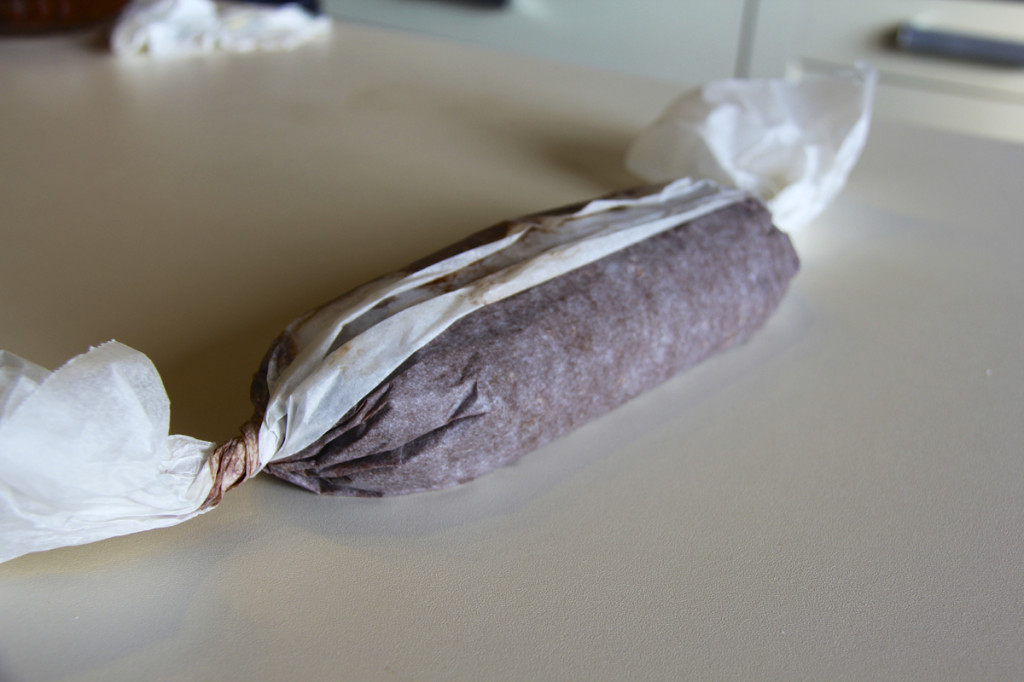
Place the mixture on a large sheet of wax paper and begin to shape the mixture into a salami by rolling it on your work surface. Tightly secure the ends and place the “salami” in the refrigerator for 8 hours. I continued to roll the salami in the refrigerator so that it wouldn’t become flat on one side.
Roll the mixture in wax paper and form the shapeTie off the ends and set in the refrigerator to form
Remove salami from the refrigerator and unwrap. Cover the salami with confectioners’ sugar using brush. Put the salami on a wooden board when ready to serve.
Chocolate Salami – Enjoy!
This dish should keep in your refrigerator for a maximum or two-three days. It should last in your freezer for about one month. Of course, if you have someone like Greg in your home, there is no way it will last anywhere near that long! Enjoy!
On a particularly warm and sunny day this week, Greg and I and decided to ditch the pasta and opted instead to share a lighter lunch. We all love shrimp (especially Julia) so we decided to try our luck with Shrimp Scampi. I have never made this dish before so I did some research and looked at a few different ways it is prepared. After evaluating the ingredients I had lying around the house, I came up with a simple recipe for my first attempt at this classic dish. I have to say – we were all pleasantly surprised with how it turned out.
Buon Appetito!
I was pleased to see Greg fare la scarpetta, or “to do the little shoe”. This is a term the Italians have come up with that I adore. When you have a delicious sauce that you can’t stand to leave behind, you can use a piece of bread to mop it up. I would encourage you to be sure that you have plenty of good bread for you or your guests to do la scarpetta!
INGREDIENTS (serves two)
>Two (2) teaspoons Olive oil >Juice of half (½) a lemon >Zest of about one (1) lemon >Three quarter (¾) cup of white wine >Three (3) cloves of minced garlic >Two (2) tablespoons of unsalted butter >One-two (1-2) tablespoons of chopped flat leaf parsley >One (1) pound of shrimp >Salt
IngredientsBe sure to prep your ingredients – it will make cooking much easierWe kept the shells on the shrimp
As you can see I used shrimp that was still in the shells. You can also choose to use peeled shrimp. I thought we got good flavor from keeping the shells on though. Either way, make sure your shrimp is clean and dry before putting it in the pan.
Place the shrimp in the pan with a little olive oil
>Place olive oil and two (2) tablespoons of butter in a large skillet over medium-high heat.
>Add the shrimp to the pan and spread them out so they lay flat on the pan bottom.
>While the shrimp is cooking, flavor with salt.
>Cook for one-two (1-2) minutes without moving. Once that side is cooked, mix in the garlic and flip the shrimp.
>Cook for an additional one-two (1-2) minutes or until fully cooked. >Remove the cooked shrimp, set aside and keep warm.
Add the shrimp and spread evenly in the panTurn to evenly brown each shrimpAdd the garlicBe sure to turn as necessary so to not burn the shrimpLooking yummy alreadySet the shrimp aside
>In the same skillet add the wine and lemon juice, scraping up any browned bits from the bottom of the pan.
>Allow the liquid to come to a boil and slightly thicken and salt to taste. >Remove from heat and stir in the lemon zest and parsley. Return the shrimp to the pan and mix into the sauce. Serve while hot!
Making the sauce – I would recommend you make extra – it’s that good!Serve and enjoy!
Note: The next time I make this dish I will try to make additional sauce by increasing everything but the shrimp. The sauce was so good, we wanted more!
If you’ve read a couple of our recent Christmas posts, you may notice a consistent theme over and over. We have been thoroughly enjoying the official drink of the season, vin brulé from the markets of Alto-Adige to the lakeside shores of Lugano, Switzerland. I promise you, we are by no means a pair of winos – but I’m pretty sure it’s against the law not to have a vin brulé in your hands as you stroll through the Christmas markets.
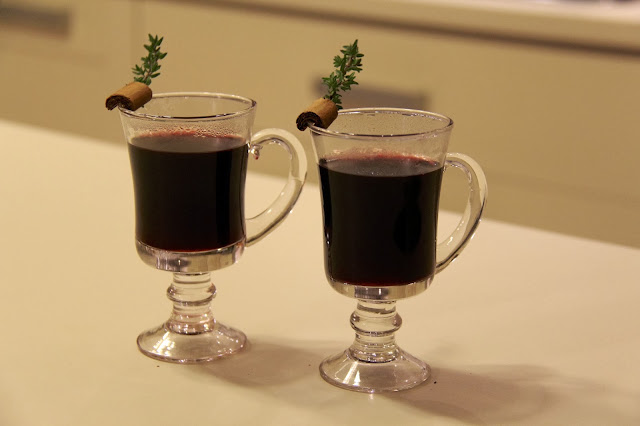
Homemade vin brulé
We have been having so much fun thawing the chill from our bones with this delicious winter drink that we thought we should make it at home for ourselves. I have to say, for our first attempt – it was pretty darn good! And since we enjoyed this easy and delicious recipe so much, we decided it was only fair to share it with you. Of course, that meant that we had to go back to the test kitchen and whip up another batch!
What is vin brulé, you ask? You may know it better as mulled wine or glühwein (it is a very common German drink). No matter what you call it – it is basically a red wine heated over a flame, sweetened with sugar and seasoned with spices and fruit. The result is nothing short of perfection. You are sure to find the drink in just about any of the thousands of holiday markets set up all over Europe in December.
Here’s how it is made (follow closely… nah, just kidding. It’s pretty easy).
Ingredients (serving for four)
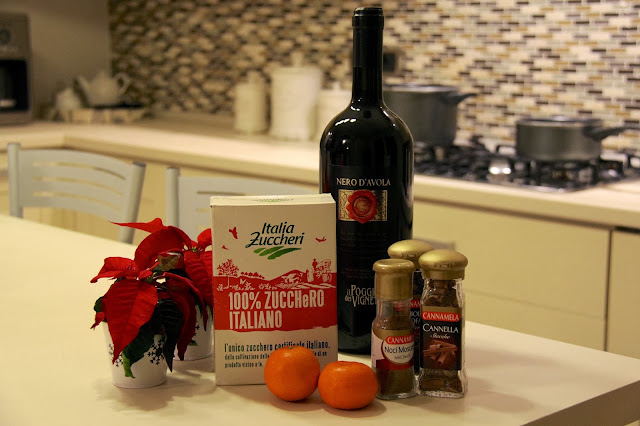
>1.5 liters of red wine (a lot will cook down)
>1.5 cups of sugar
>4 to 8 cloves
>Nutmeg to taste
>2 cinnamon sticks
>2 mandarins (you can also use a small orange)
Your ingredients – feel free to add or subtract items
The great thing about the ingredients for this recipe is that they don’t have to be exact. You can use what you have lying around. If you like more nutmeg flavor – go ahead and add it. This is completely based on personal preference.
Directions
>Slice some of the citrus peels and set them aside
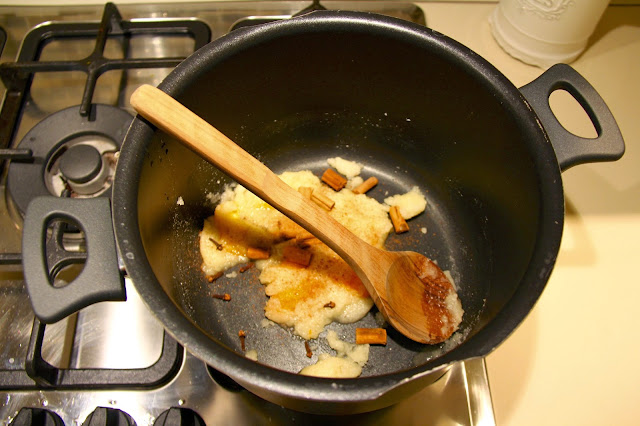
>Grate the zests of one of the manderian and add to a pot with the sugar, cloves, cinnamon and citrus peels
>Add about one cup of the wine and cook on a high heat until everything blends together. This will create a thick almost syrup like liquid that is infused with tones of Christmas flavor. You don’t want to use all of your wine because cooking it at this high heat will burn off the alcohol
>Add the remaining wine and reduce the heat to a low simmer
>Serve and enjoy!
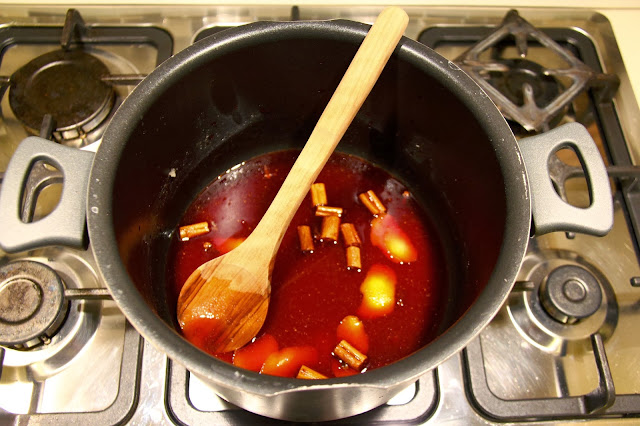
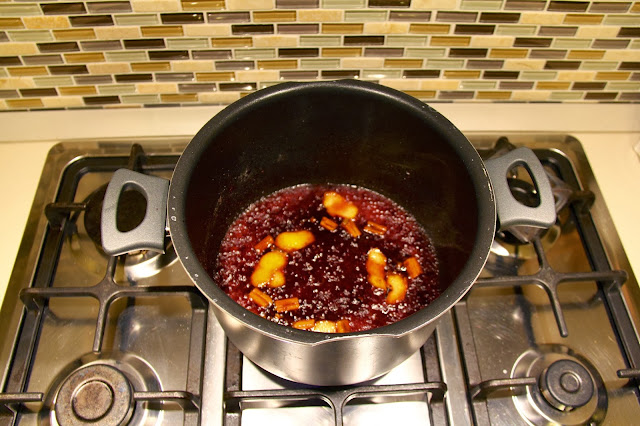
Add the ingredients
Add one cup of the wine
Cook over a high heat
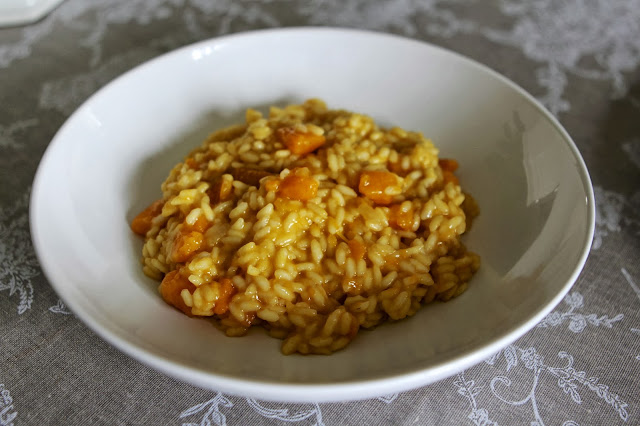
There you have it! Easy and delicious!
We wanted to be sure to post this recipe on Christmas, with the hope that you make this delicious and easy drink on your own today or tonight. You have our personal guarantee that it will increase your festive cheer by 19.6%. That’s 4.6% higher than the next best thing… not getting underwear in your stocking.
Since Thanksgiving is tomorrow – here is a suggestion of something you can do to dress up your leftovers.
Risotto is a favorite of mine; winter, spring, summer or fall. While cooking risotto, I like to use fresh, seasonal ingredients – and with fall comes all things pumpkin. So, this was my chance to combine one of my favorite dishes with one of my favorite fall flavors.
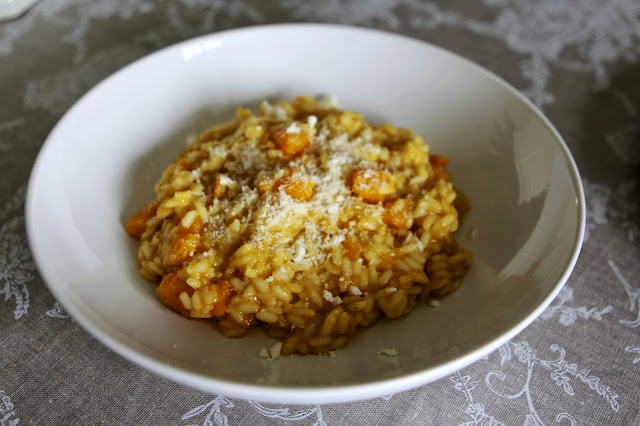
Risotto con zucca (Risotto with pumpkin)
However, when it came to the Thanksgiving dinner we just had, I knew it would be too much for a first course. While risotto is relatively simple to prepare it is time consuming and requires my undivided attention for at least 20 minutes. I decided instead to create a new family tradition. My plan was to serve pumpkin risotto the day after Thanksgiving, along with all of the other delicious leftovers. I think it’s a perfect way to add a new element to a meal we’ve already eaten a couple times over by lunch the next day. I had plenty of left over zucca (pumpkin) from the soup course, which worked out perfectly. I have officially converted Greg into a pumpkin/squash lover. If you want to add some Italian flavors to your holiday meal this year, check out my simple recipe. I hope your family enjoys it as much as we do.
INGREDIENTS (serving of 4)
>Olive oil
>One (1) small onion (diced)
>Four (4) cups of chicken stock
>Nine (9) palms of arborio rice (two per person with one extra). Roughly two (2) cups
>Half (½) – full (1) cup of white wine (depending on taste… and quality of wine)
>Roughly ½ cup of grated parmesan cheese and additional cheese for the table and for garnish
>Third (1/3) stick of butter
>Salt to taste
>One and a half (1 ½) cups of cubed butternut squash (one butternut squash cleaned, peeled and deseeded)
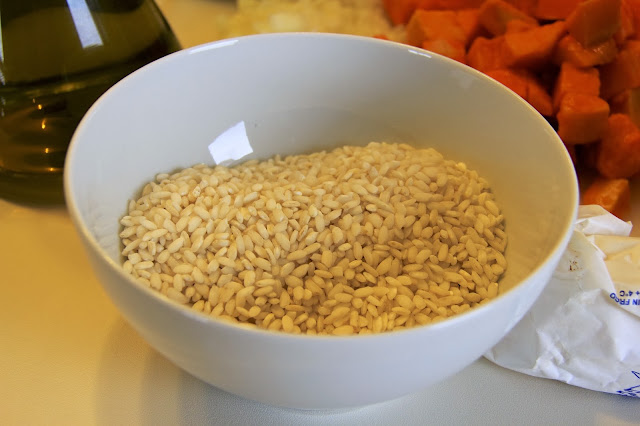
The ingredients
Arborio rice
Directions
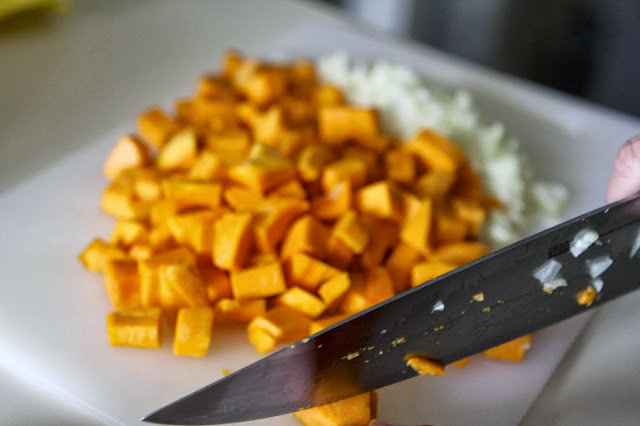
>Cube the pumpkin and dice the onion
Prepare your pumpkin and onion
>Heat chicken stock in a pot
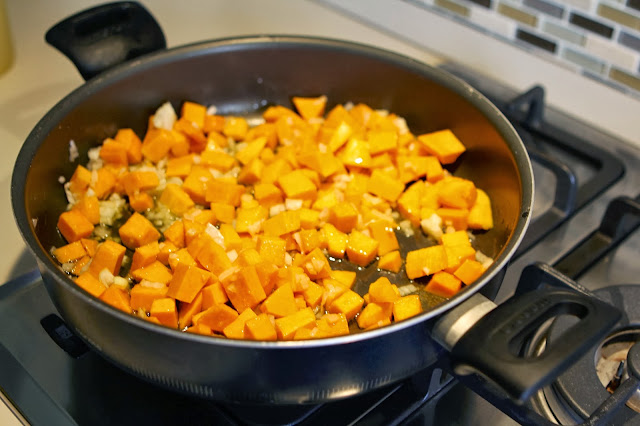
>On a separate burner, heat olive oil in a large flat pan with high sides. Add onion and squash until it is softened and the onion is translucent. While the onion and squash are cooking, add a dash of salt. This could take a little over 5 minutes. Don’t allow the onions to brown
Watch that the onions don’t burn
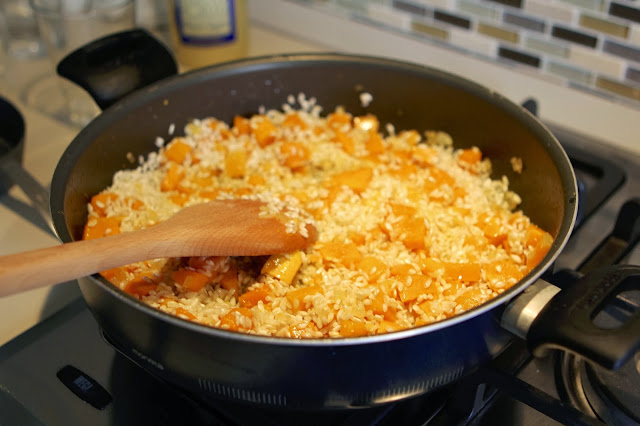
>Add the rice and mix together. Stir until the rice is toasted (but not brown) about three – four (3-4) minutes
Stir in the rice
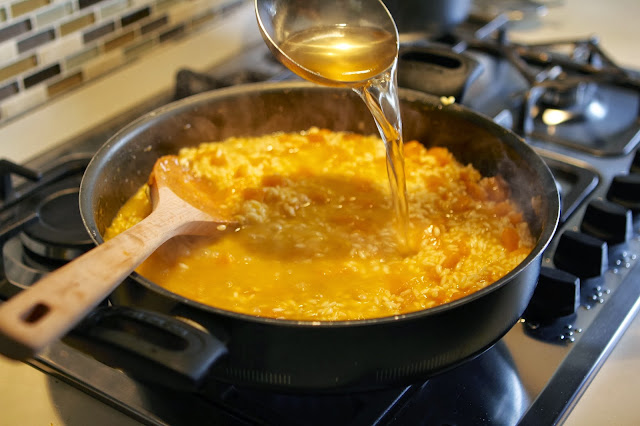
>Add the wine and continue to cook the rice until the wine is absorbed. After a minute, add a ladle or two of the stock, stirring the rice continuously until the liquid is absorbed
Laddle in the broth
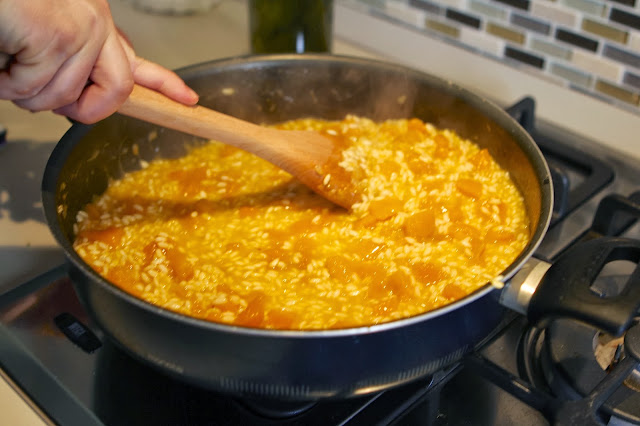
>Continue stirring and ladling the broth for approximately fifteen (15) minutes. Be sure to taste as you go and add salt accordingly. The rice should be al dente and creamy
Keep stirring and add more broth once it’s absorbed
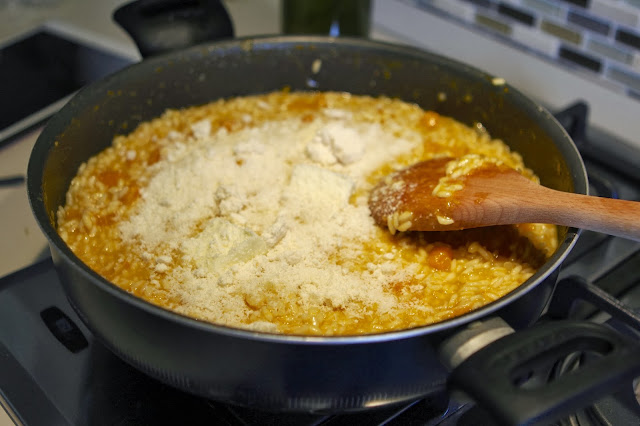
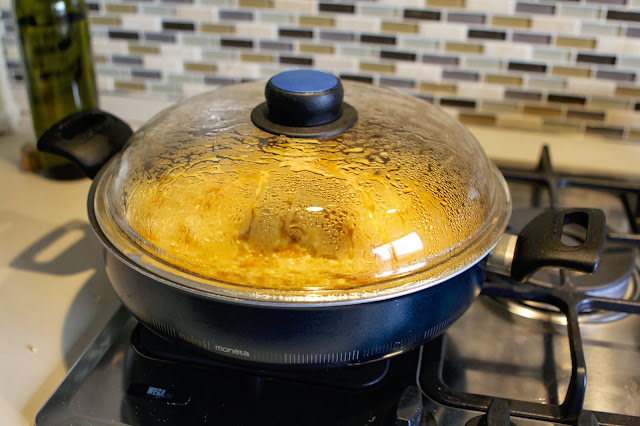
>Remove from heat and stir in butter and Parmesan cheese. Cover and allow pan to sit for five (5) minutes
Stir in the parmesano
Cover and let sit for five minutes
>Serve right away and top with fresh grated Parmesan cheese
Don’t forget to add the grana (grated cheese) and enjoy
PLEASE NOTE – Cooking risotto requires constant attention. Make sure the table is set and everything else you are serving is ready before you begin the rice.
Don’t forget to combine your risotto with your Thanksgiving leftovers!
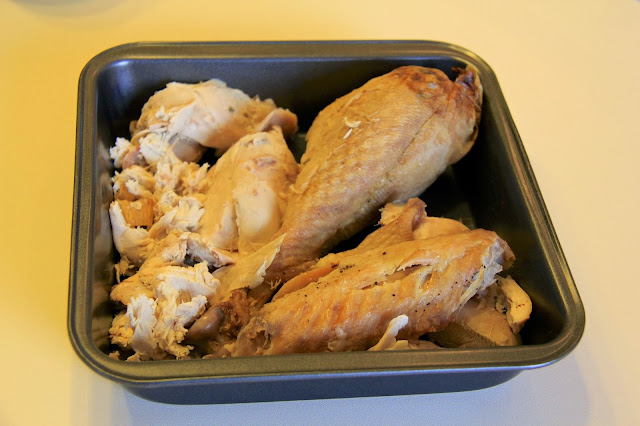
Is it possible that the turkey gets better after the Thanksgiving meal?!
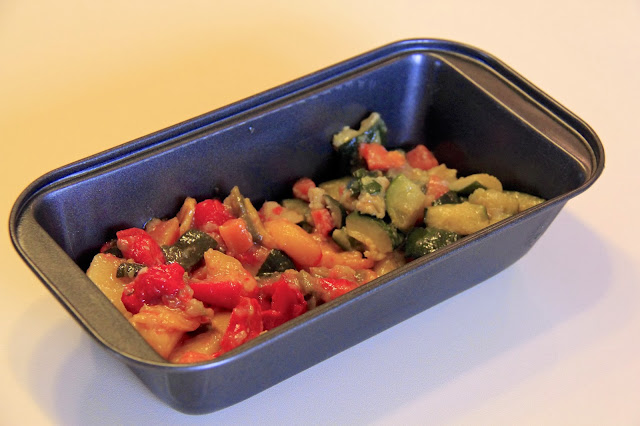
Combine whatever sides you have leftover
I hope that you’ve enjoyed this recipe and that perhaps you’ll try to incorporate it into this year’s Thanksgiving! Let us know if you do and buon appetito!
Can you believe that they don’t celebrate Thanksgiving here in Italy?! They also don’t celebrate the Fourth of July, Memorial Day or Labor Day! I know weird, right?!
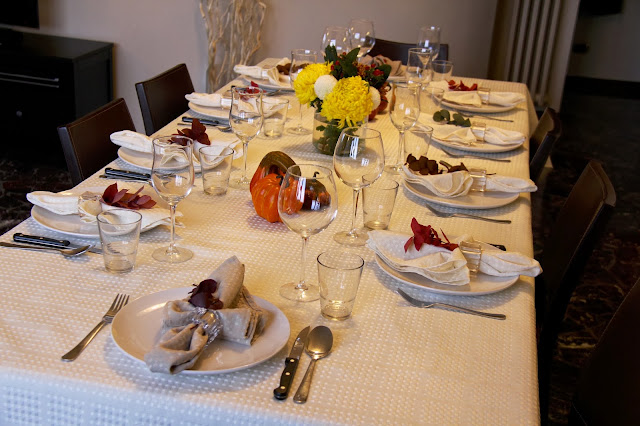
Our Thanksgiving table is set
Thanksgiving is one of my favorite holidays. Of course I love the spirit of Christmas, the fun costumes of Halloween (another holiday that they don’t really celebrate), the fireworks of our Independence Day… but nothing can match the guilt-free ability to gorge on delicious food all…day…long! And if that wasn’t good enough, you are then permitted… nah, encouraged to lay on your duff and watch football until it’s time to re-heat a plate of leftovers.
Julia was Superwoman for Halloween this year –
even though she was one of few kids dressed up
We knew that we weren’t going to give up our tradition of Thanksgiving just because we are living in another country. In fact, we were excited to share our holiday and traditions with Jen’s relatives. Ideally, we would have eaten our Thanksgiving dinner along with the other people in America (well, six hours ahead anyway) – but we will be out of town during the holiday. So we decided to host our Thanksgiving dinner early. Before we could take our first bite of that delicious dinner, we needed to plan a menu. And if you’ve ever been around my wife when she plans an event… if we have an official menu, then we’ll also need an official outline for the entire week leading up to the event.
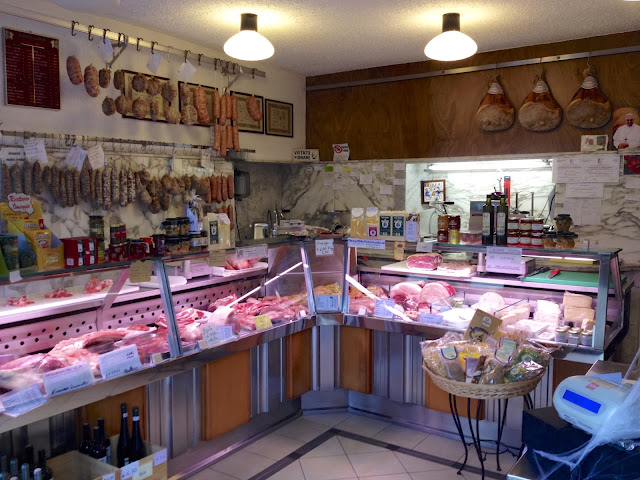
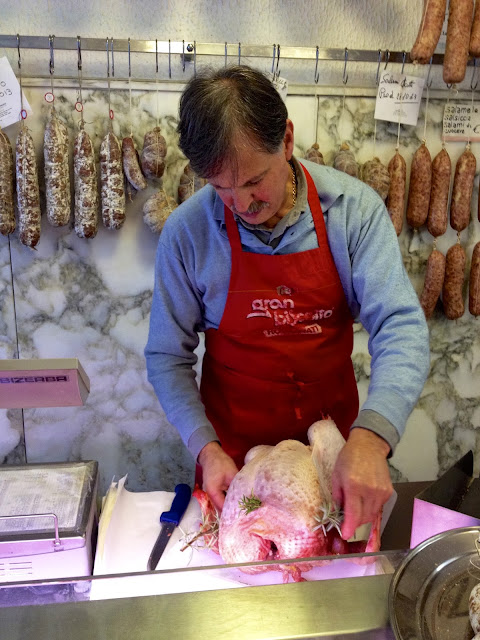
I had many small jobs, but the most important – procurement of the bird and selecting the wine. For the turkey, I went to our local macelleria (butcher shop), Macelleria Ostinelli. You see, you cannot just go down to the supermarket and pick up a whole turkey. It simply doesn’t exist here. Italians eat turkey, but they are either quartered or filleted – never sold whole. In fact our macellaio (butcher), Marco had to call his “turkey guy”, Lorenzo just to confirm that they could even have a whole turkey delivered within three days. It was the first whole turkey Marco had ever sold in 20+ years of being a butcher. We got the green light from Lorenzo and went home to continue planning.
Inside Macelleria Ostinelli
Our macellaio (butcher), Marco prepares our turkey
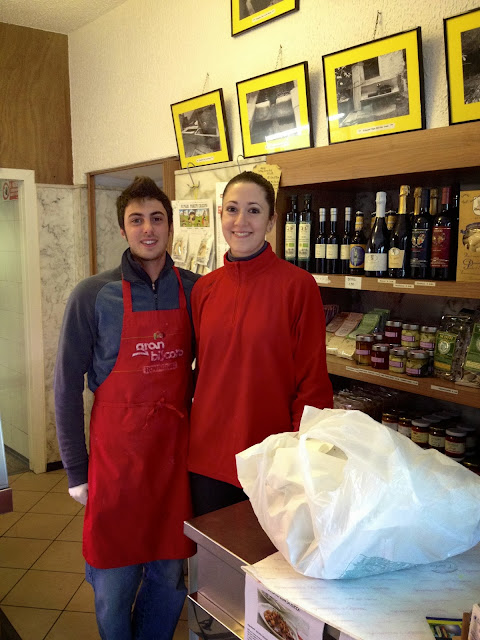
His son, Paolo and niece, Francesca
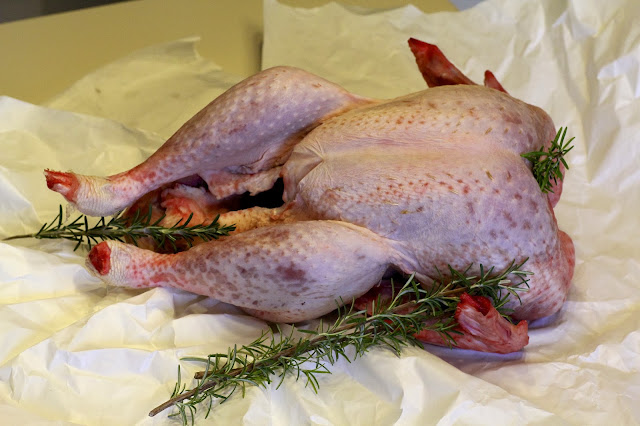
“Cook me like one of your French turkeys, Jack”
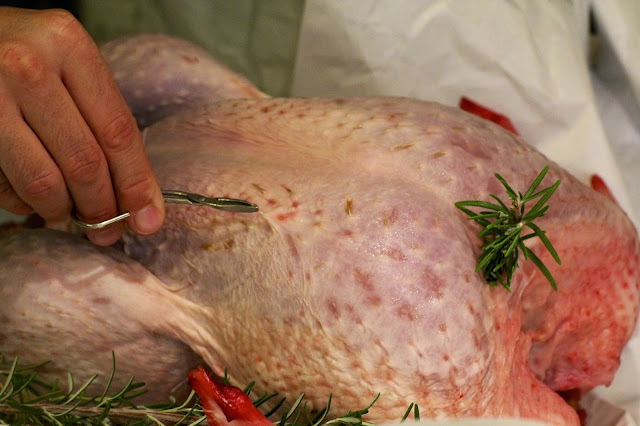
The turkey was so fresh that it was still red… and needed a few extra feathers plucked
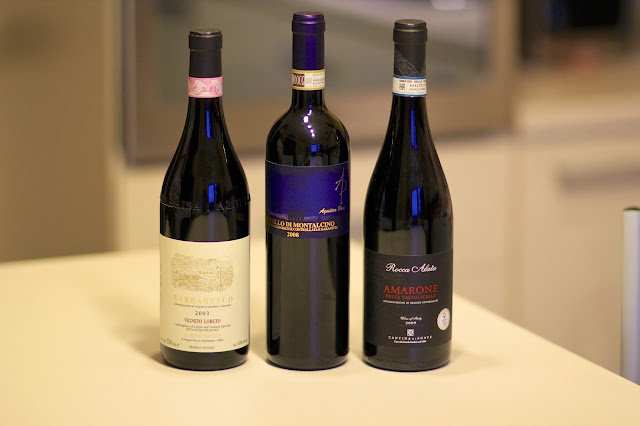
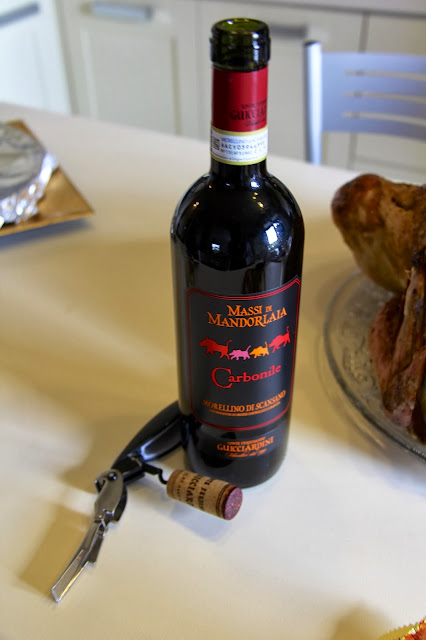
The wine was a much more complicated process. I went into a wine shop I’ve been wanting to try; one just outside of downtown Como. The selections of fine Italian wine seemed endless. I chose three wines that are classified as Denominazione di Origine Controllata e Garantita (DOCG), a designation that connotes some of Italy’s best-known and highest quality wine.
A trio of wine from all over Italy
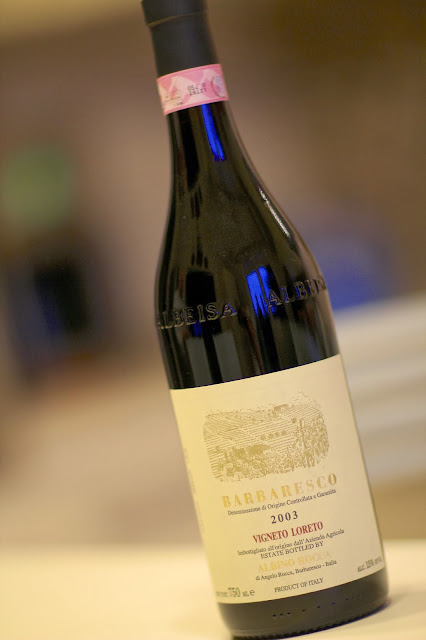
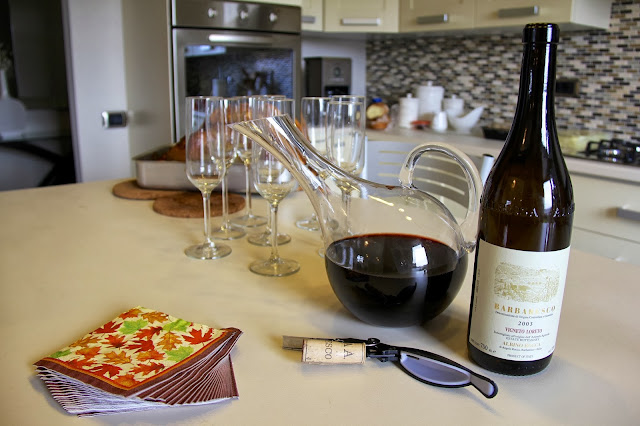
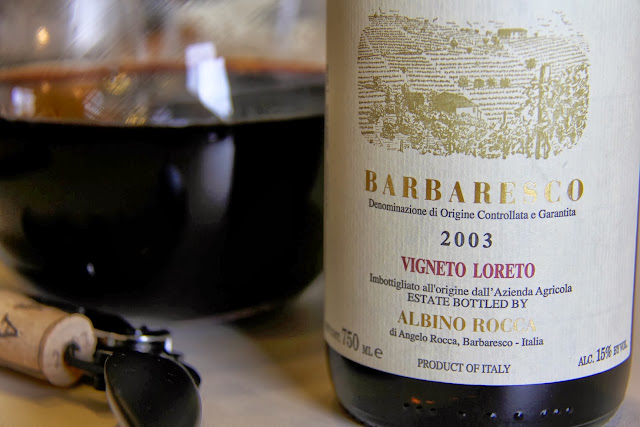
I opted to start our meal with a Barbaresco (having recently come back from Piemonte). I picked a 2003 Vigneto Loreto from Albino Rocca – a producer that obtains their [nebbiolo] grapes from the finest area in the region. I thought that the balanced flavor profile of this Barbaresco would do nicely to awaken our palates.
2003 Barbaresco Abino Rocca, Vigneto Loreto
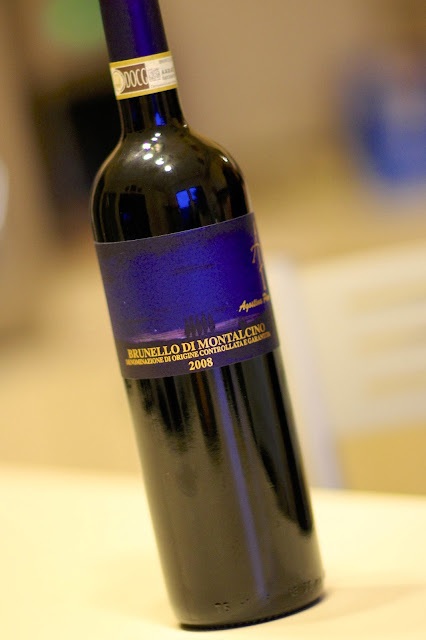
For our second wine, I selected a 2008 Brunello di Montalcino. Tuscany is known for many things and their wine is nothing short of spectacular. Agostina Pieri produces a fine example of the wine that incorporates one of my favorite Italian grapes, Sangiovese. The bold flavors would serve as a nice progression from the more tannic and refined Barbaresco.
2008 Brunello di Montalcino Agostina Pieri
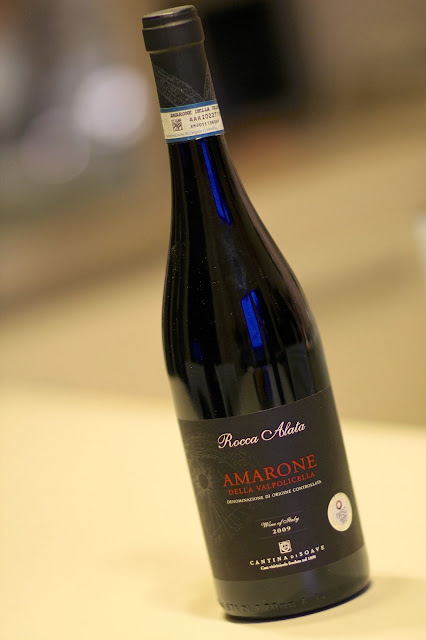
Finally, I wanted a wine to shout from the rooftops – so I chose a big, bold Amarone della Valpolicella. Jen and I were just recently introduced to this type of wine by my uncle, and it was love at first taste. A unique harvest and fermentation process yield a ripe, raisiny and full-bodied wine that jumps across your tongue and waltzes with your tastebuds. How could this not be the perfect wine to finish the afternoon?! Cantina di Soave produces a wonderful Amarone, Rocca Alata.
Amarone Cantina di Soave, Rocca Alata
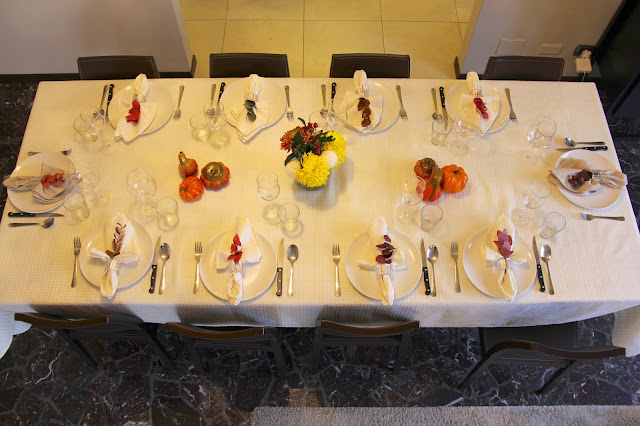
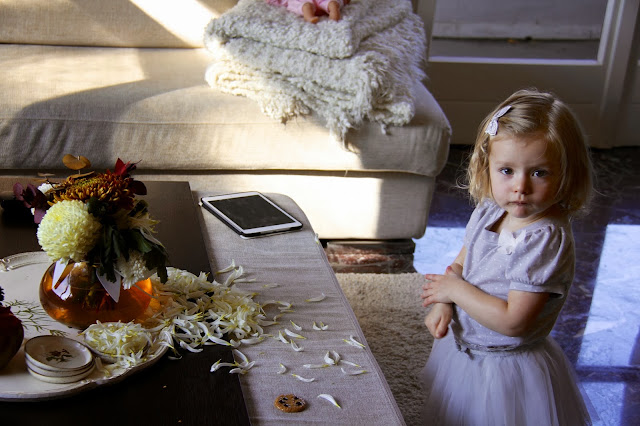
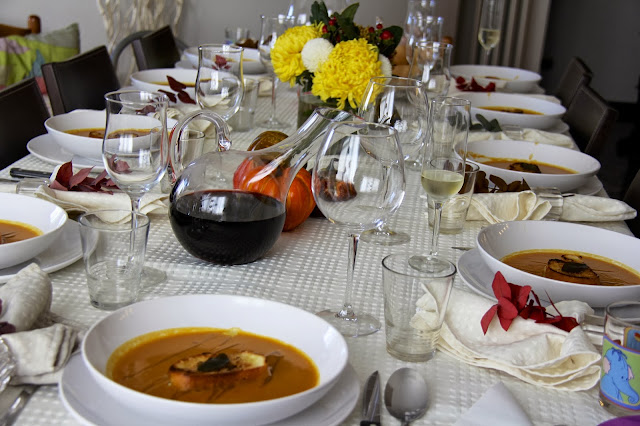
The night before our guests arrive, I helped Jen set the table. Well, I mainly played defense against Julia while Jen set the table. I let her get a goal past me the next day when she ripped up part of the bouquet just before our guests arrived!
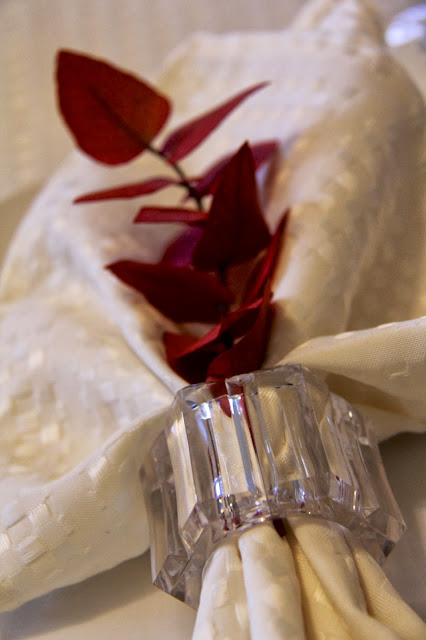
Jen’s table
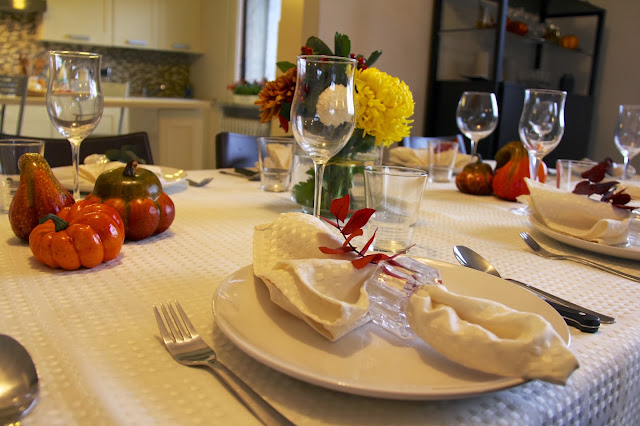
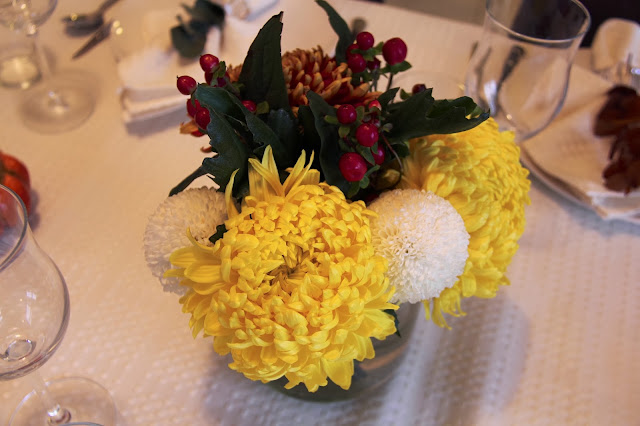
We used seasonal flowers as part of the decoration
A place setting
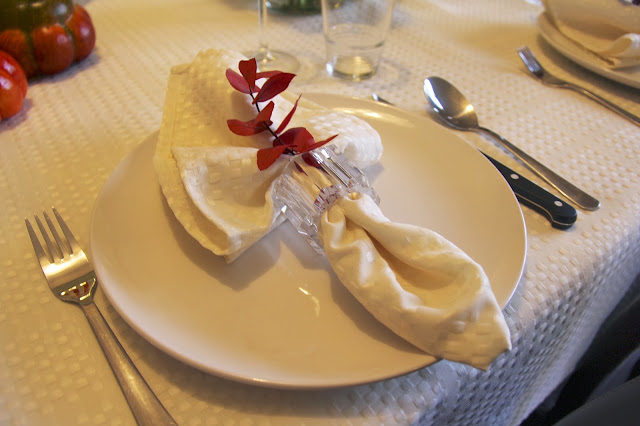
A napkin before it got messy with delicious food
Center bouquet
Julia got to the other bouquet – I love her look as if to say, “I didn’t do it”
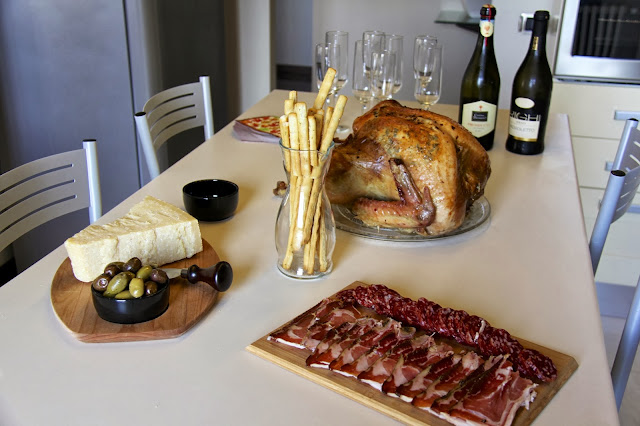
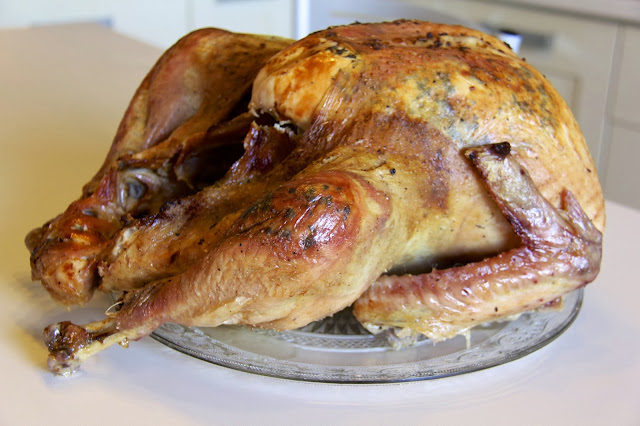
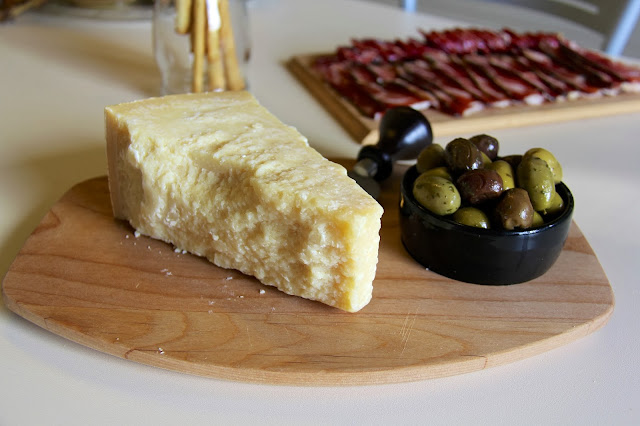
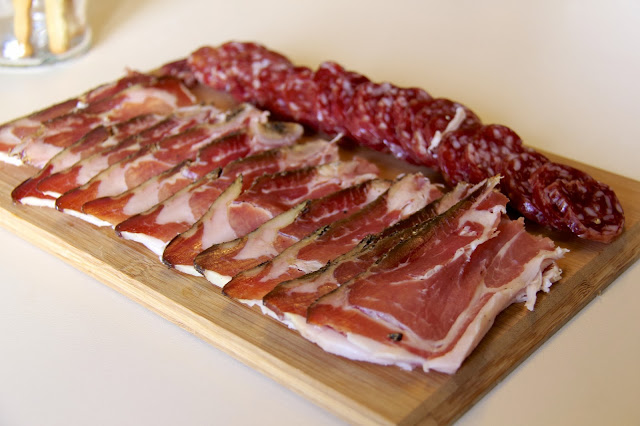
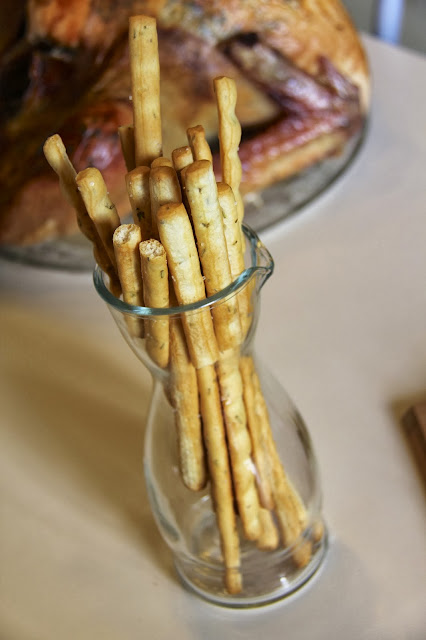
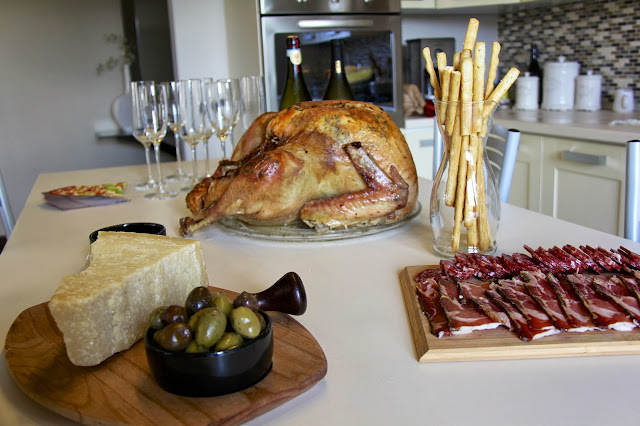
Jen had perfectly timed the turkey to come out and rest next to all of our antipasti. I am willing to bet that we hosted one of the few thanksgiving dinners in the world to start with olives, grissini (Italian breadsticks), salami and parmigiano. Our 7.4 kg (16.3 lb) turkey was quite the showstopper as Jen’s Italian relatives walked in. It was one of the first times ever that I have seen Italians take out their cell phones to take pictures of food. For them, food should be eaten – not photographed (I’ve been called, pazzo more than once). So it was quite a reward for all our hard work to see jaws dropped and cell phones flashing.
Our welcome table
The turkey came out moist and delicious
36-month aged Parmesano cheese and olives
Speck and salami
Grissini
Let’s get the party started
Let’s get the wine decanted…
This is going to be good
After proscecco and antipasti, we each took turns taking family photos on the balcony. I’m glad that Jen suggested this – it gave each family a nice keepsake from a pleasant afternoon.
My girls
Love this peanut
Gianni and Giusi along with their son Marco and daughter Sara
Massimo and Alessandra with their daughter Bea
You know this cast – Greg and Jen with our daughter, Julia
Franco and Claudia – Franco actually smiles for a photo!!
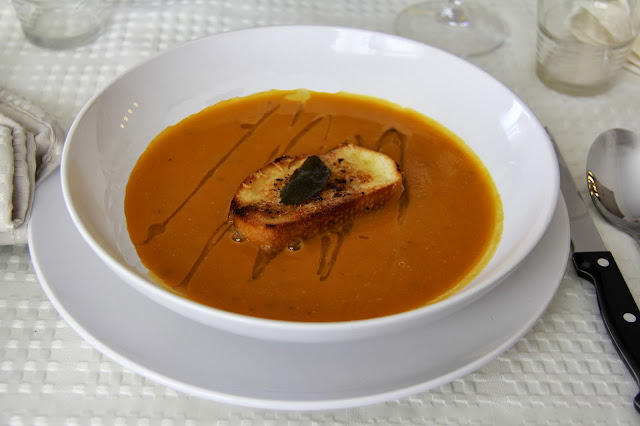
We eventually made our way to the table for our first course, a squash soup with parmesano croutons.
Now we’re ready to really dig in
A drizzle of fine olive oil enhances the taste and presentation
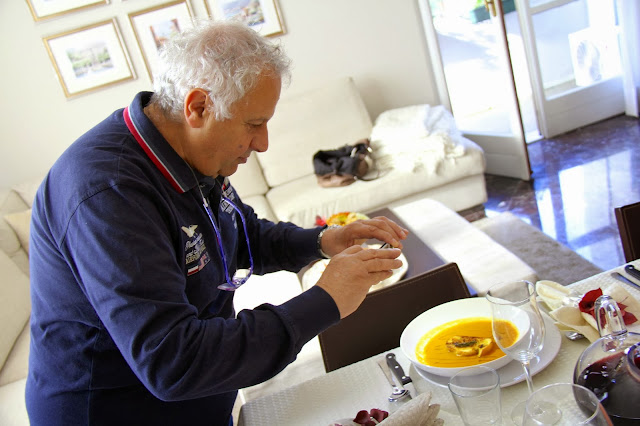
Franco took a picture of the soup as well as the turkey – this was a first!
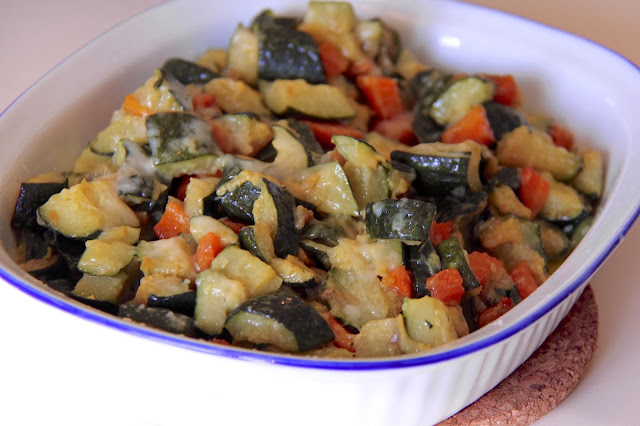
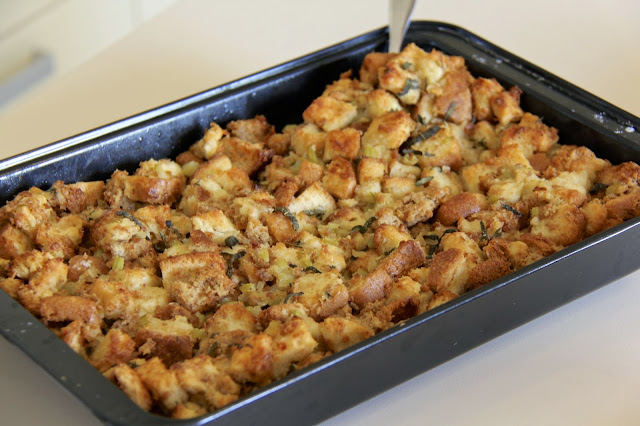
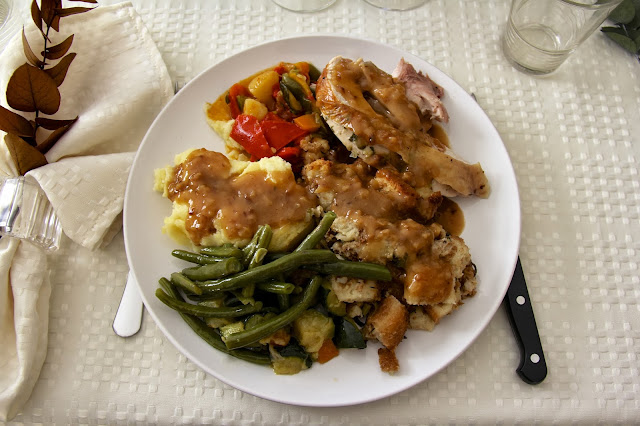
Next, we brought out all the food. We had the stuffing (I had to explain it as “cooked bread”). We had mashed the potatoes. We had the gravy – “questa è una salsa” (this is a sauce). Pouring a “sauce” over everything was definitely a foreign concept. Claudia made the vegetables – green beens and a ratatouille. And of course, we had the turkey. A roasted lemon sage turkey that was delicious. I explained that the goal was to cram your plate so full that none of the plate was visible. Jen’s cousins Gianni and Marco understood the goal… no one else quite got it. We went around the table to say what we were most thankful for and dug in.
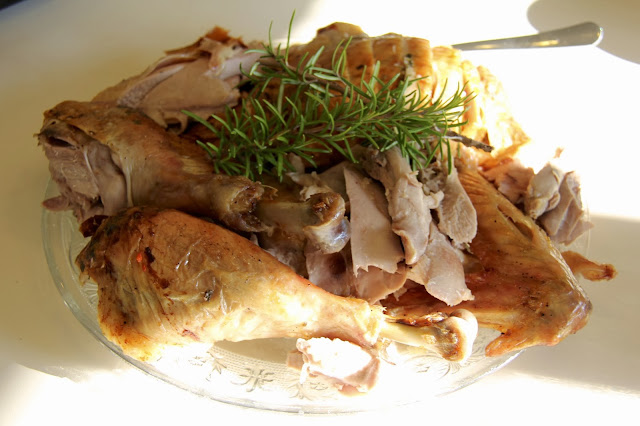
A plate of the carved turkey
Claudia’s vegetables
Jen’s stuffing
My plate – a proper American Thanksgiving plate
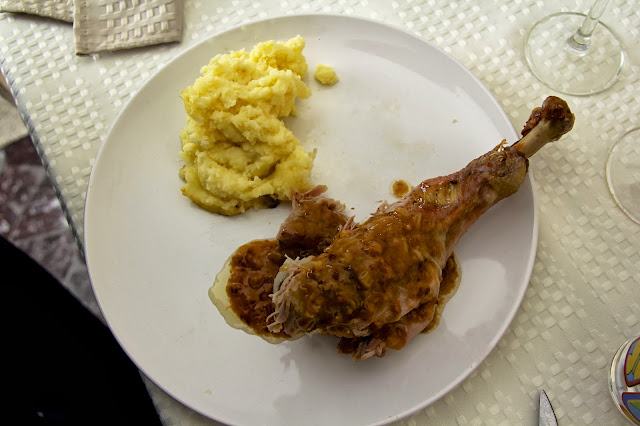
Franco’s plate – he didn’t quite get the idea to cover it
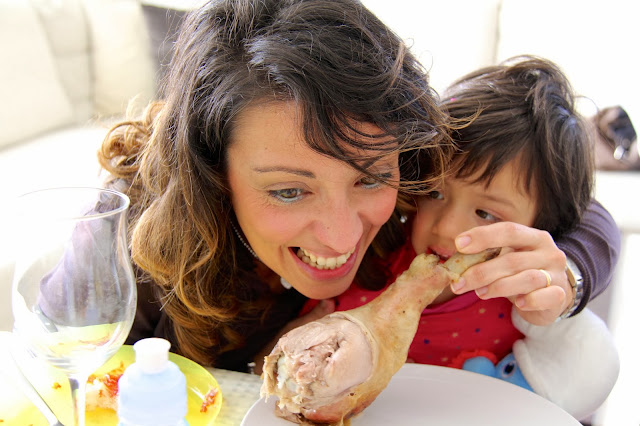
Alessandra plays around with Bea, who has likely never seen a turkey leg
Gianni brought a delicious wine that we opened
We never even finished my selections
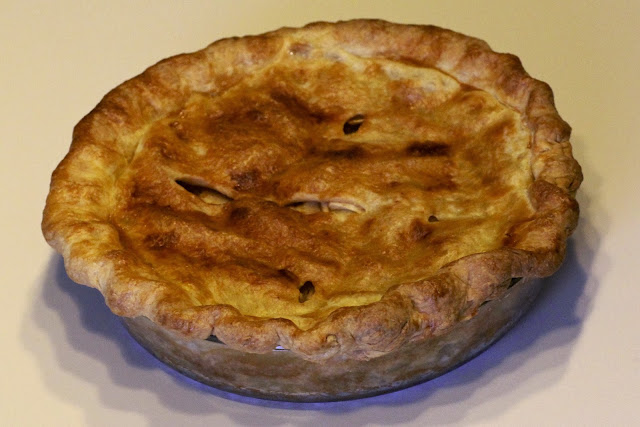
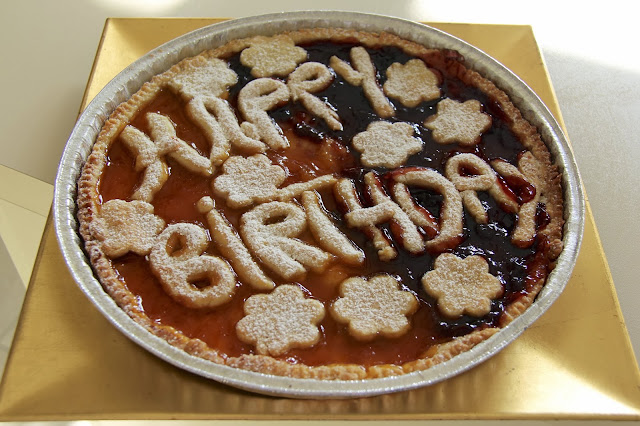
When we had finally finished eating our dinner, it was time for dessert. Jen made a wonderfully American apple pie. Her cousins Alessandra and Giusi were surprised when she told them that she made her own pie crust from scratch. When they tasted it, they both immediately asked for the recipe (which secretly filled me with pride for my wife). Giusi was so cute, she literally took out a notepad, ready to write – Jen had to promise to work on the measurement conversions and translation and email it at a later date. Equally as impressive was the torte (pie) that Alessandra made. Jen’s birthday had just passed and so she added a surprise element to the dessert. It tasted every bit as good as it looked.
Jen’s apple pie
Alessandra’s torte
I have to say – Jen’s first Thanksgiving Dinner was A-M-A-Z-I-N-G!! There were no hiccups, very little stress and it was absolutely delicious!
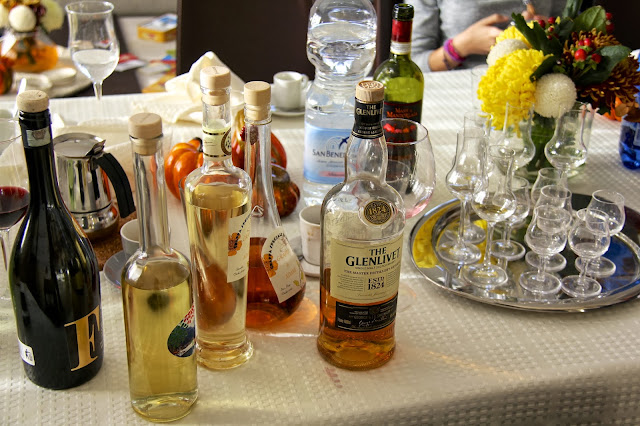
Of course, we finished the day off with grappa and whiskey and the most important part of Thanksgiving… a game of football on the television. Only, it wasn’t a game. It was a match. And it wasn’t football. It was fùtbol (soccer). Oh well, you work with what you’ve got.
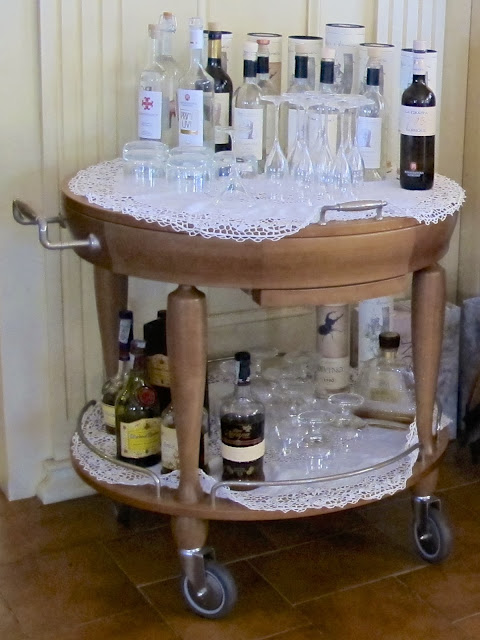
Our grappa and whiskey
Teenaged girls are the same in any country
Julia puts on a performance
Jen did Sara’s hair – I thought she looked beautiful
Soccer plays on the TV – not quite the football game I’m used to after a Thanksgiving dinner
I hope you enjoyed!
In case you’re interested in viewing the menu that Jen created, I copied and pasted her menu (and then, without her permission… her outline)! Shhhh, don’t tell.
I know this is Jen’s Kitchen, but I’m sorry to report that you’ve got me (Greg) writing this one. This area of the blog is Jen’s domain – but she was having trouble getting her writing juices going, so I offered to give her a hand (her timing in the kitchen may be pure perfection, but if I don’t get this post going, it’s sure to be over-cooked).
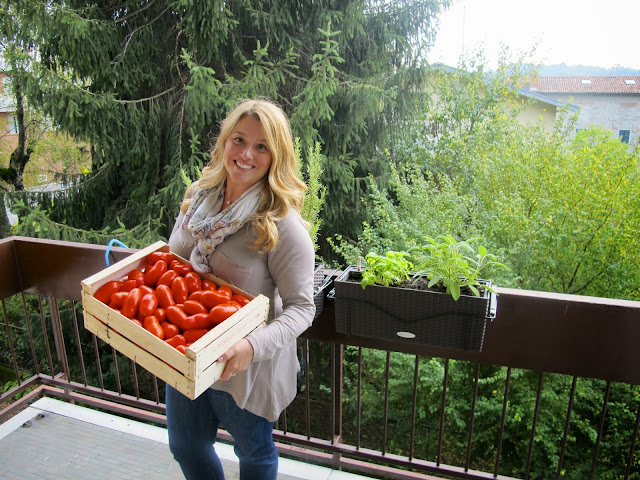
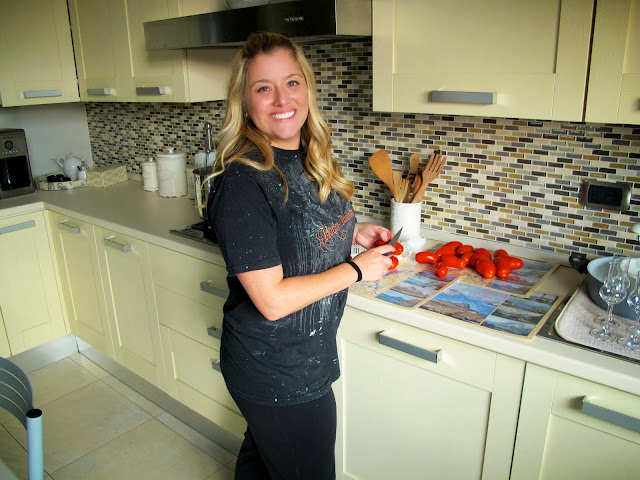
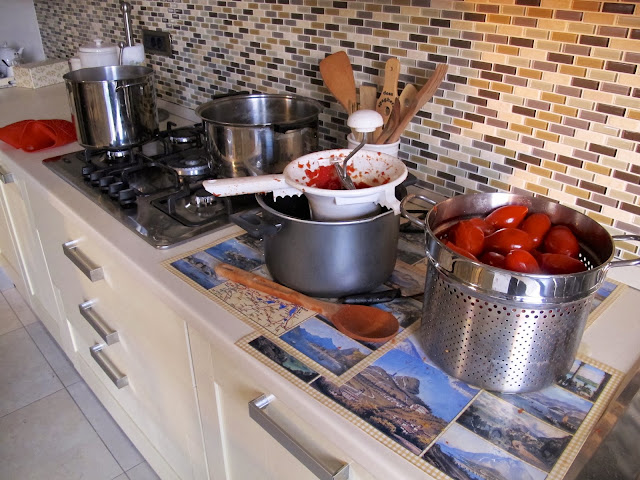
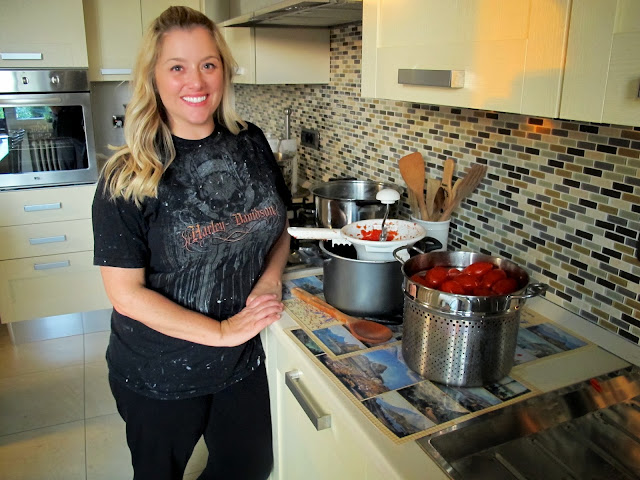
Jen shows of her tomatoes
I may not know a lot, but I have learned two things while living in Italy:
First, every home has two types of olive oil. They all have the generic store bought one (that’s still delicious) for cooking and salads as well as the “special” olive oil that is pressed by someone’s nonno in some small town in the mountains somewhere…
Second, (along the same vein) every home has homemade passata (tomato purée) that is either fatto in casa (made in house) or gifted by a friend of family member. Why the homemade passata, you ask? And what the heck is passata to begin with?! Well, let’s travel back several thousand years to a time when food was seasonal, fresh and delicious. In the time of the ‘hunters-gatherers’ people would eat whatever they could get – whatever was walking around and growing nearby that time of year. They quickly learned that proper storage of proteins (those delicious saber-toothed tigers) was an important part of surviving the winter. Fast forward to the early 19th century and technological advances allowed people to store fresh vegetables alongside their meat and fish. Since Italians love to cook with fresh, unaltered flavors – the benefit of having access to tomatoes year round was paramount. Grazie, Louie Pasteur for your contribution to Italian cuisine. So, the passata that we are talking about, is simply a puréed tomato that is jarred and stored in the cupboard for use throughout the winter.
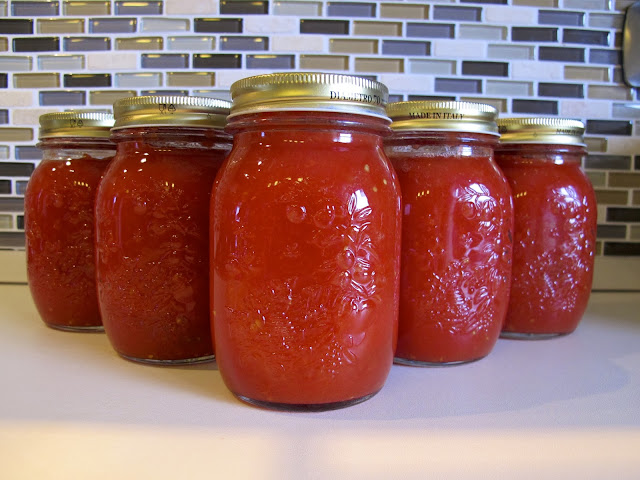
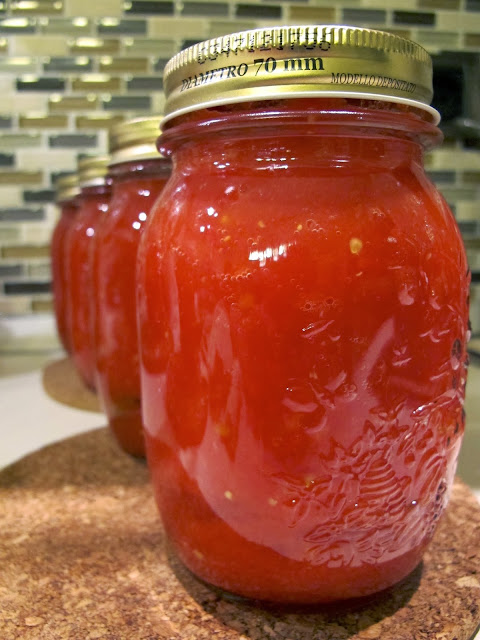
Our freshly jarred passata
Many recipes call for a tomato purée including soups, stews, sauces and dishes that require a tomato flavor (Jen’s easy and delicious marinara recipe). Most of the tomato purée sold in the US is processed and has a different consistency than passata. While that type of purée also has it’s purpose in Italian cooking, you can’t be without freshly jarred passata. At the end of the “tomato season” (early fall) all the grocery stores and fruit stands recognize this fact, and sell crates of San Marzano tomatoes for (in this case, we bought Roma tomatoes).
Here’s how you do it:
Equipment >Canning jars and lids (the ones that have the little “pop” and can be sealed)
>Several large pots
-One to boil the tomatoes
-One to puree the tomatoes
-One to boil the jars in order to seal them
>A passaverdura (vegetable mill)
>Funnel to pour the purée
>Kitchen dishtowels to separate the jars (in order to prevent breakage)
Ingredients
>The best tomatoes that you can find (Jen’s preference is San Marzano)
>Basilico fresco (fresh basil)
>Coarse salt (the kind you would use in pasta water)
*Note – the ratio of tomato to passata roughly 2 to 1 (so for 10lbs of passata, you’ll need 20lbs of tomatoes)
Get the freshest tomatoes you can find
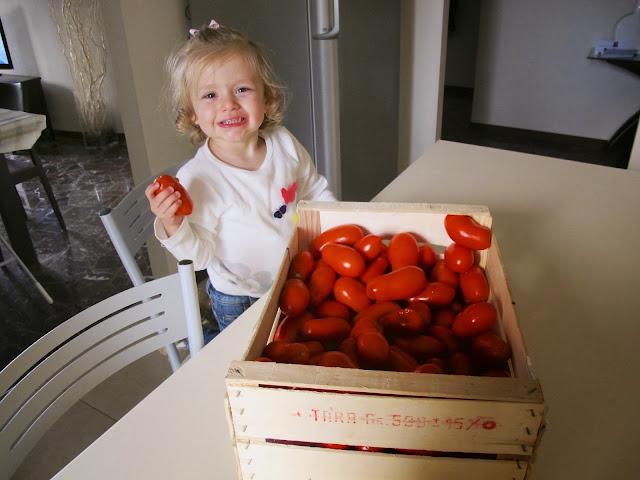
It’s always a benefit if you have a willing helper
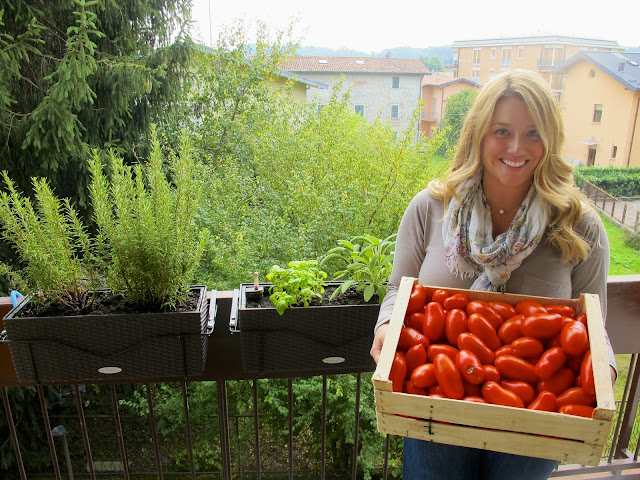
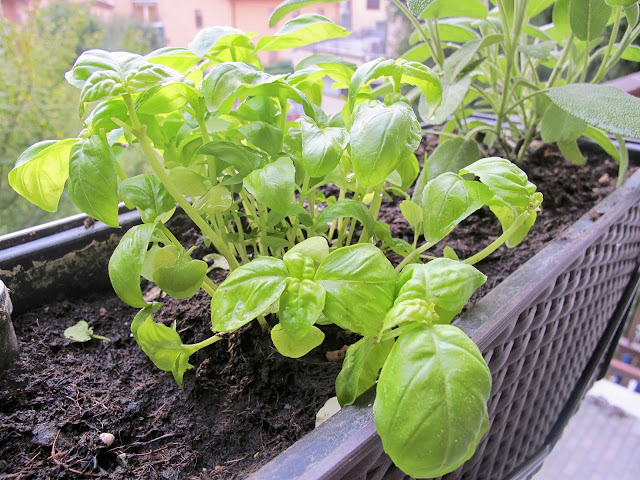
We have basil growing on our balcony
Steps
>Clean and sterilize your jars (run them through your dishwasher)
>Put on your husbands nasty old painting tee-shirt; you will get messy
Clean any bruised or damaged tomatoes
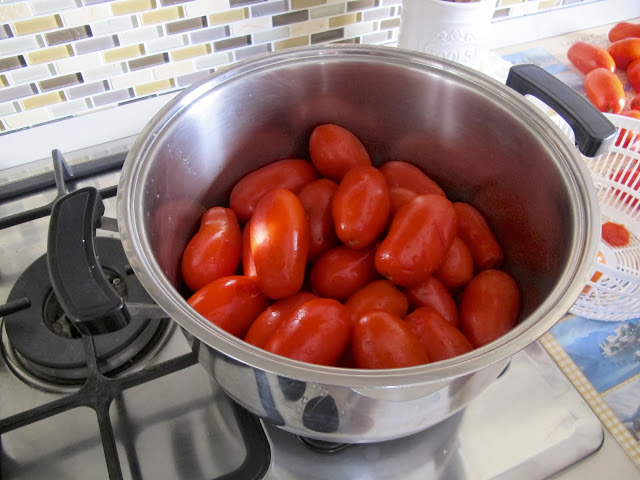
>Place the tomatoes in the pot, cover with water
Place your tomatoes in a pot and cover with water
>Add salt to the water (you’ll need 7 teaspoons of salt for 20 pounds of tomatoes)
>Cover pot and bring water to boil
>Once water boils, remove lid and let simmer for 15 minutes
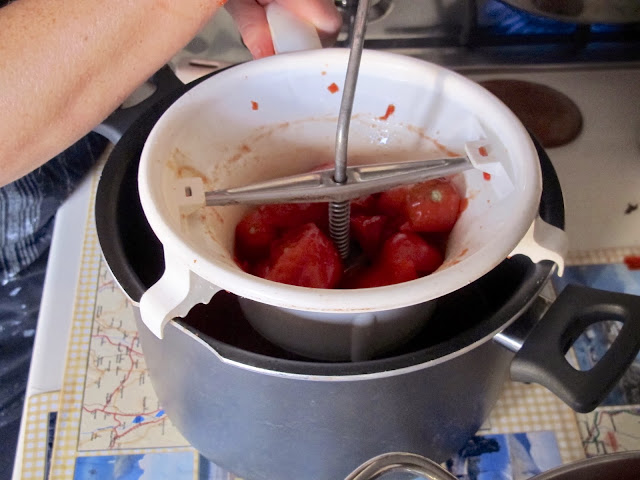
>Remove tomatoes and place into the vegetable mill (which will rest over another large pot)
Place the tomatoes in the mill
>Grind tomatoes through the mill, which remove the skins and seeds
You can see the entire station set up here – it’s quite the process
This one was a pro managing her assembly line
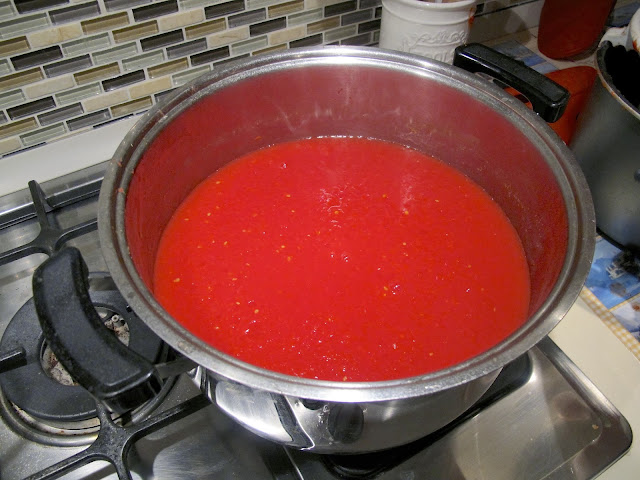
The passata once it has been strained through the passaverdura (mill)
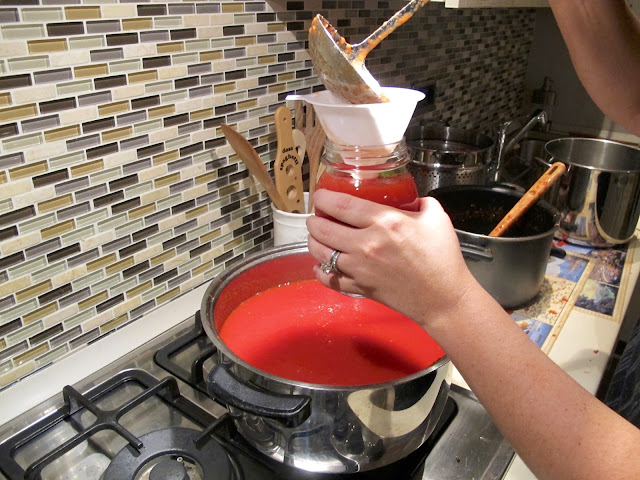
>Now you’re jarring begins – place 3 fresh basil leaf in the bottom of each jar and filter the passata through the funnel to the top of the jar
Pass the passata through the filter so that it all fits into the jars – leave about an inch at the top
If your husband is a dream and a catch wrapped up in a bundle of charm – maybe he’ll make you a snack
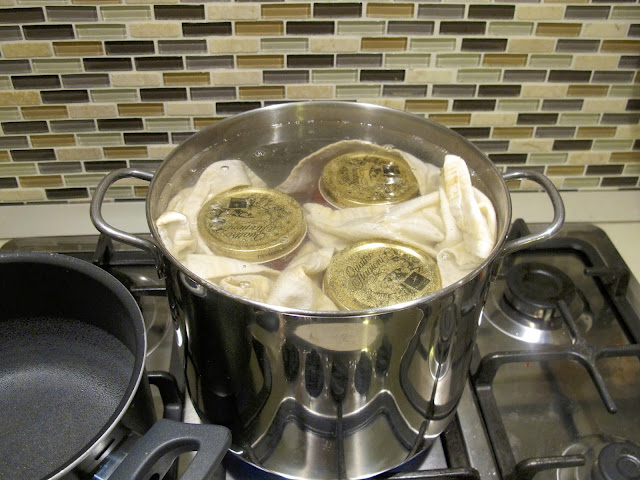
>Place a towel in the bottom of your third pot and place jars inside, separating by additional dishtowels. This will prevent breakage while working with a fragile medium
>Add enough water to cover the jars by roughly an inch (lukewarm water; cold water will cause the jars to break)
The simmering bottles, protected from one another by a dishtowel
>Simmer on a low boil for 45 minutes, removing once they are cool enough to touch
>Rest in a cool, dry place and leave them alone. The jars will create a vacuum seal within the next 12 hours. You can test the seal because the little “pop” in the center of the lid will “suck down”
You’ve done it! You have passata
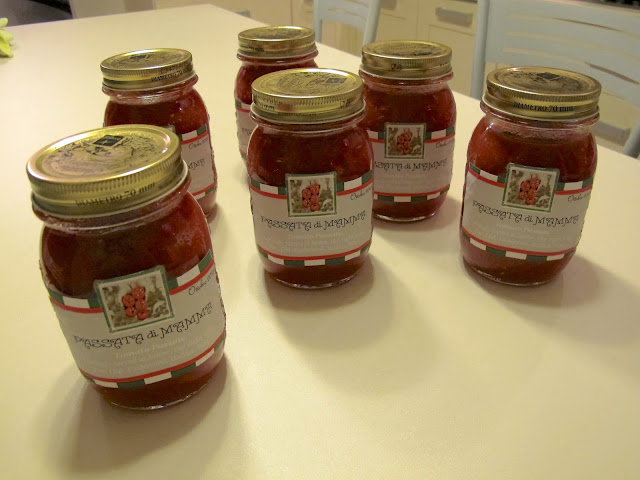
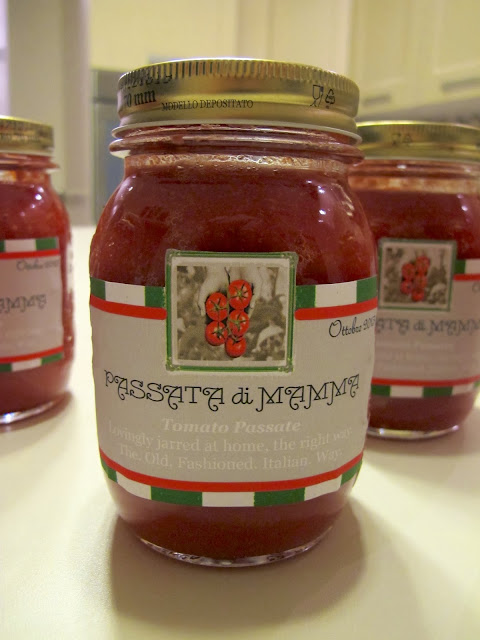
Congratulations! You have just made genuine, Italian passata! One last step is to have fun creating your own labels. I made these for Jen at the same time I made our grappa labels. Do you like them?
Have fun – add some custom-made labels
Come have some of our “Passata di Mamma” – we would love to make some sugo for you
Let us know if you try this and have the benefit of enjoying fresh tomato passata all winter long!
Before Jen blindsided me so many months ago with the suggestion that we move to Italy, I never thought I would know how to make grappa. Honestly, I never thought that I would ever even like grappa! But like so many other things I swore I’d never change about myself, living in Italy has transformed that part of me (keep an eye out for me sporting a “puffy” coat this winter – a style I hated when I first moved here and now think is the coolest thing to come of the runways of Milano).
A selection of grappa offered in a restaurant in Lago Maggiore
Grappa is an alcoholic beverage that is served in Italy as a digestivo (digestive) after a meal. We have learned that Italians take the digestion of their meals very seriously and have structured the order of eating in such a specific way as to aid in the digestion. A full blown Italian meal will include the following:
You’ll notice that you’ll begin with the antipasto as a medium to enhance the appetite. The pasta course lays the “foundation” for the meal and acts as a base (note: when served as a primo, you should only serve roughly 80 grams of pasta). Next you’ll move onto your main dish and vegetables – the “center” of the meal. After that you’ll progress on to your salad (as opposed to having the salad first) because Italians believe that finishing your meal with the light and refreshing salad helps aid in digestion (add this to the list of things that I’ve changed in my daily life). Finally, the dessert rounds out the meal and the coffee always comes last. But when you eat like this, you’ll need one final component to assist in proper digestion – your ammazzacaffè (coffee killer). In many cases, this will come in the form of a grappa.
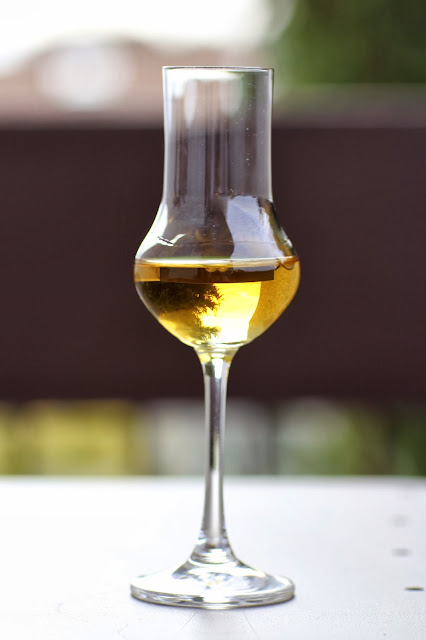
A glass of my favorite grappa in a proper bicchierino (small glass)
I have had the good fortune to have visited Italy many times before moving here, so grappa was not foreign to me. I’d choked the stuff down on many previous occasions, admitting to the table that I wasn’t a fan – but not leaving a drop behind, lest my manhood be challenged. However, somewhere along the way I have not only grown accustomed to drinking grappa – I have become quite the fan. I seldom finish a heavy meal without a grappa and I would be lying to you now if I didn’t tell you that I am presently sipping a nice Grappa Casereccia as my fingers glide across the keyboard (the same grappa pictured above).
The only thing better than drinking grappa is making your own grappa. You see, while the distilling process of grappa is more or less the same, the taste can vary greatly between types (grappa is made by distilling the skins, pulp, seeds and stems left over from the winemaking after pressing the grapes). The quality of grapes used, the specifics within the distillation process and any additional processes can alter the flavor of the grappa.
Claudia (Jen’s aunt upstairs) is fortunate enough to be from a region in Italy that [I personally believe] stands out above many other fabulous grappa-producing areas. She has brought back many different types for us to try and our liquor cabinet has expanded and contracted like the aged wood of the barrels themselves. In addition to supplying us with some of Belluno’s best grappa, she has an incredible knack for making her own. She taught us her secrets and now I’m going to impart them on to you.
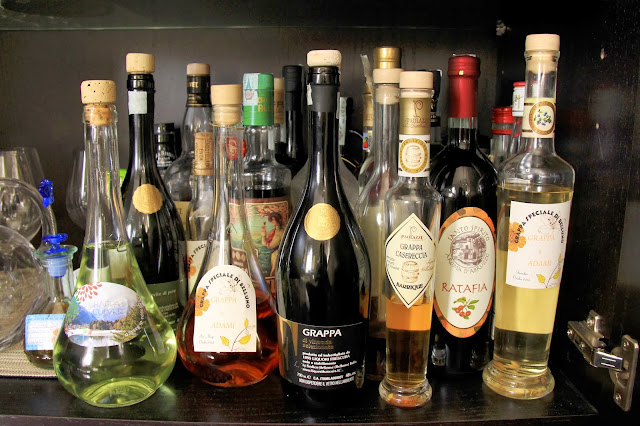
Our liquor cabinet – please don’t play “I spy” with how many bottles of grappa are in there!
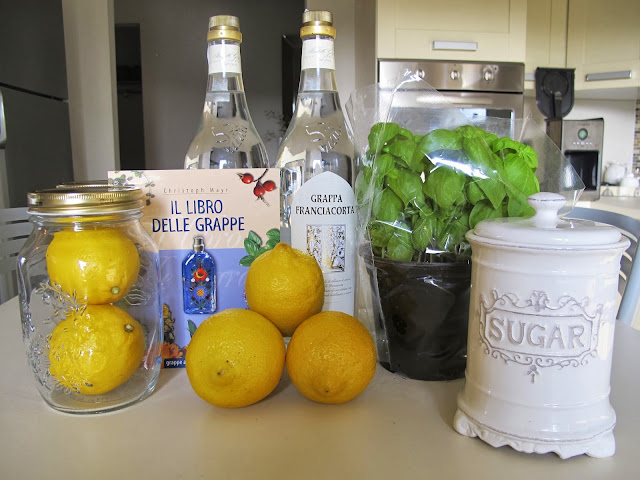
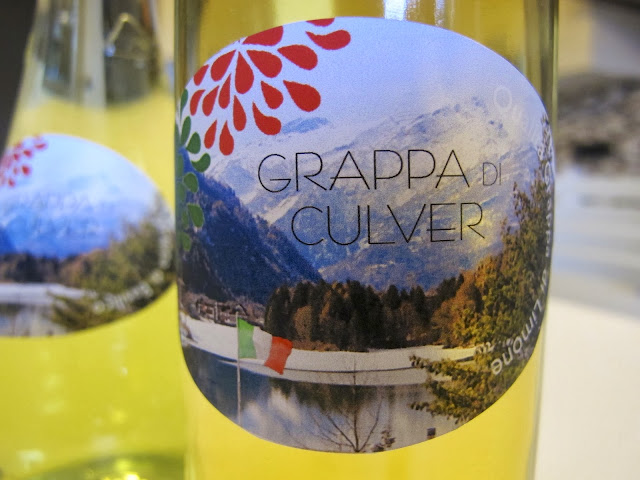
First, you start with a “white” grappa. This is a plain grappa that does not have any flavors and uses the traditional distilling process. Next, you pick your “flavor”. This can be anything from a melissa (a plant that tastes a lot like mint) to a pino mugo (a small pine-cone unique to the Dolomites). For our first batch of grappa, Jennifer selected basilico (basil) and limone (lemon).
The ingredients
BASILICO (BASIL)
Ingredients
>1 liter of grappa (white)
>20 leaves of fresh basil
>Lemon peels
Preparation
>Place the grappa into a jar
>Add 10 unwashed leaves (if the plant is dirty, wash and let dry)
>Leave the liquid for three weeks in a warm place, not exposed to the sun
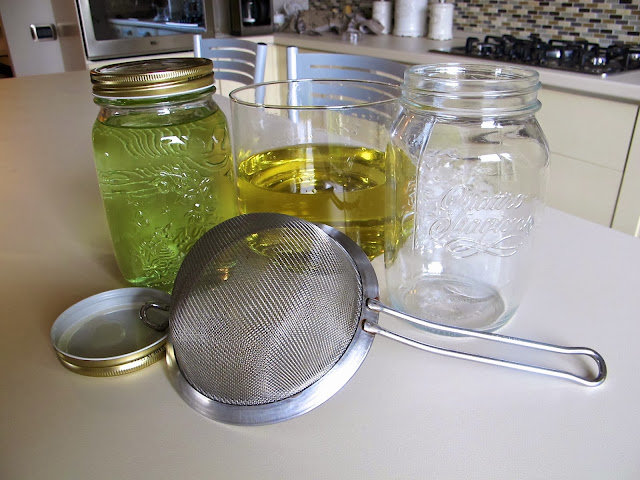
>Filter the basil and leave for another three weeks with remaining leaves
Note: basil is particularly suitable to be combined and to macerate together with other fine herbs
LIMONE (LEMON)
Ingredients
>1 liter of grappa (white)
>Lemon peels of two lemons
>6 leaves of sage
>2 cloves
>1 tablespoon of sugar
Preparation
>Add all the ingredients of the grappa in a jar and leave in a hot place for two weeks
>Shake the bottle occasionally
>Filter and leave for another four weeks
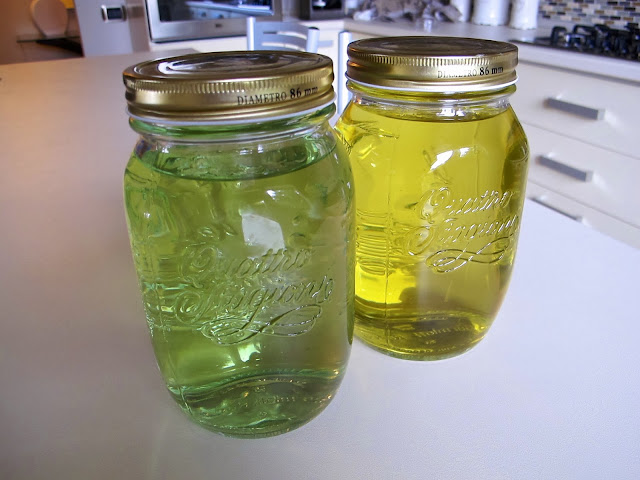
The jars after the filtration process
Now that they’ve been filtered, they’re set to rest a little longer
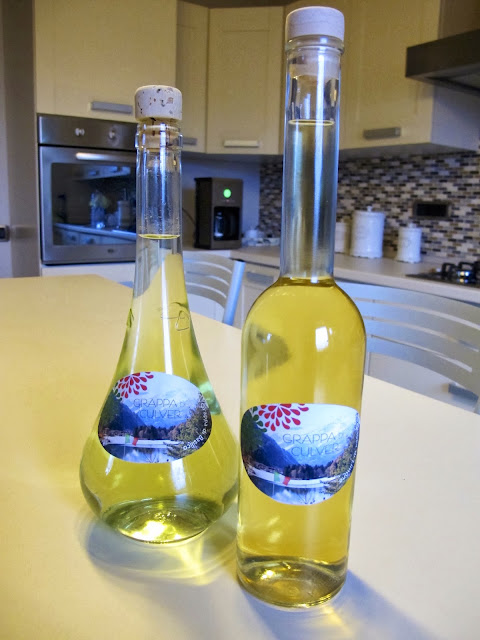
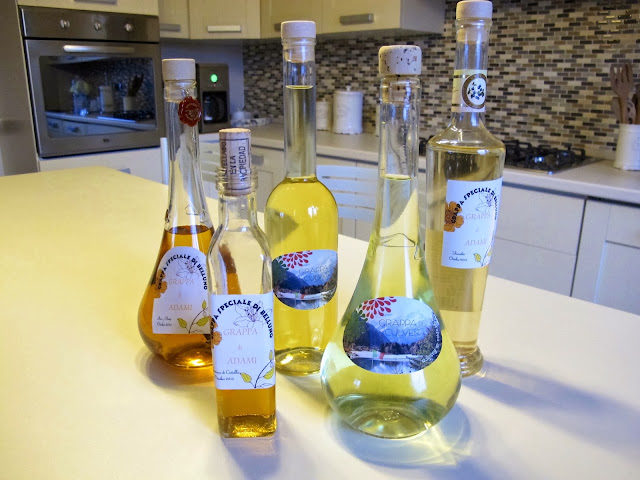
Once complete, pour contents into bottles of your choosing (in our case, old grappa bottles)
If you really want to get nutty, make custom labels
Claudia was simultaneously making grappa of her own and gifted us many bottles (hers was better)
I hope that you’ve found this to be informative and fun. Making grappa is not the hardest thing in the world, you just need some time and access to good grappa (admitadly, we did chose two of the easier recipes). If you end up trying it at home – let me know. And if you haven’t tried grappa yet, eat a big meal and have a sip. You may be cursing me as the first taste burns your throat, but thanking me as it frees open your full stomach.
I’ve got a lot I should be blogging about. Now that the spring flowers have arrived, I’ve decided Lake Como is one of the most beautiful places on earth. I’d like to feature the lake – specifically, downtown Como for you. I also need to do a piece on Alzate Brianza (the town in Como in which we reside). I would love to share with you images of our condo that we’re borrowing from Jen’s parents. If that’s not enough… we have had some wonderful experiences recently in Bergamo, Tuscany, Piemonte, Bellagio, Venice and more. And of course, we’ve had some incredible meals I’d like to showcase.
A scene in Tuscany – what I should be writing about
In order to share these stories I will need to take hundreds of new photos and sift through the thousands I have already taken. Then, I’ll need to re-create the stories and sprinkle in a bit of research about the towns.
Now, don’t get me wrong – I love doing this. And I love even more that we have both devoted and casual readers of our blog. A highlight of my day is getting a comment from a new reader somewhere in the world. But, I am feeling a bit overwhelmed by the sheer work of it all. I recognize that feeling stressed over such an unimportant task is comical. Or perhaps it just makes me look like an asino (you can translate that one on your own). But what can I say… I just want to do the best job I can.
So what do you do when you’re overwhelmed? Procrastinate, of course! And what can make you happy when you’re overwhelmed? Comfort food, of course! So this blog is a procrastination piece about comfort food!!
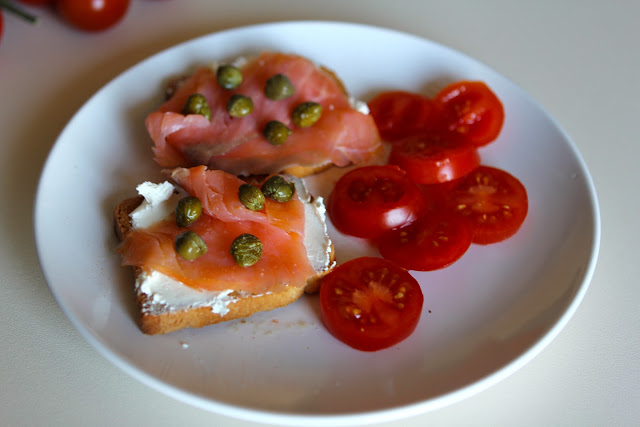
I wouldn’t necessary call bagels and lox your typical “comfort-food”, but it is a breakfast dish both Jen and I love. We’ve shared many wonderful brunches with this as the main course and loved every crunchy/creamy/slimy and flavorful bite. Plus, it reminds of us of home.
I was surprised to see how popular smoked salmon (“lox”) is in Italy. It is widely sold in the supermarket, with a vast number of brands jockeying for premium shelf space. Since breakfast in Italy is very light (usually just a few biscotti), once in a while we will get salmon to mix things up. However, a bagel in Italy is as non-existent as a Jew in Mississippi. So instead, we use toast points and occasionally add capers.
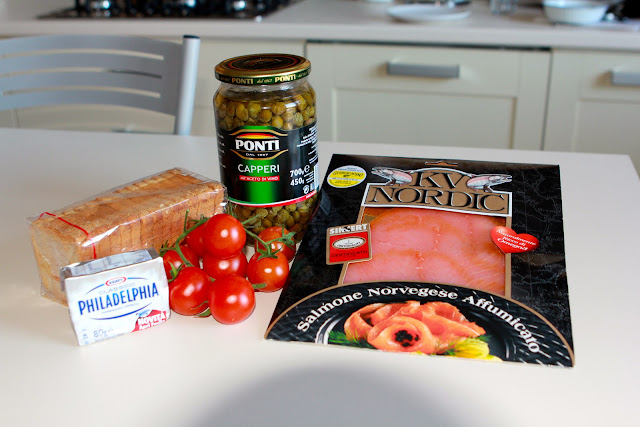
One day, we accidentally stumbled on all the typical ingredients (minus the bagels) and decided to go for it! So, here is our version of a “bagels and lox brunch, Italian style”.
All the ingredients, minus our “everything” bagels
The final product was quite delicious!
Now that I’m done procrastinating… I just feel more guilty than ever! Guess I should really get to work… but maybe I’ll just check out some new posts on 9gag first…
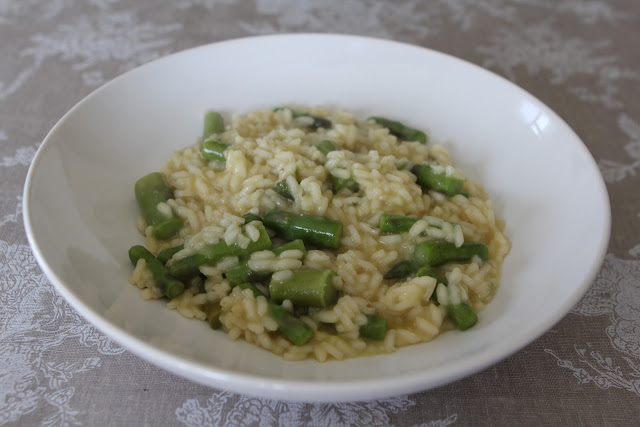
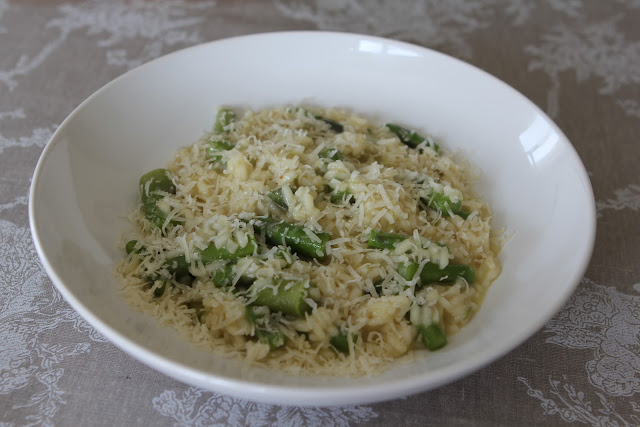
If you have never tried Risotto, I think it is a must. It’s delicious and a great way for us to change up lunch from our typical pasta dishes. Since this has been our first week of spring weather I wanted to make a spring risotto with beautiful seasonal asparagus.
Risotto with fresh asparagus
My mom used to make this for us a lot as a kid growing up in the spring and summer, so I was excited to make this for Greg and Julia. I was pretty happy with how this dish turned out. I served with a fresh salad of fennel and our meal was complete. Even Julia ate a huge plate. This dish is a great way to get kids to eat their vegetables. I hope to post some other risotto recipes soon (like pasta, there are many different ways to introduce new flavors). I hope your enjoy this as much as we did.
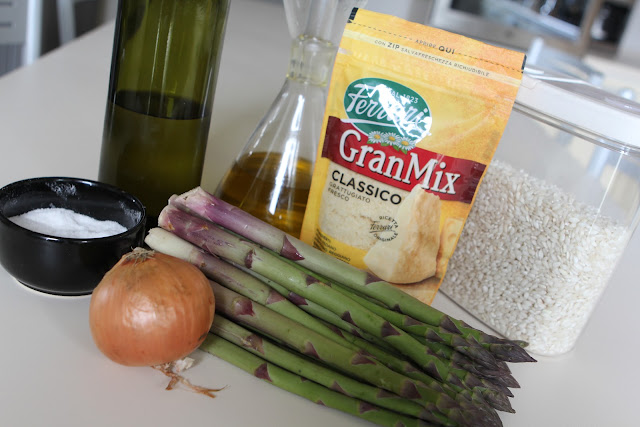
INGREDIENTS (serves 4)
>Olive oil
>One (1) small onion (diced)
>Four (4) cups of chicken stock
>Nine (9) palms of arborio rice (two palms of rice per person, with one extra for good measure). This is roughly two (2) cups of rice
>Two (2) cups of asparagus, pre-cooked (best to blanch to preserve color and texture). Cut into 1″ pieces
>Between half (½) and a full cup of white wine (depending on taste/quality of wine)
>Roughly one half (½) a cup of grated parmesan cheese and then additional cheese for the table and garnish
>Third (1/3) stick of butter
>Salt to taste
Fresh ingredients
>Heat chicken stock in a pot.
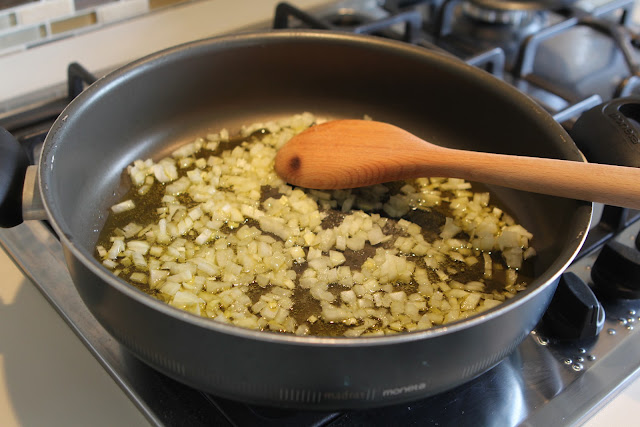
>On a separate burner, heat olive oil in a large flat pan with high sides. >Add onion until it is softened and translucent. While the onion is cooking, add a dash of salt. This could take a little over 5 minutes. Don’t allow the onions to brown.
Cook onions
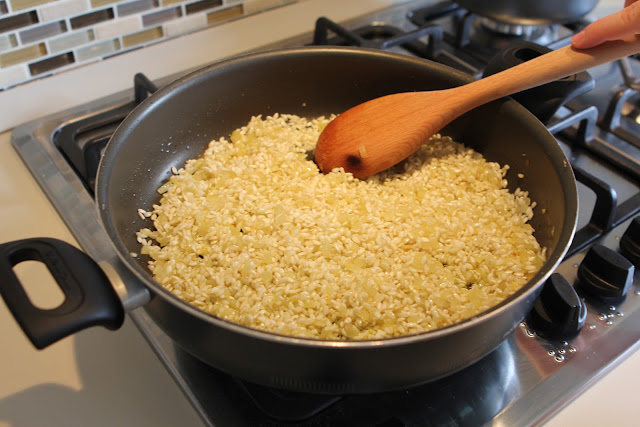
>Add the rice and mix together. Stir until the rice is toasted (but not brown) about three – four (3-4) minutes.
Add the rice and continue to stir
>Add wine and continue to cook the rice.
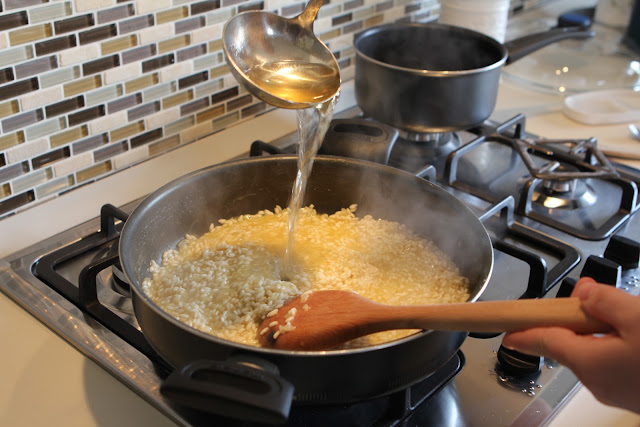
>After a minute, add a ladle or two of the stock, stirring the rice continuously until the liquid is absorbed.
>Continue stirring and ladling the broth for approximately fifteen (15) minutes. Be sure to taste as you go and add salt accordingly. The rice should be al dente and creamy.
Ladle in the stock
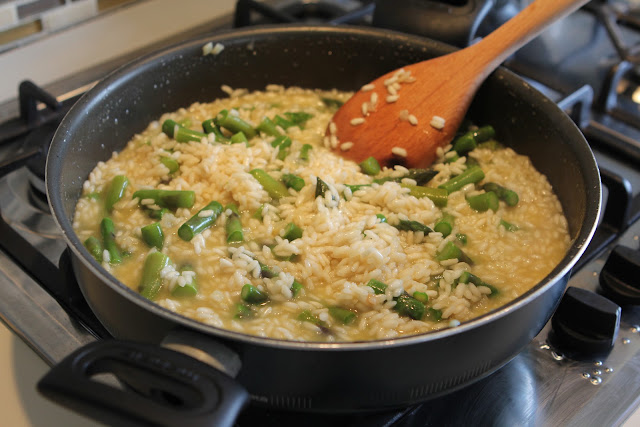
>Before you add your last ladle or two of stock, add the asparagus and stir into the rice.
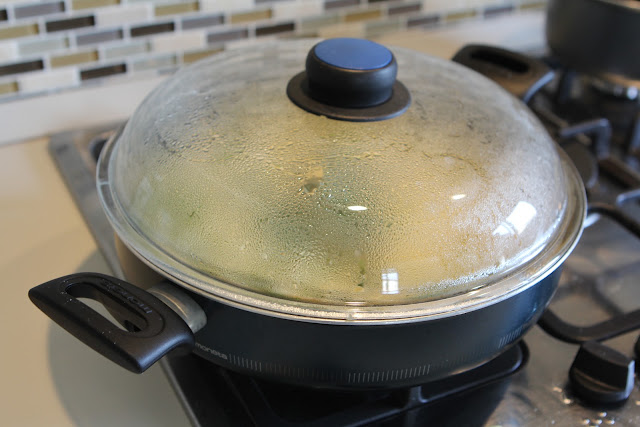
>Remove from heat and stir in butter and Parmesan cheese. Cover and allow pan to sit for five (5) minutes.
Add the asparagus…
…and cover
>Serve right away and top with fresh grated Parmesan cheese.
Enjoy!
PLEASE NOTE – Cooking risotto requires constant attention. Make sure the table is set and everything else you are serving is ready before you begin the rice. I have made that mistake before!
I recently realized that our “Home Cooking” section of the blog was growing the slowest throughout the entire site. I’m only partly ashamed to admit that the one consistent about our trip is that we’ve been indulging in some of the most amazing food we’ve ever had. However, my OCD recently kicked in when I noticed all our food posts landed in the “Restaurant” or “Jen’s Kitchen” sections. So, in an effort to right this wrong… here is one very memorable home-cooked meal we hosted a little while ago.
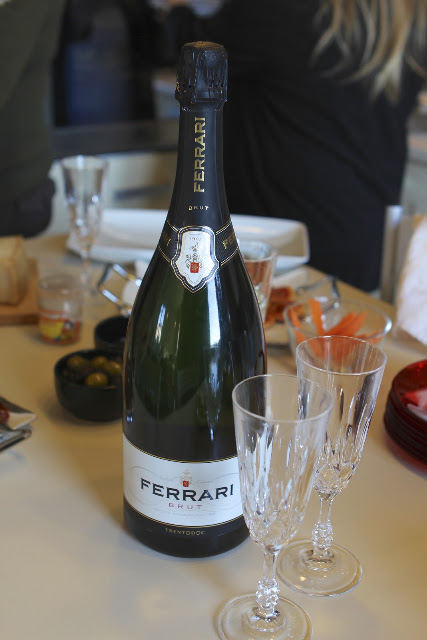
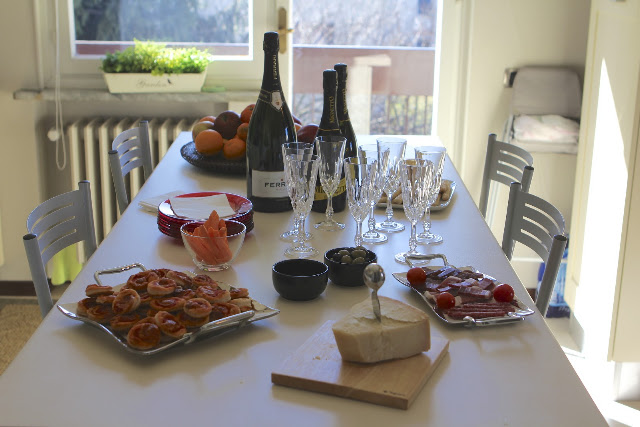
Eugenio brought a wonderful Champagne
Jen has a warm and wonderful family, with whom we love spending time. Recently, her cousin Eugenio drove from Torino to spend time with us and get reacquainted with Julia. He brought his lovely girlfriend, Barbara as well.
But enough jabbering… this post is all about the food and drink!
Let’s pop this cork and get the party started!
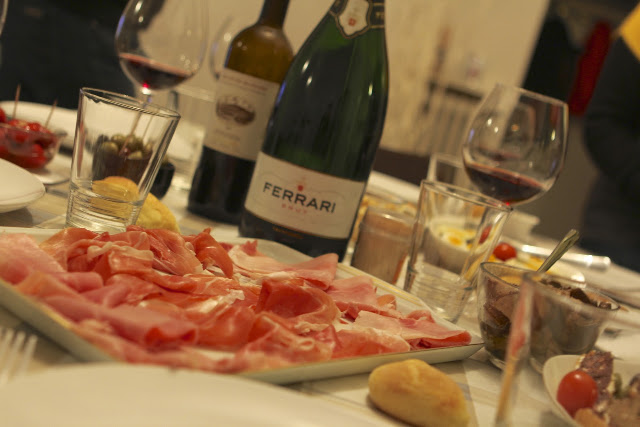
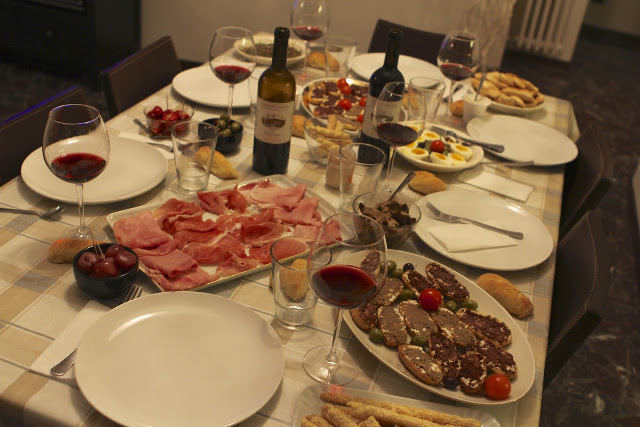
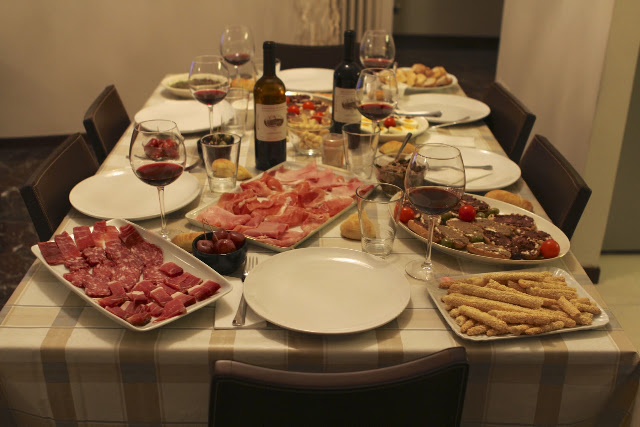
The night Eugenio and Barbara arrived, we set out a light dinner – just some typical Italian antipasti to nibble on, as well as some regional snacks we all like to enjoy.
Eugenio brought the Champagne
I think we’re going to need a bigger table
Oh wait, there was a free corner – let’s fill it with food
The next day, we had Jen’s cousin Massimo and his beautiful family over for a proper meal.
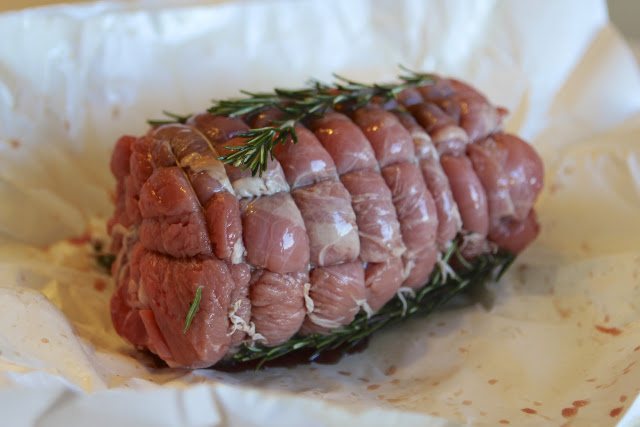
Vitello (veil) roast from our local butcher…
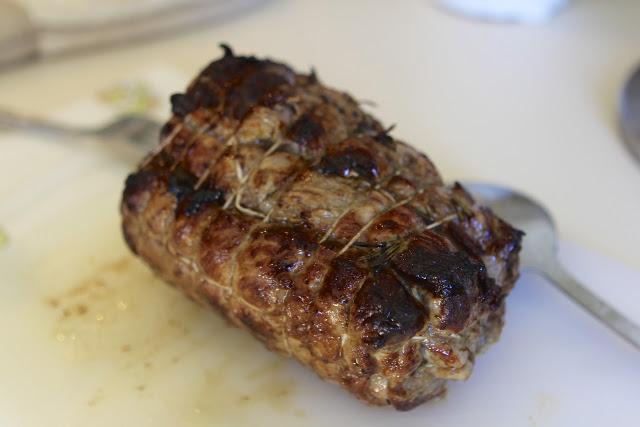
…after a nice sear
Antipasti for our guests
Claudia and Eugenio horsing around
Wait – who hit who?! Love both their expressions
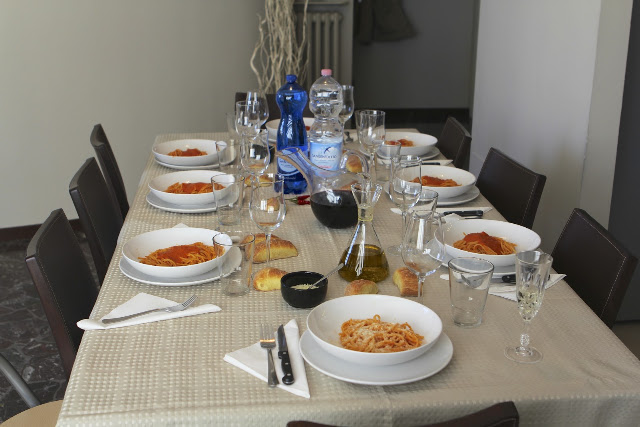
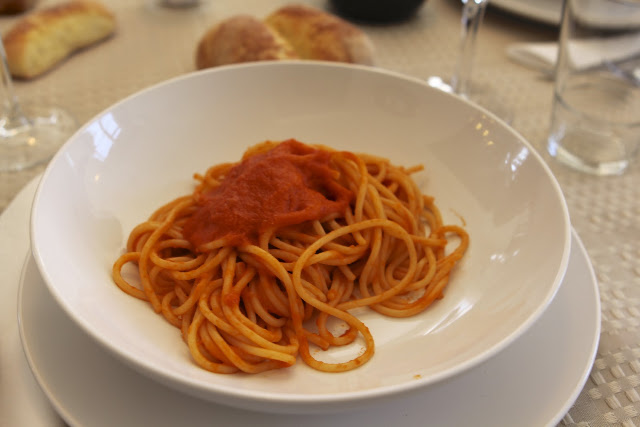
Jen made a delicious prima (first course) – pasta pomodoro
Yummy!
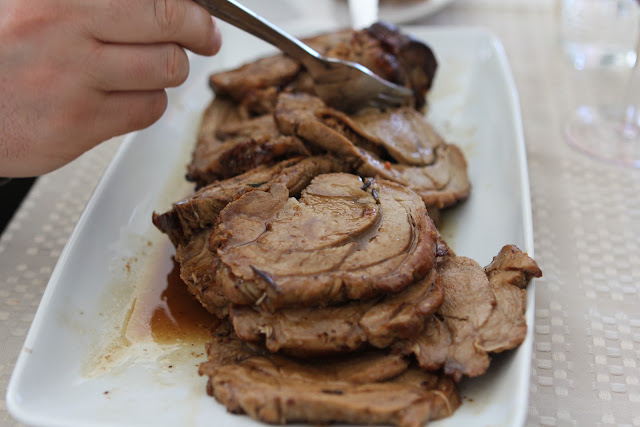
The secondo, our vitello (veil roast)
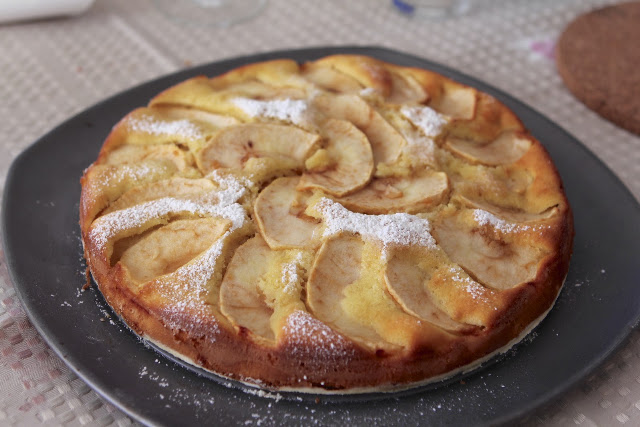
Alessandra (Massimo’s wife) made a beautiful torta
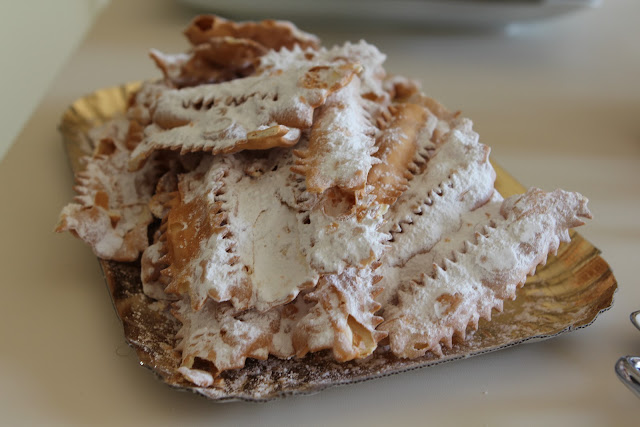
We picked up some chiacchiere
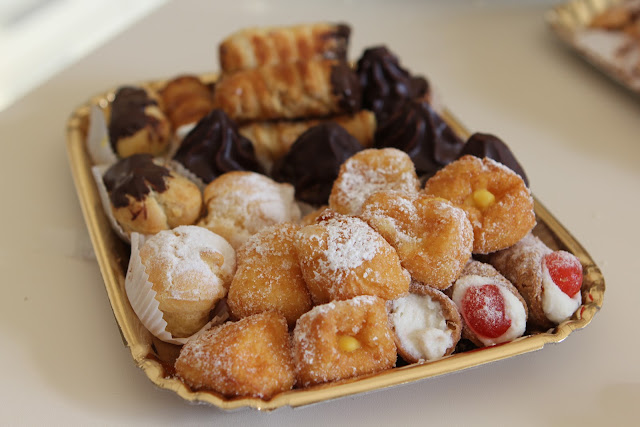
Eugenio got some additional pastries
Julia’s cousin Bea, enjoying her ice-cream
Julia stole a taste
Everyone was so stuffed we needed a break with some scotch
It’s not a party unless you serve a second dessert
It was a wonderful weekend filled with too many delicious treats. Hopefully you were able to enjoy as well.