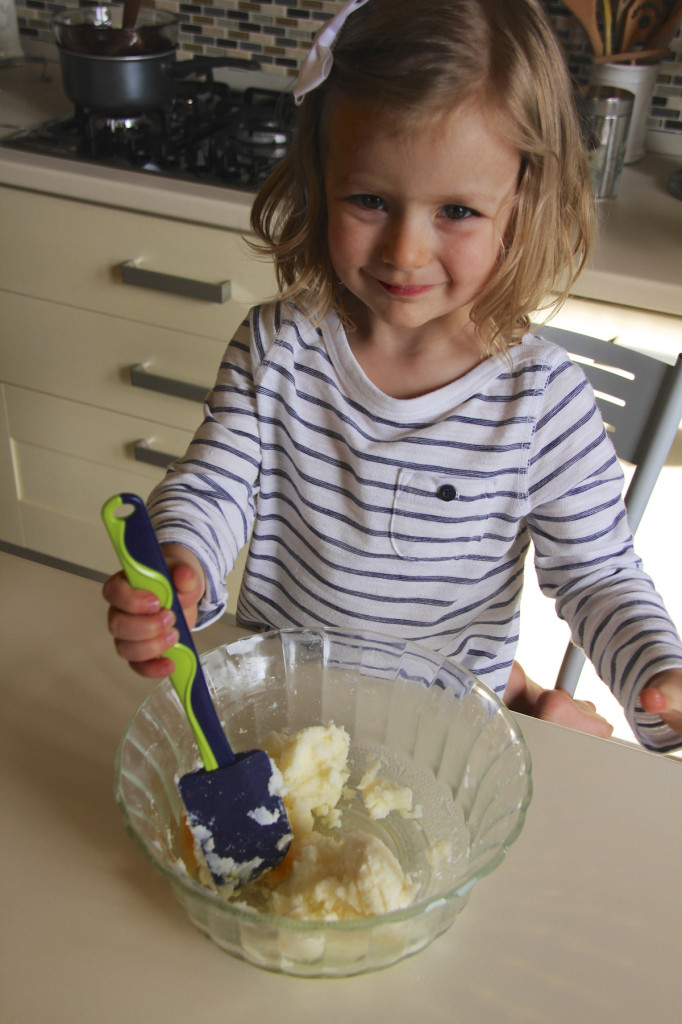
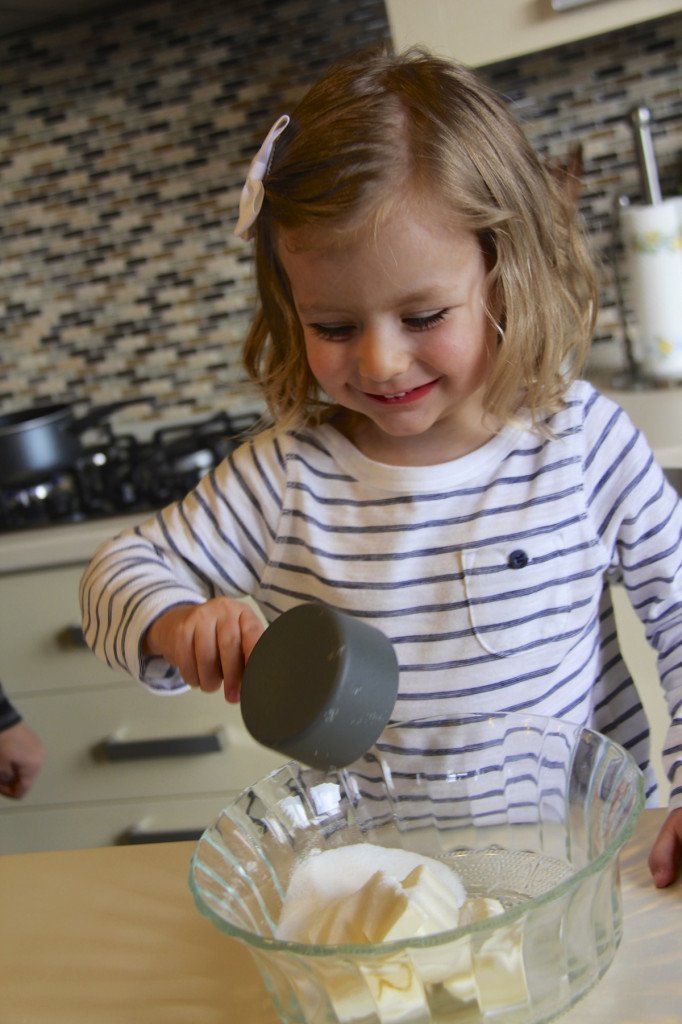
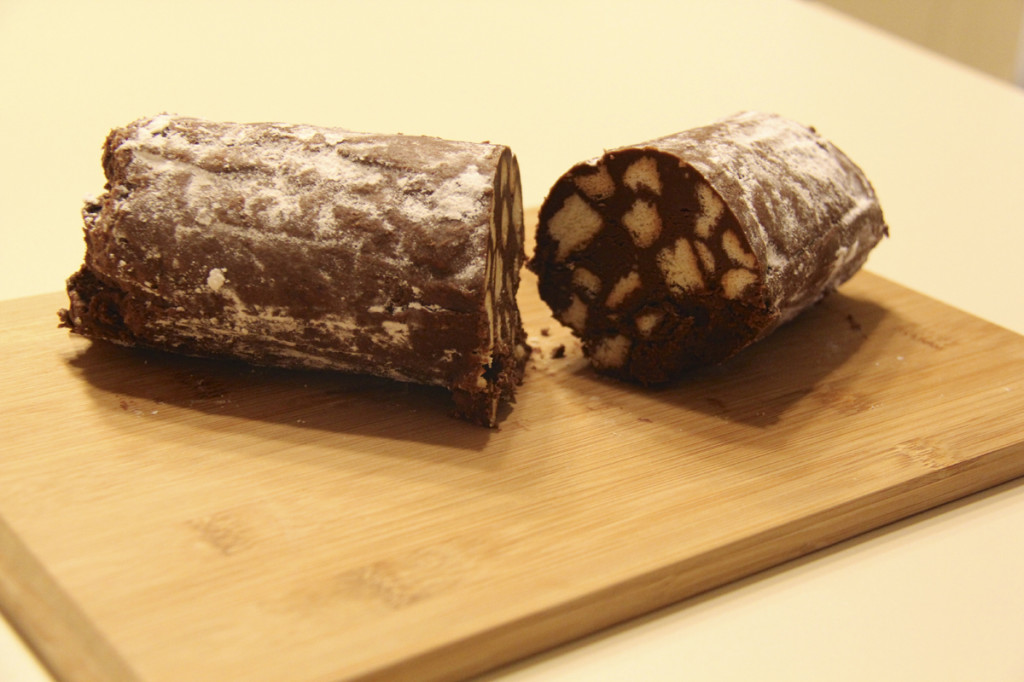
I had the pleasure of first sampling this rich and tasty dessert at a friend’s house over the holidays. After my first bite I was hooked and inquired after the preparation of the dish. Luckily, everyone here is happy to share their secrets and pass on tips. First, let me explain, chocolate salami is not salami at all (even though Greg wolfs this dessert down, he has a hard time getting past the name). This simple, no bake dessert only resembles salami. This Italian favorite was originally served around the holidays but now is acceptable any time of year. I think it’s the perfect dessert to serve while entertaining. The best part is that you can prepare it ahead of time and store it in the freezer.
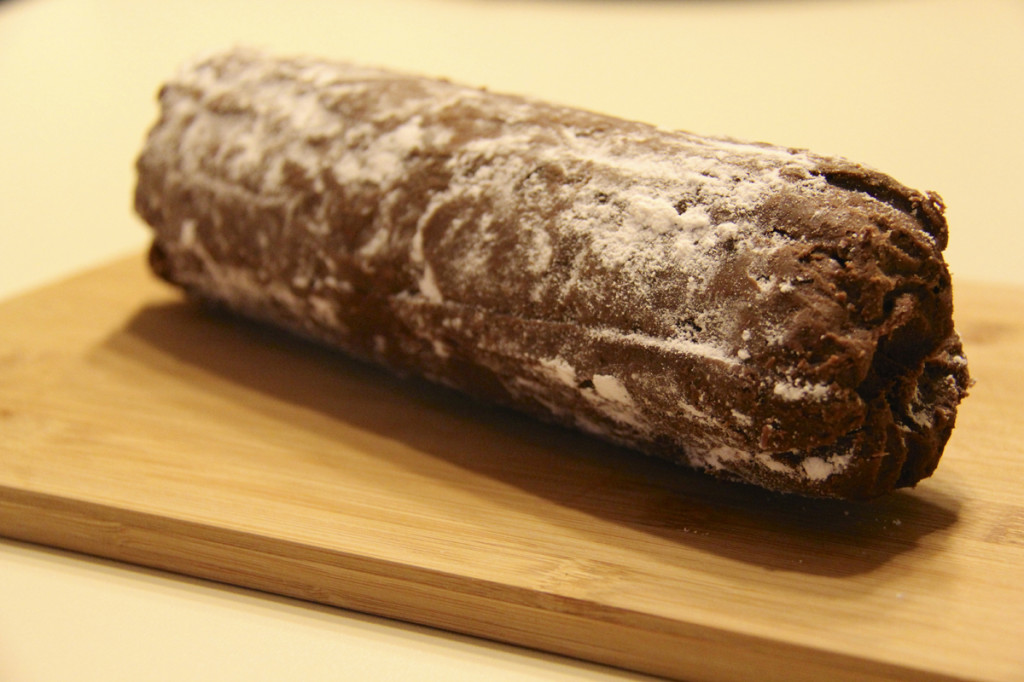
Voilà! A salame di cioccolato (chocolate salami)
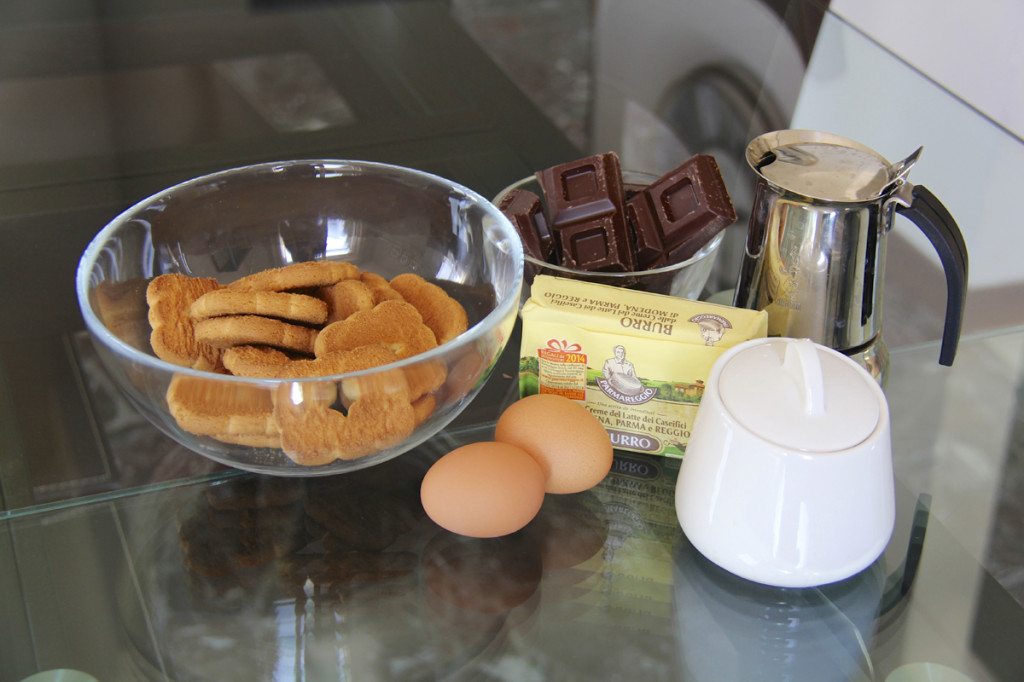
INGREDIENTS (serves 8 people)
>One (1) cup of biscotti or dry cookie broken into pieces >Eight (8) ounces of dark chocolate. I used 70% >One (1) stick of high quality butter, softened >Two (2) eggs, very fresh >Half (½) cup of sugar >Quarter (¼) cup, freshly brewed espresso >Confectioners’ sugar, as needed >Chopped nuts optional (I didn’t use them but I think I will try next time)
***RAW EGG WARNING. I have been told you can make this dish without using eggs but I haven’t tried this myself.
Your ingredients
DIRECTIONS
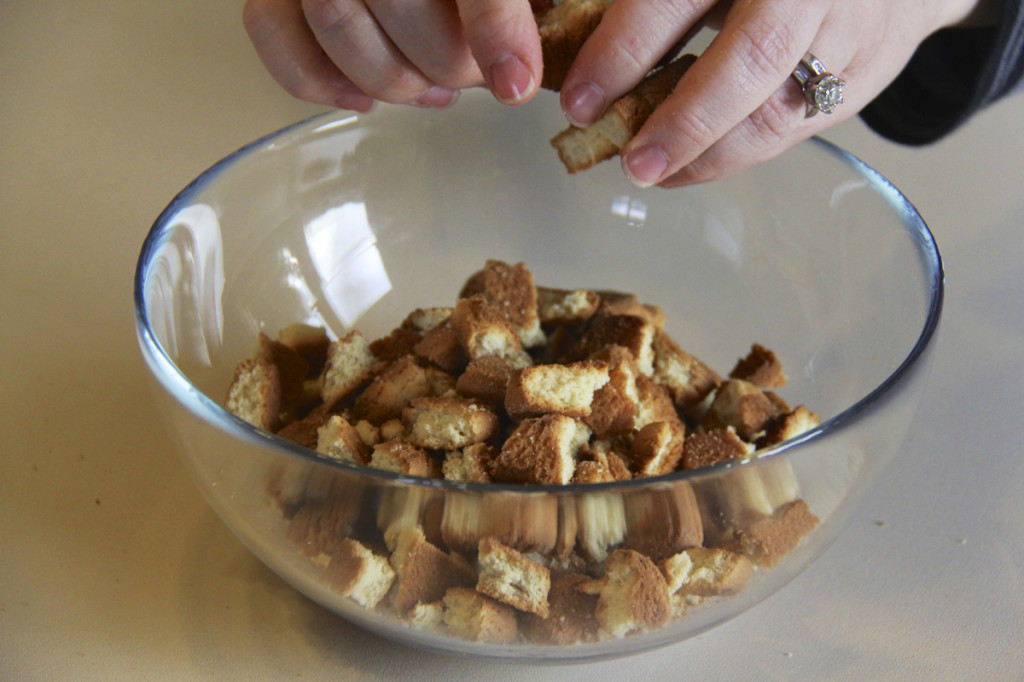
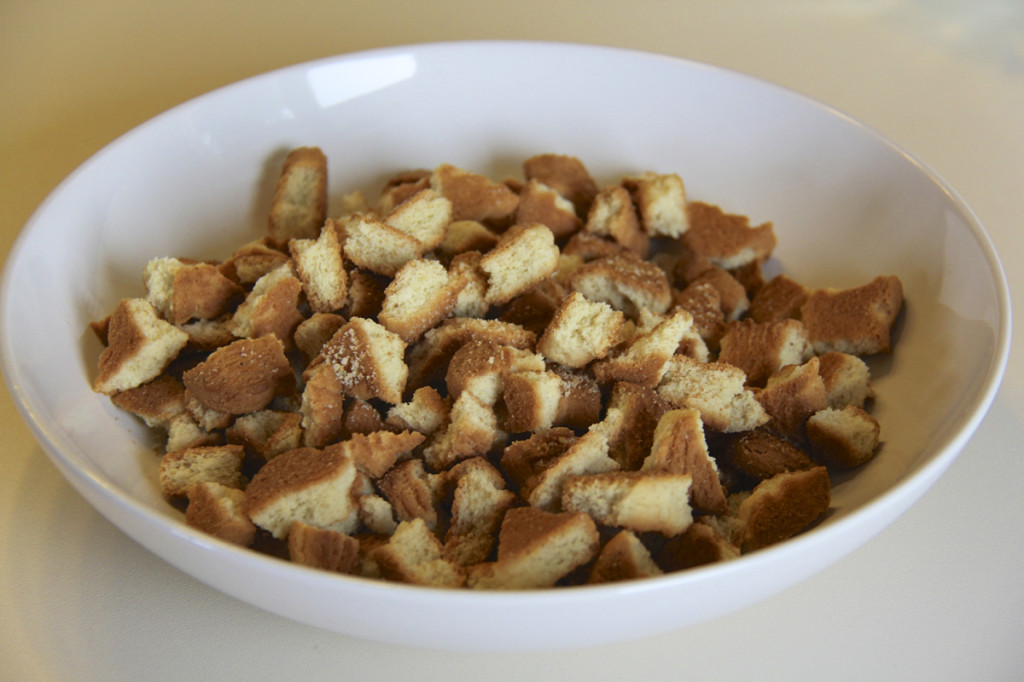
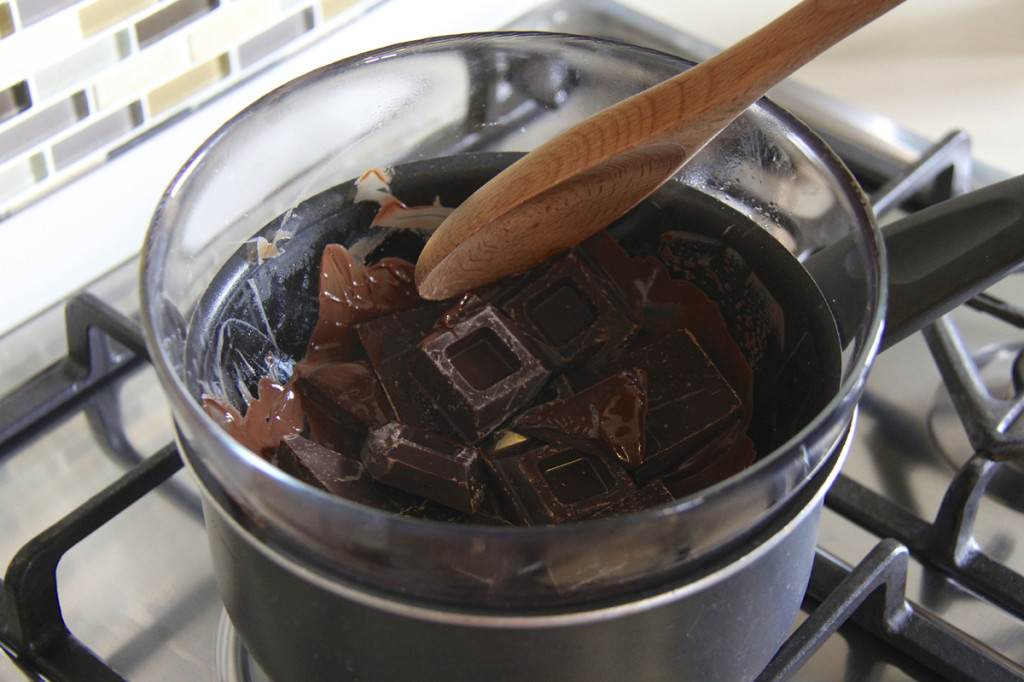
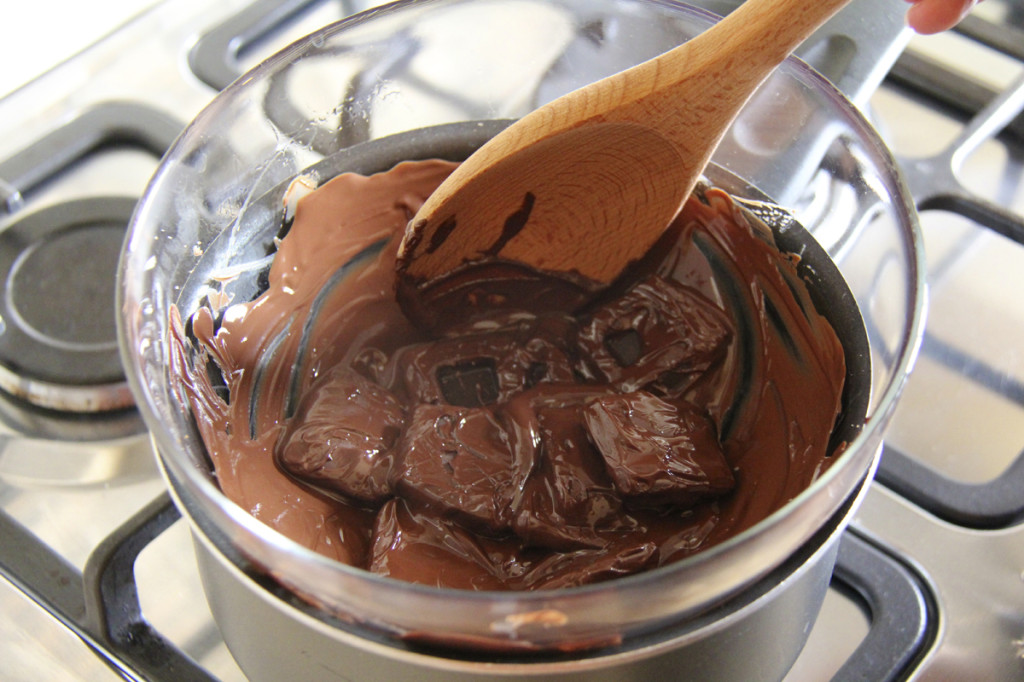
Begin by breaking up the biscotti and setting them aside. Melt the chocolate using a double boiler and stir until there are no lumps.
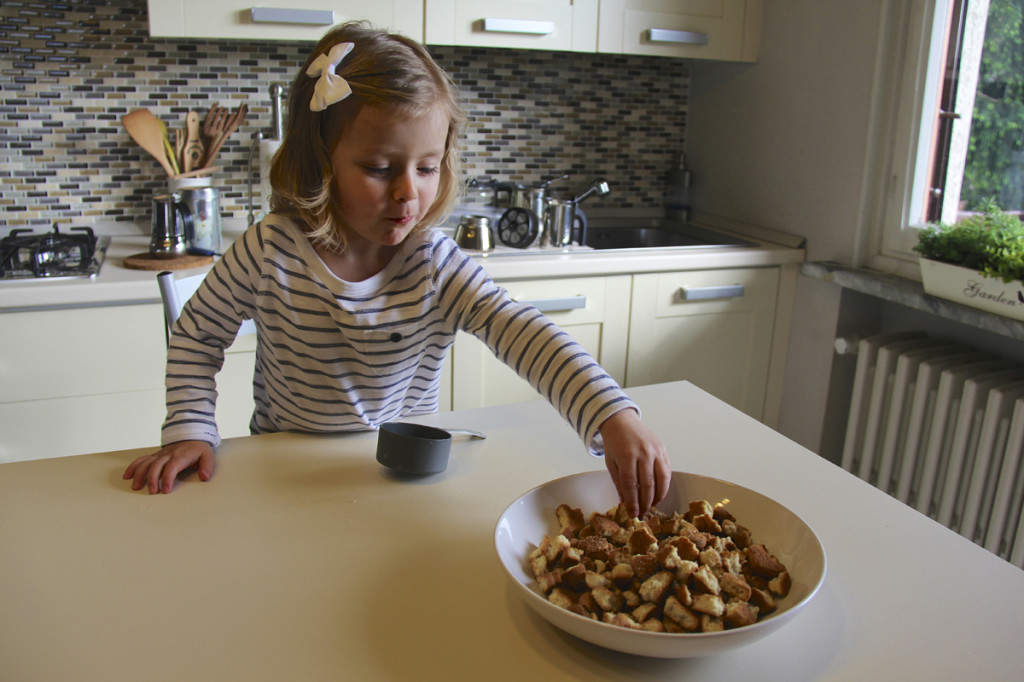
Break the bits of biscottiDon’t crumble them too much – they’ll need to represent the inside of a salamiTry not to lose any too many of your cookie crumbles in the processUse a double boiler to melt the chocolateThe double boil method is easy and brings the chocolate to a perfect consistency
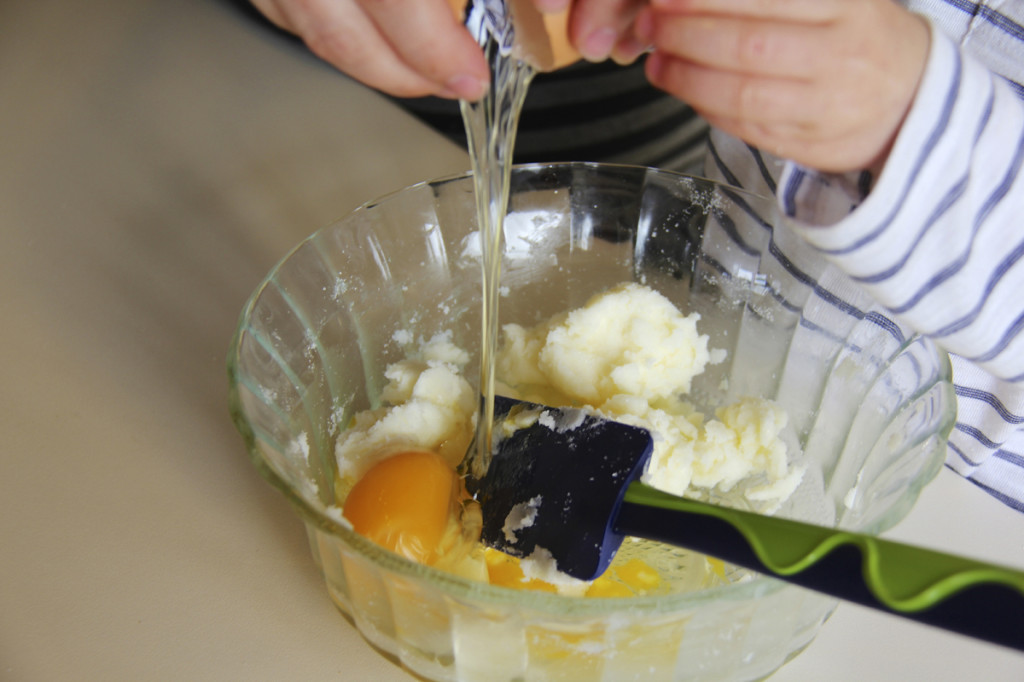
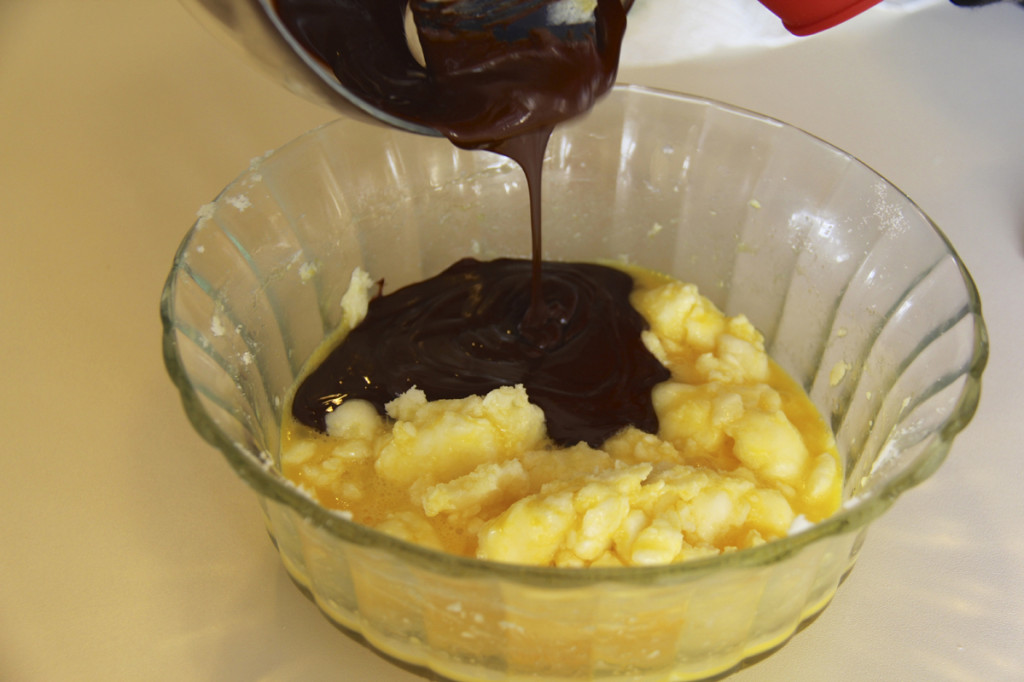
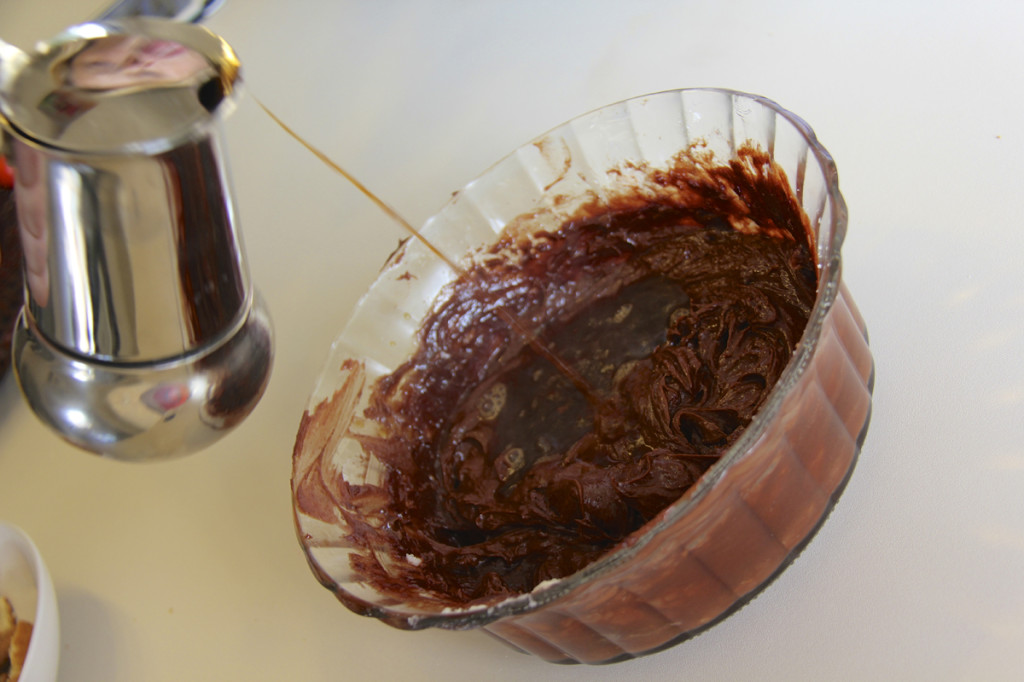
Stir butter in a large bowl. Continue stirring and add sugar and eggs. Once combined stir in the chocolate and add the espresso. Stir the cookies into the chocolate mixture until well combined.
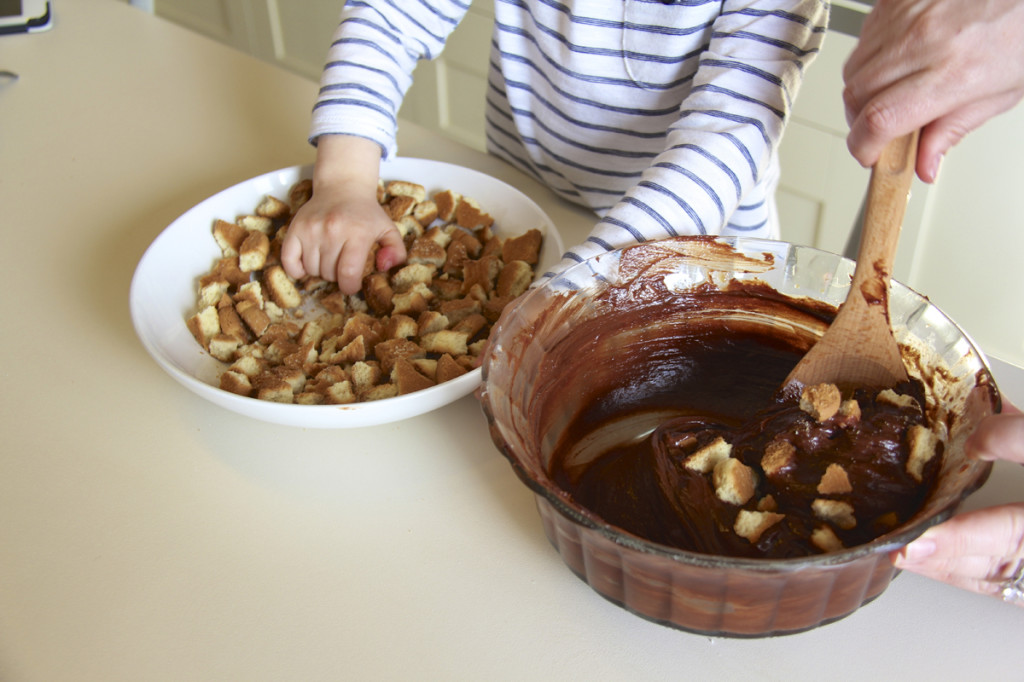
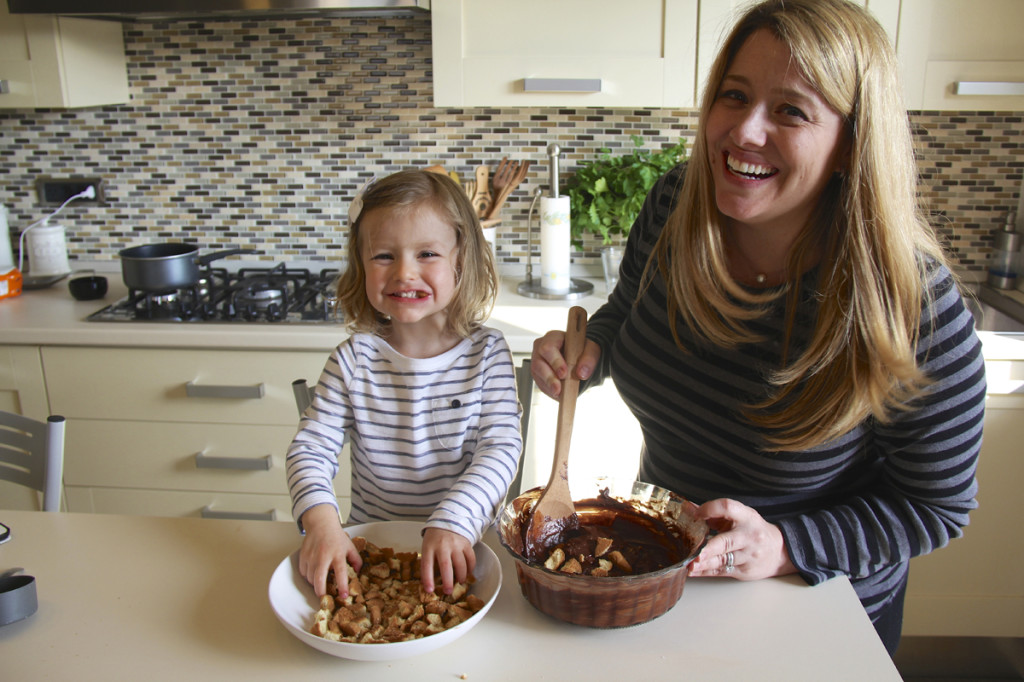
Combine the wet and dry ingredientsMix thoroughlyIt’s always nice to have a helping handAdd your chocolate and mix wellPour in the espressoSlowly combine your biscotti cookiesStir together and watch little “biscotti thieves”
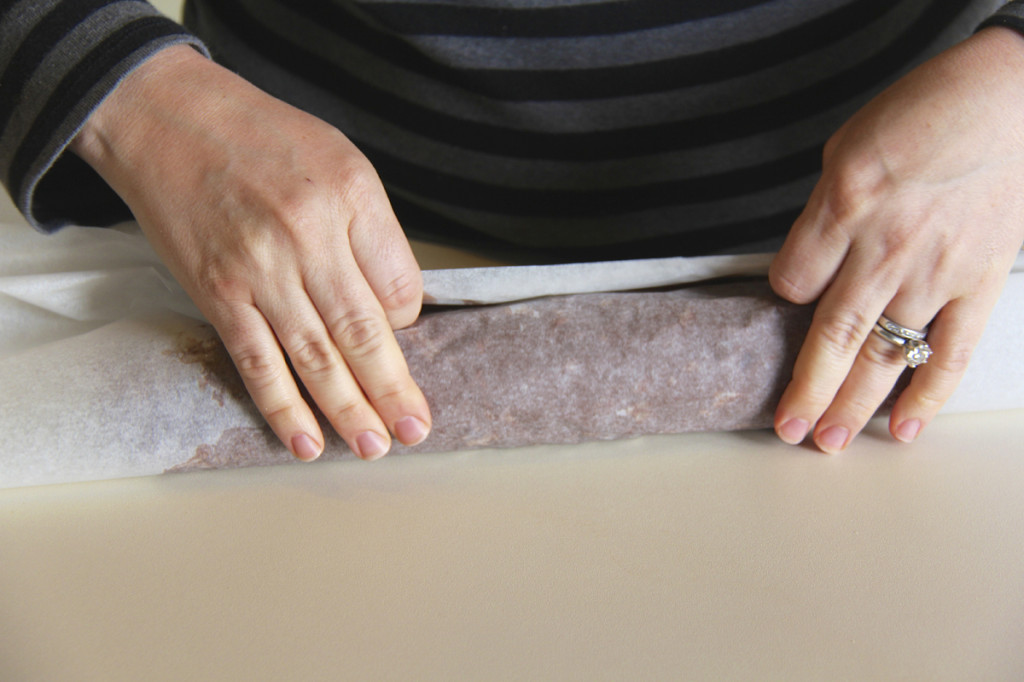
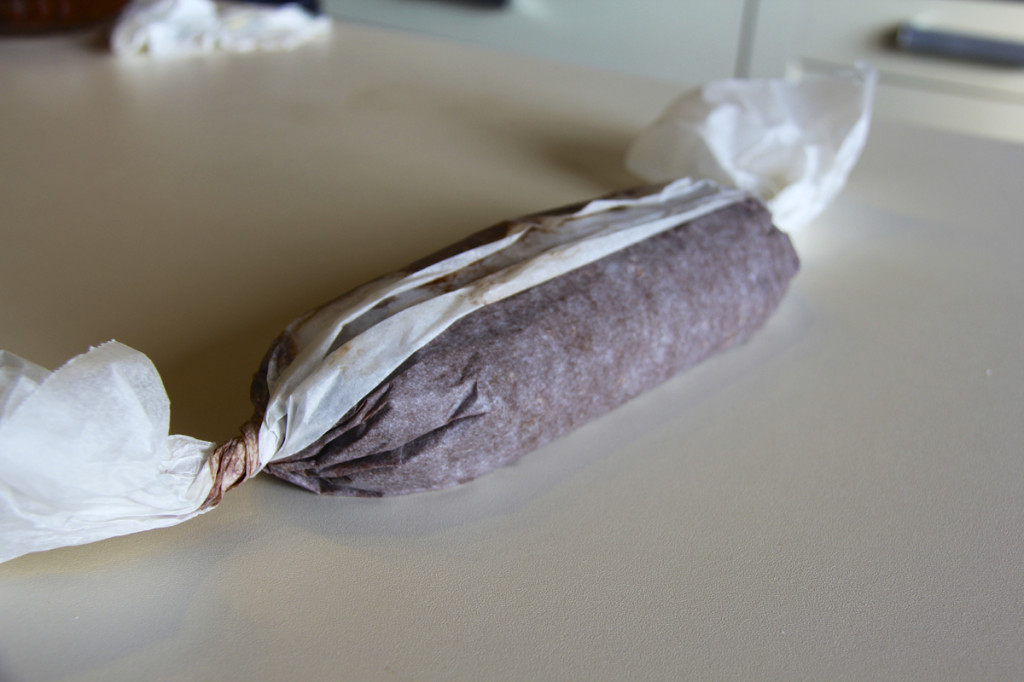
Place the mixture on a large sheet of wax paper and begin to shape the mixture into a salami by rolling it on your work surface. Tightly secure the ends and place the “salami” in the refrigerator for 8 hours. I continued to roll the salami in the refrigerator so that it wouldn’t become flat on one side.
Roll the mixture in wax paper and form the shapeTie off the ends and set in the refrigerator to form
Remove salami from the refrigerator and unwrap. Cover the salami with confectioners’ sugar using brush. Put the salami on a wooden board when ready to serve.
Chocolate Salami – Enjoy!
This dish should keep in your refrigerator for a maximum or two-three days. It should last in your freezer for about one month. Of course, if you have someone like Greg in your home, there is no way it will last anywhere near that long! Enjoy!
On a particularly warm and sunny day this week, Greg and I and decided to ditch the pasta and opted instead to share a lighter lunch. We all love shrimp (especially Julia) so we decided to try our luck with Shrimp Scampi. I have never made this dish before so I did some research and looked at a few different ways it is prepared. After evaluating the ingredients I had lying around the house, I came up with a simple recipe for my first attempt at this classic dish. I have to say – we were all pleasantly surprised with how it turned out.
Buon Appetito!
I was pleased to see Greg fare la scarpetta, or “to do the little shoe”. This is a term the Italians have come up with that I adore. When you have a delicious sauce that you can’t stand to leave behind, you can use a piece of bread to mop it up. I would encourage you to be sure that you have plenty of good bread for you or your guests to do la scarpetta!
INGREDIENTS (serves two)
>Two (2) teaspoons Olive oil >Juice of half (½) a lemon >Zest of about one (1) lemon >Three quarter (¾) cup of white wine >Three (3) cloves of minced garlic >Two (2) tablespoons of unsalted butter >One-two (1-2) tablespoons of chopped flat leaf parsley >One (1) pound of shrimp >Salt
IngredientsBe sure to prep your ingredients – it will make cooking much easierWe kept the shells on the shrimp
As you can see I used shrimp that was still in the shells. You can also choose to use peeled shrimp. I thought we got good flavor from keeping the shells on though. Either way, make sure your shrimp is clean and dry before putting it in the pan.
Place the shrimp in the pan with a little olive oil
>Place olive oil and two (2) tablespoons of butter in a large skillet over medium-high heat.
>Add the shrimp to the pan and spread them out so they lay flat on the pan bottom.
>While the shrimp is cooking, flavor with salt.
>Cook for one-two (1-2) minutes without moving. Once that side is cooked, mix in the garlic and flip the shrimp.
>Cook for an additional one-two (1-2) minutes or until fully cooked. >Remove the cooked shrimp, set aside and keep warm.
Add the shrimp and spread evenly in the panTurn to evenly brown each shrimpAdd the garlicBe sure to turn as necessary so to not burn the shrimpLooking yummy alreadySet the shrimp aside
>In the same skillet add the wine and lemon juice, scraping up any browned bits from the bottom of the pan.
>Allow the liquid to come to a boil and slightly thicken and salt to taste. >Remove from heat and stir in the lemon zest and parsley. Return the shrimp to the pan and mix into the sauce. Serve while hot!
Making the sauce – I would recommend you make extra – it’s that good!Serve and enjoy!
Note: The next time I make this dish I will try to make additional sauce by increasing everything but the shrimp. The sauce was so good, we wanted more!
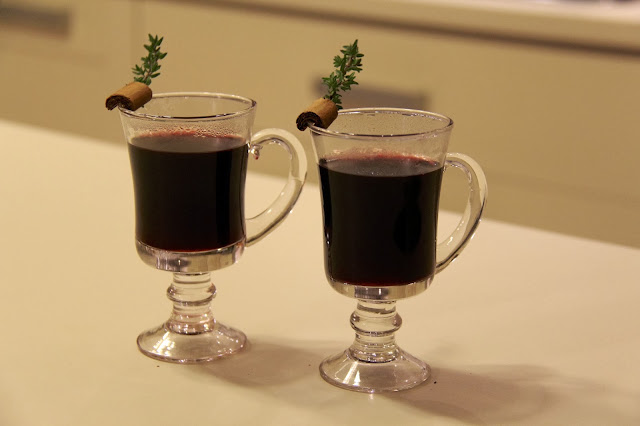
If you’ve read a couple of our recent Christmas posts, you may notice a consistent theme over and over. We have been thoroughly enjoying the official drink of the season, vin brulé from the markets of Alto-Adige to the lakeside shores of Lugano, Switzerland. I promise you, we are by no means a pair of winos – but I’m pretty sure it’s against the law not to have a vin brulé in your hands as you stroll through the Christmas markets.
Homemade vin brulé
We have been having so much fun thawing the chill from our bones with this delicious winter drink that we thought we should make it at home for ourselves. I have to say, for our first attempt – it was pretty darn good! And since we enjoyed this easy and delicious recipe so much, we decided it was only fair to share it with you. Of course, that meant that we had to go back to the test kitchen and whip up another batch!
What is vin brulé, you ask? You may know it better as mulled wine or glühwein (it is a very common German drink). No matter what you call it – it is basically a red wine heated over a flame, sweetened with sugar and seasoned with spices and fruit. The result is nothing short of perfection. You are sure to find the drink in just about any of the thousands of holiday markets set up all over Europe in December.
Here’s how it is made (follow closely… nah, just kidding. It’s pretty easy).
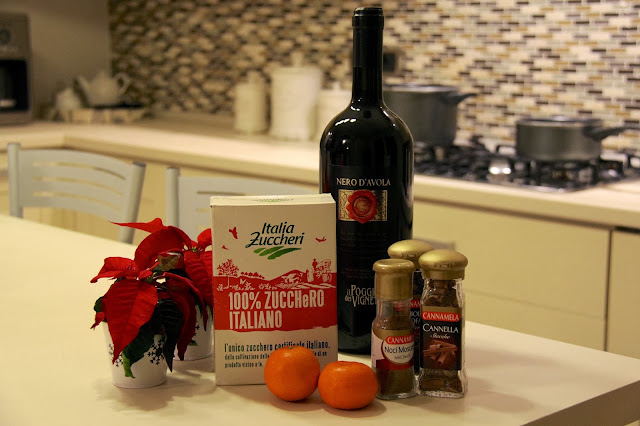
Ingredients (serving for four)
>1.5 liters of red wine (a lot will cook down)
>1.5 cups of sugar
>4 to 8 cloves
>Nutmeg to taste
>2 cinnamon sticks
>2 mandarins (you can also use a small orange)
Your ingredients – feel free to add or subtract items
The great thing about the ingredients for this recipe is that they don’t have to be exact. You can use what you have lying around. If you like more nutmeg flavor – go ahead and add it. This is completely based on personal preference.
Directions
>Slice some of the citrus peels and set them aside
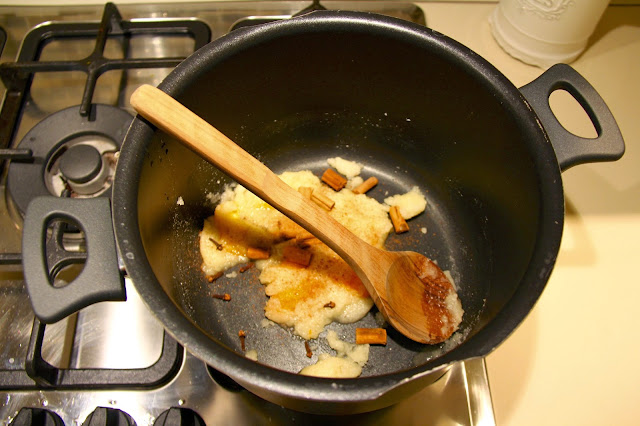
>Grate the zests of one of the manderian and add to a pot with the sugar, cloves, cinnamon and citrus peels
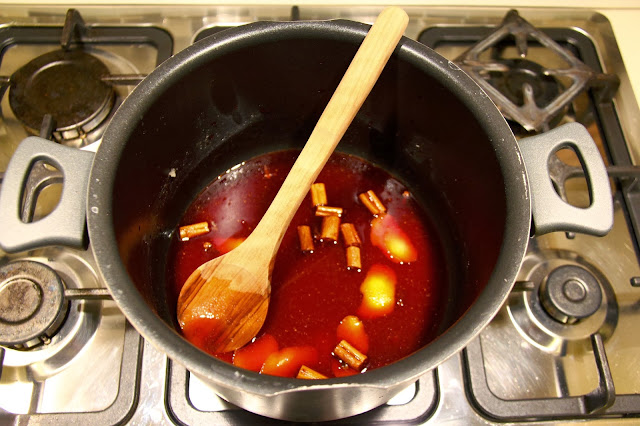
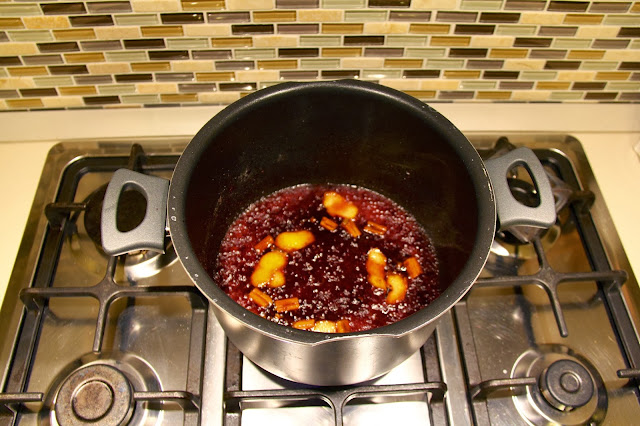
>Add about one cup of the wine and cook on a high heat until everything blends together. This will create a thick almost syrup like liquid that is infused with tones of Christmas flavor. You don’t want to use all of your wine because cooking it at this high heat will burn off the alcohol
>Add the remaining wine and reduce the heat to a low simmer
>Serve and enjoy!
Add the ingredients
Add one cup of the wine
Cook over a high heat
There you have it! Easy and delicious!
We wanted to be sure to post this recipe on Christmas, with the hope that you make this delicious and easy drink on your own today or tonight. You have our personal guarantee that it will increase your festive cheer by 19.6%. That’s 4.6% higher than the next best thing… not getting underwear in your stocking.
Since Thanksgiving is tomorrow – here is a suggestion of something you can do to dress up your leftovers.
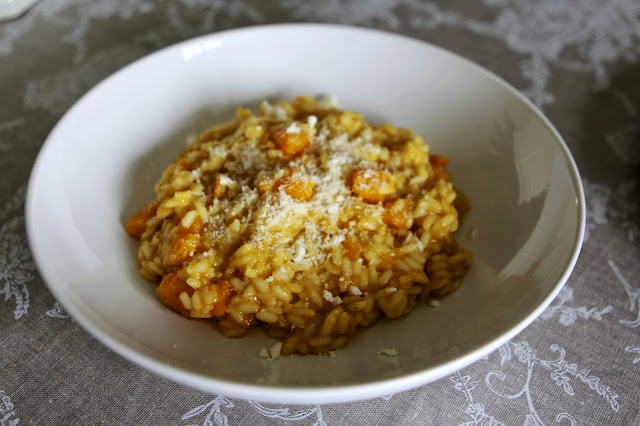
Risotto is a favorite of mine; winter, spring, summer or fall. While cooking risotto, I like to use fresh, seasonal ingredients – and with fall comes all things pumpkin. So, this was my chance to combine one of my favorite dishes with one of my favorite fall flavors.
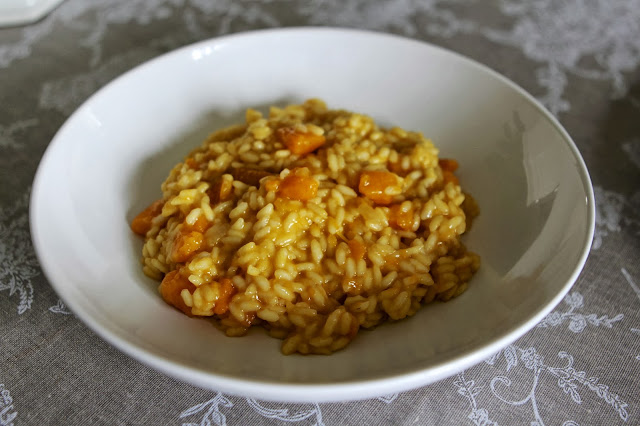
Risotto con zucca (Risotto with pumpkin)
However, when it came to the Thanksgiving dinner we just had, I knew it would be too much for a first course. While risotto is relatively simple to prepare it is time consuming and requires my undivided attention for at least 20 minutes. I decided instead to create a new family tradition. My plan was to serve pumpkin risotto the day after Thanksgiving, along with all of the other delicious leftovers. I think it’s a perfect way to add a new element to a meal we’ve already eaten a couple times over by lunch the next day. I had plenty of left over zucca (pumpkin) from the soup course, which worked out perfectly. I have officially converted Greg into a pumpkin/squash lover. If you want to add some Italian flavors to your holiday meal this year, check out my simple recipe. I hope your family enjoys it as much as we do.
INGREDIENTS (serving of 4)
>Olive oil
>One (1) small onion (diced)
>Four (4) cups of chicken stock
>Nine (9) palms of arborio rice (two per person with one extra). Roughly two (2) cups
>Half (½) – full (1) cup of white wine (depending on taste… and quality of wine)
>Roughly ½ cup of grated parmesan cheese and additional cheese for the table and for garnish
>Third (1/3) stick of butter
>Salt to taste
>One and a half (1 ½) cups of cubed butternut squash (one butternut squash cleaned, peeled and deseeded)
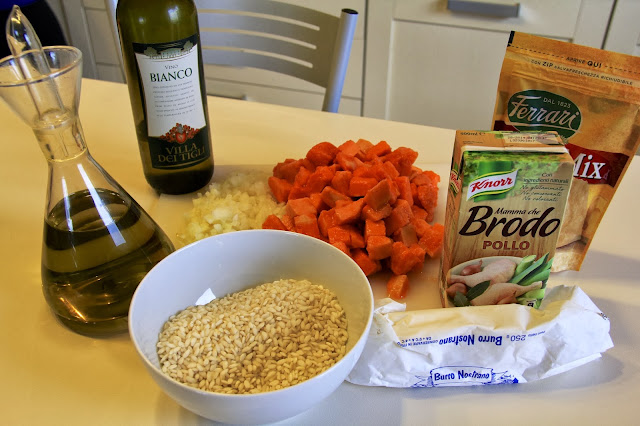
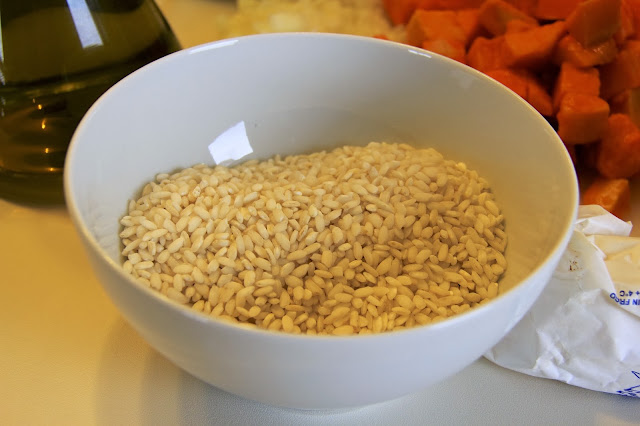
The ingredients
Arborio rice
Directions
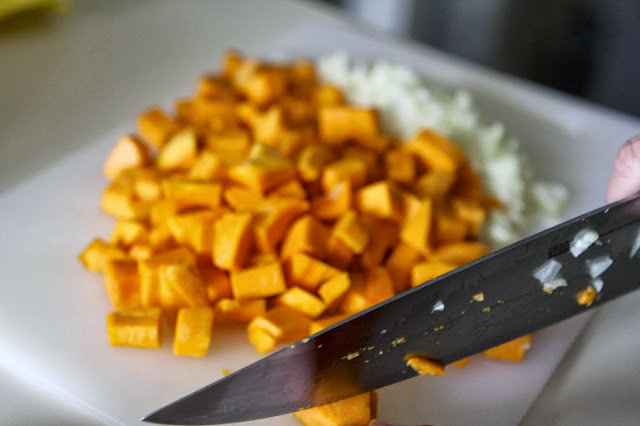
>Cube the pumpkin and dice the onion
Prepare your pumpkin and onion
>Heat chicken stock in a pot
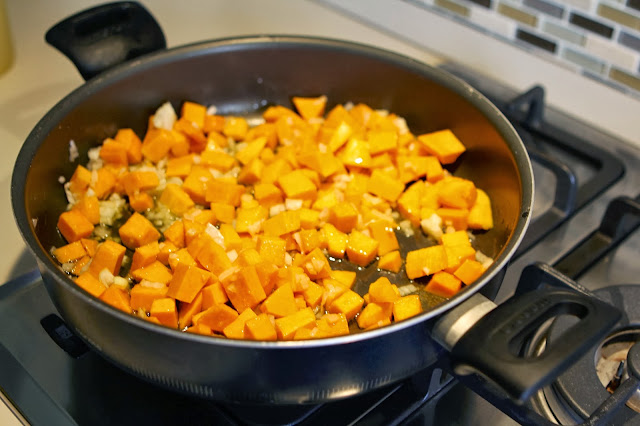
>On a separate burner, heat olive oil in a large flat pan with high sides. Add onion and squash until it is softened and the onion is translucent. While the onion and squash are cooking, add a dash of salt. This could take a little over 5 minutes. Don’t allow the onions to brown
Watch that the onions don’t burn
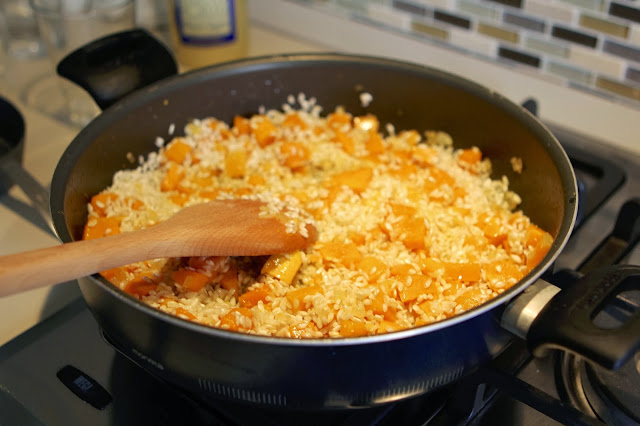
>Add the rice and mix together. Stir until the rice is toasted (but not brown) about three – four (3-4) minutes
Stir in the rice
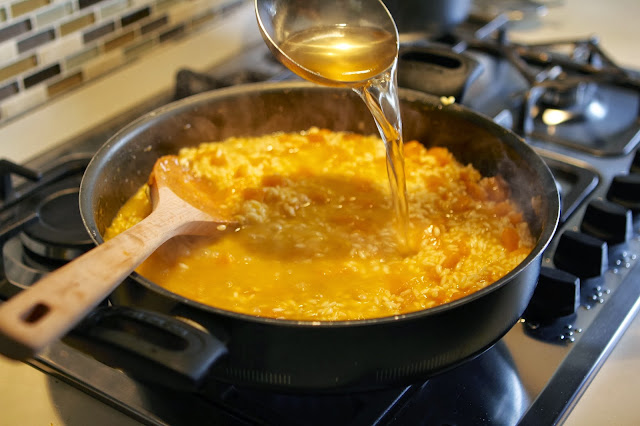
>Add the wine and continue to cook the rice until the wine is absorbed. After a minute, add a ladle or two of the stock, stirring the rice continuously until the liquid is absorbed
Laddle in the broth
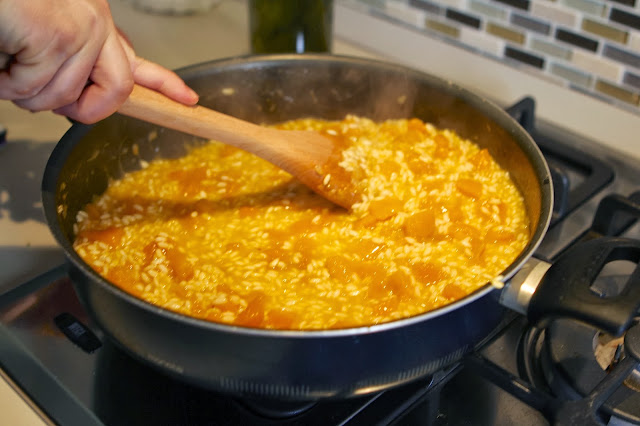
>Continue stirring and ladling the broth for approximately fifteen (15) minutes. Be sure to taste as you go and add salt accordingly. The rice should be al dente and creamy
Keep stirring and add more broth once it’s absorbed
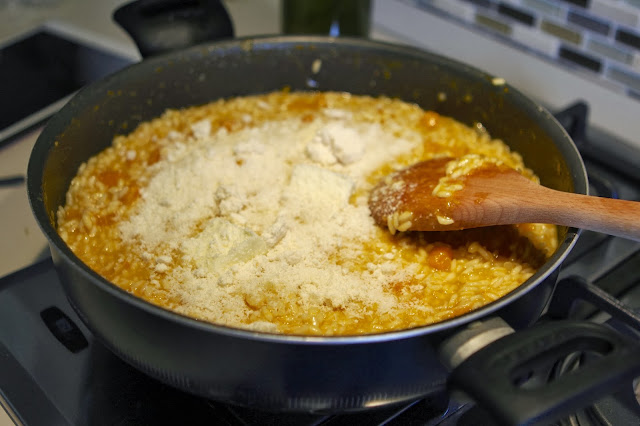
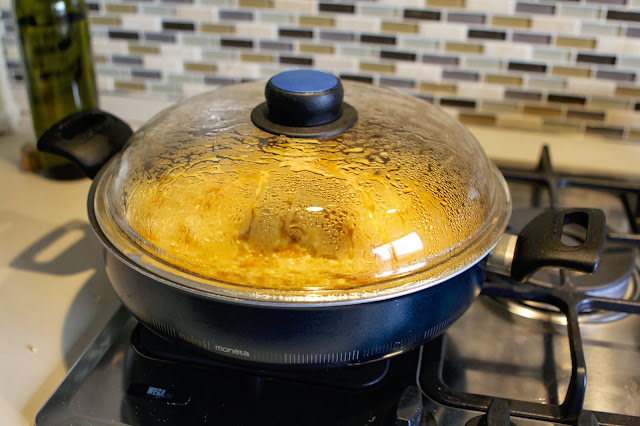
>Remove from heat and stir in butter and Parmesan cheese. Cover and allow pan to sit for five (5) minutes
Stir in the parmesano
Cover and let sit for five minutes
>Serve right away and top with fresh grated Parmesan cheese
Don’t forget to add the grana (grated cheese) and enjoy
PLEASE NOTE – Cooking risotto requires constant attention. Make sure the table is set and everything else you are serving is ready before you begin the rice.
Don’t forget to combine your risotto with your Thanksgiving leftovers!
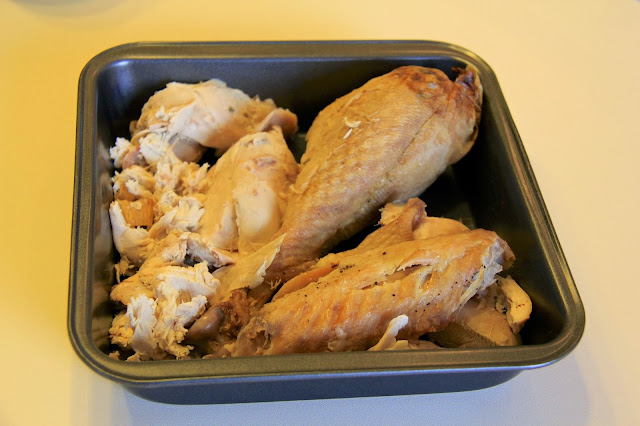
Is it possible that the turkey gets better after the Thanksgiving meal?!
Combine whatever sides you have leftover
I hope that you’ve enjoyed this recipe and that perhaps you’ll try to incorporate it into this year’s Thanksgiving! Let us know if you do and buon appetito!
Can you believe that they don’t celebrate Thanksgiving here in Italy?! They also don’t celebrate the Fourth of July, Memorial Day or Labor Day! I know weird, right?!
Our Thanksgiving table is set
Thanksgiving is one of my favorite holidays. Of course I love the spirit of Christmas, the fun costumes of Halloween (another holiday that they don’t really celebrate), the fireworks of our Independence Day… but nothing can match the guilt-free ability to gorge on delicious food all…day…long! And if that wasn’t good enough, you are then permitted… nah, encouraged to lay on your duff and watch football until it’s time to re-heat a plate of leftovers.
Julia was Superwoman for Halloween this year –
even though she was one of few kids dressed up
We knew that we weren’t going to give up our tradition of Thanksgiving just because we are living in another country. In fact, we were excited to share our holiday and traditions with Jen’s relatives. Ideally, we would have eaten our Thanksgiving dinner along with the other people in America (well, six hours ahead anyway) – but we will be out of town during the holiday. So we decided to host our Thanksgiving dinner early. Before we could take our first bite of that delicious dinner, we needed to plan a menu. And if you’ve ever been around my wife when she plans an event… if we have an official menu, then we’ll also need an official outline for the entire week leading up to the event.
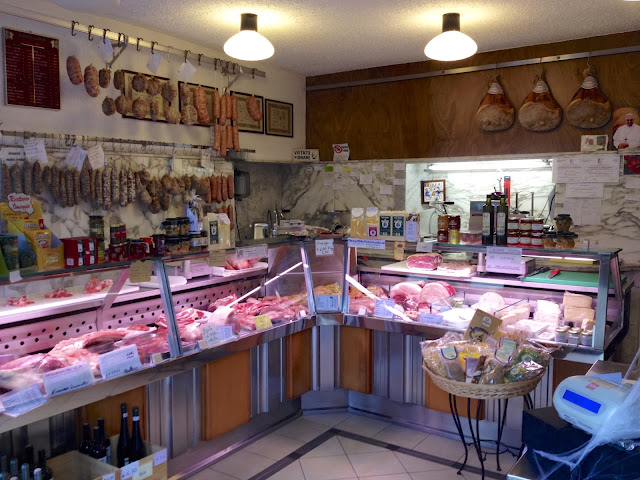
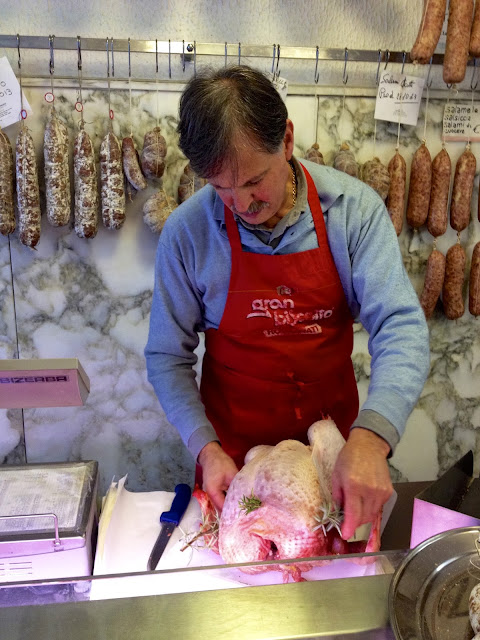
I had many small jobs, but the most important – procurement of the bird and selecting the wine. For the turkey, I went to our local macelleria (butcher shop), Macelleria Ostinelli. You see, you cannot just go down to the supermarket and pick up a whole turkey. It simply doesn’t exist here. Italians eat turkey, but they are either quartered or filleted – never sold whole. In fact our macellaio (butcher), Marco had to call his “turkey guy”, Lorenzo just to confirm that they could even have a whole turkey delivered within three days. It was the first whole turkey Marco had ever sold in 20+ years of being a butcher. We got the green light from Lorenzo and went home to continue planning.
Inside Macelleria Ostinelli
Our macellaio (butcher), Marco prepares our turkey
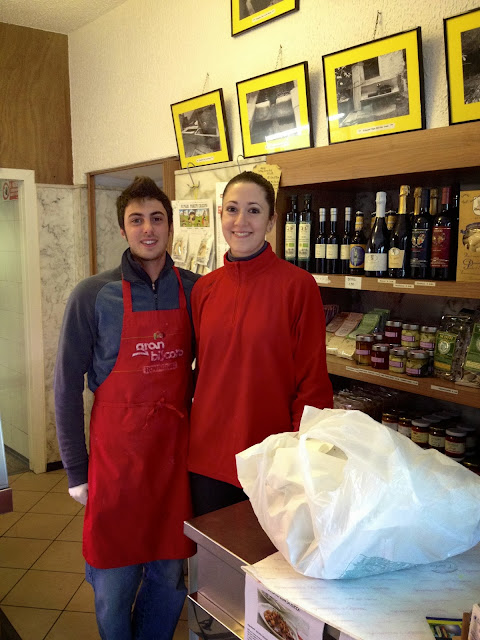
His son, Paolo and niece, Francesca
“Cook me like one of your French turkeys, Jack”
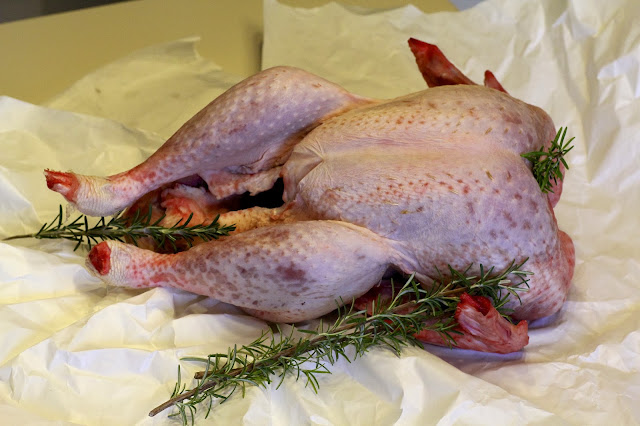
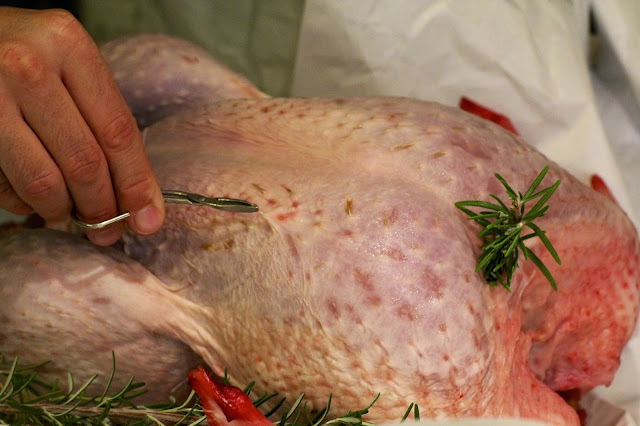
The turkey was so fresh that it was still red… and needed a few extra feathers plucked
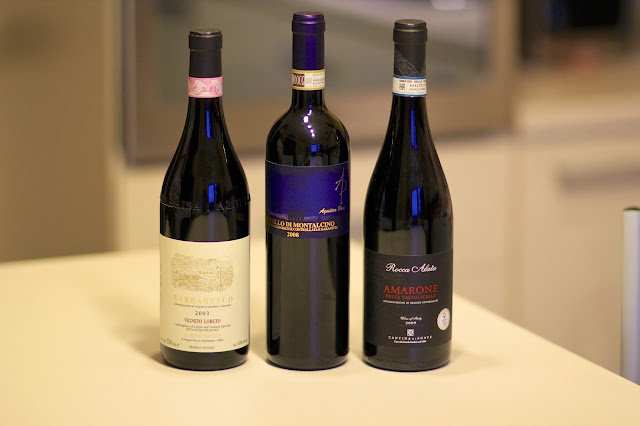
The wine was a much more complicated process. I went into a wine shop I’ve been wanting to try; one just outside of downtown Como. The selections of fine Italian wine seemed endless. I chose three wines that are classified as Denominazione di Origine Controllata e Garantita (DOCG), a designation that connotes some of Italy’s best-known and highest quality wine.
A trio of wine from all over Italy
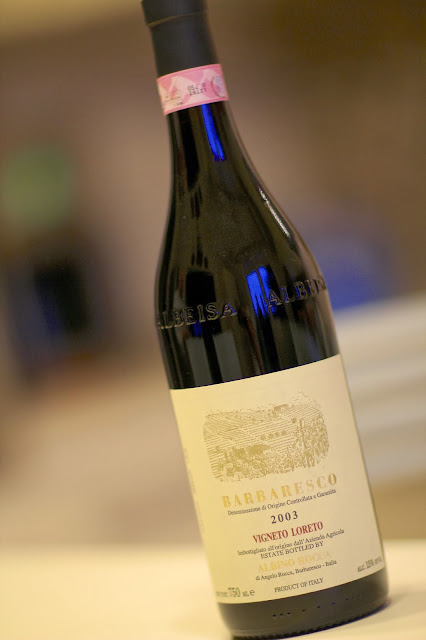
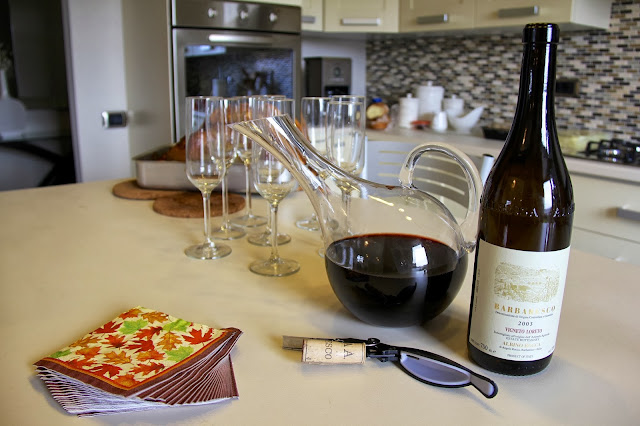
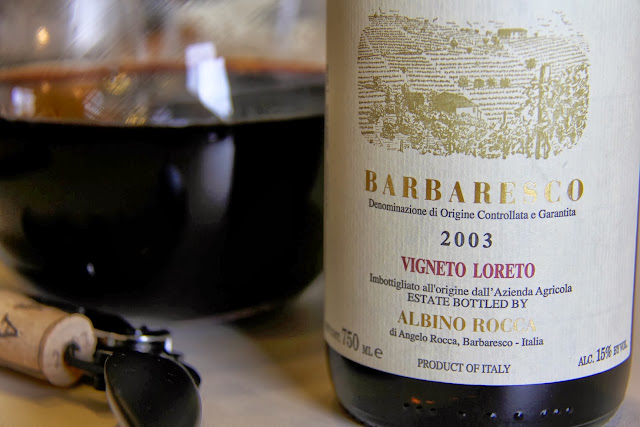
I opted to start our meal with a Barbaresco (having recently come back from Piemonte). I picked a 2003 Vigneto Loreto from Albino Rocca – a producer that obtains their [nebbiolo] grapes from the finest area in the region. I thought that the balanced flavor profile of this Barbaresco would do nicely to awaken our palates.
2003 Barbaresco Abino Rocca, Vigneto Loreto
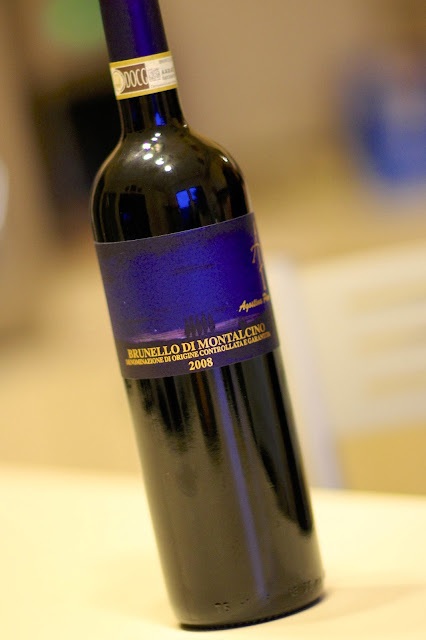
For our second wine, I selected a 2008 Brunello di Montalcino. Tuscany is known for many things and their wine is nothing short of spectacular. Agostina Pieri produces a fine example of the wine that incorporates one of my favorite Italian grapes, Sangiovese. The bold flavors would serve as a nice progression from the more tannic and refined Barbaresco.
2008 Brunello di Montalcino Agostina Pieri
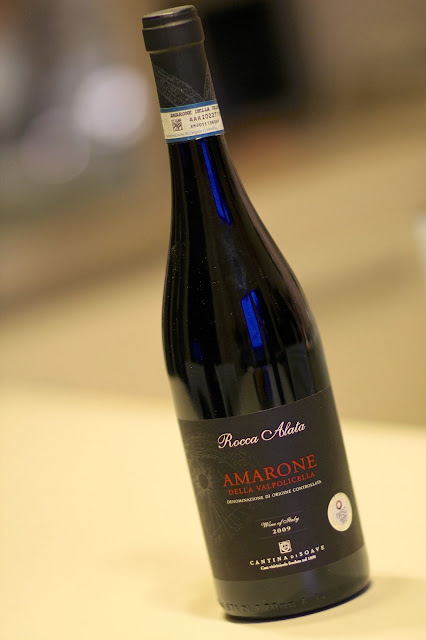
Finally, I wanted a wine to shout from the rooftops – so I chose a big, bold Amarone della Valpolicella. Jen and I were just recently introduced to this type of wine by my uncle, and it was love at first taste. A unique harvest and fermentation process yield a ripe, raisiny and full-bodied wine that jumps across your tongue and waltzes with your tastebuds. How could this not be the perfect wine to finish the afternoon?! Cantina di Soave produces a wonderful Amarone, Rocca Alata.
Amarone Cantina di Soave, Rocca Alata
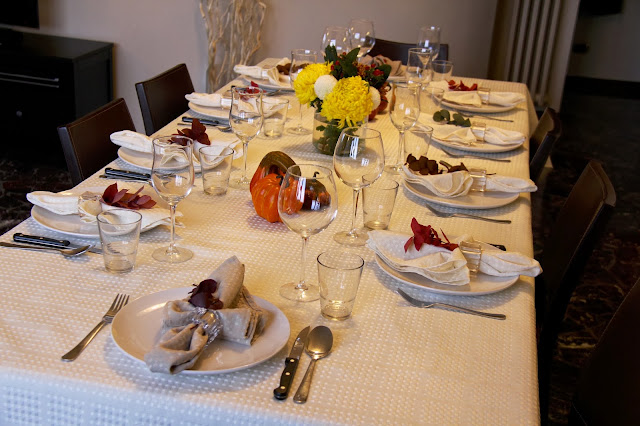
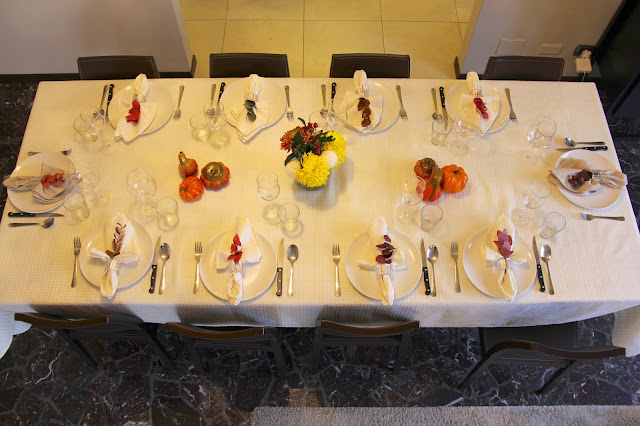
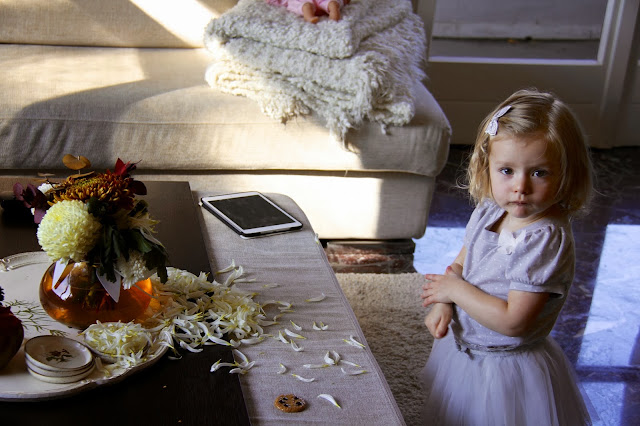
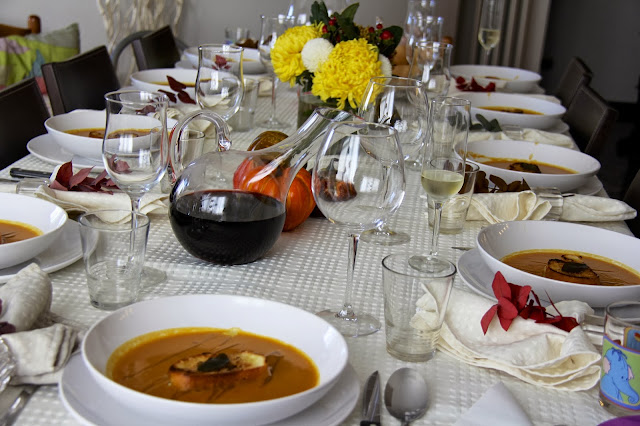
The night before our guests arrive, I helped Jen set the table. Well, I mainly played defense against Julia while Jen set the table. I let her get a goal past me the next day when she ripped up part of the bouquet just before our guests arrived!
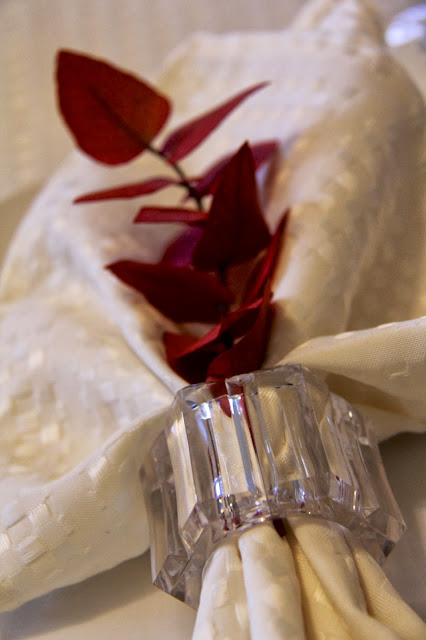
Jen’s table
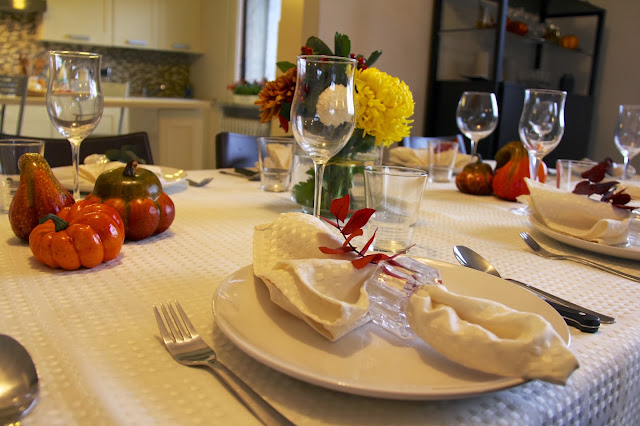
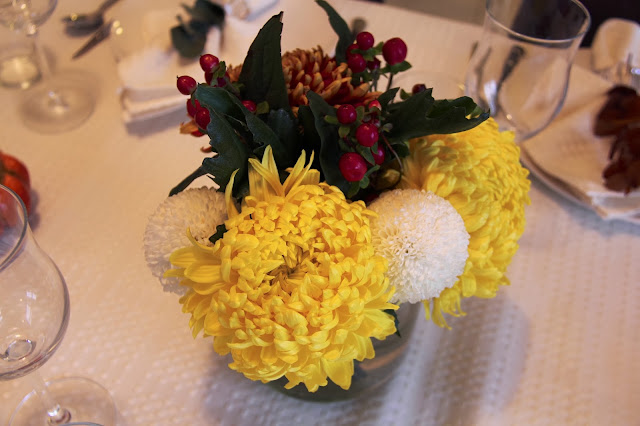
We used seasonal flowers as part of the decoration
A place setting
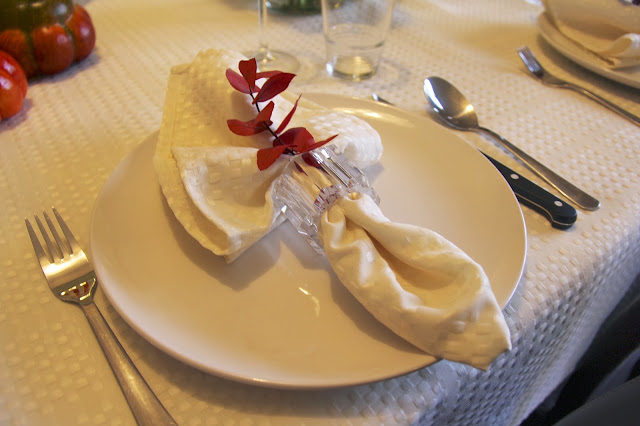
A napkin before it got messy with delicious food
Center bouquet
Julia got to the other bouquet – I love her look as if to say, “I didn’t do it”
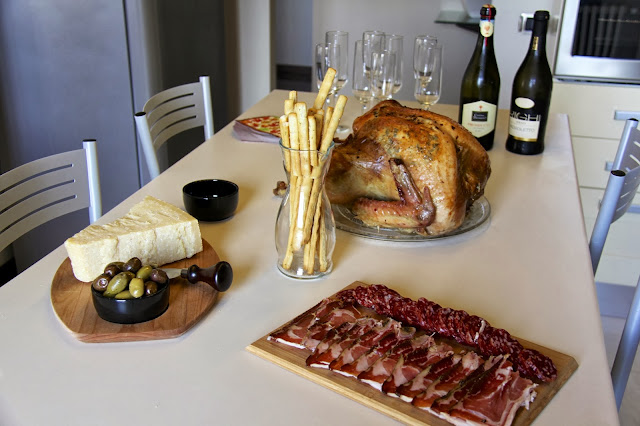
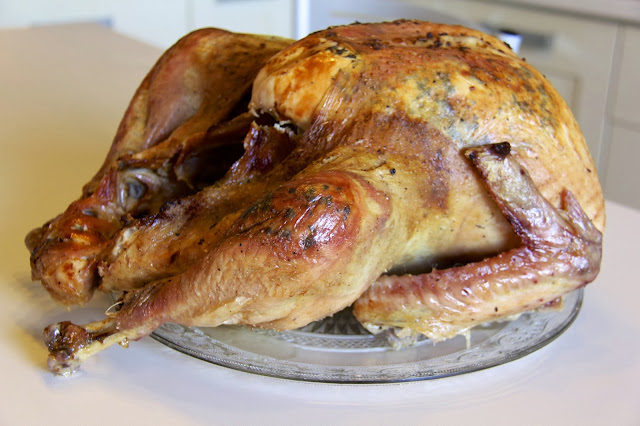
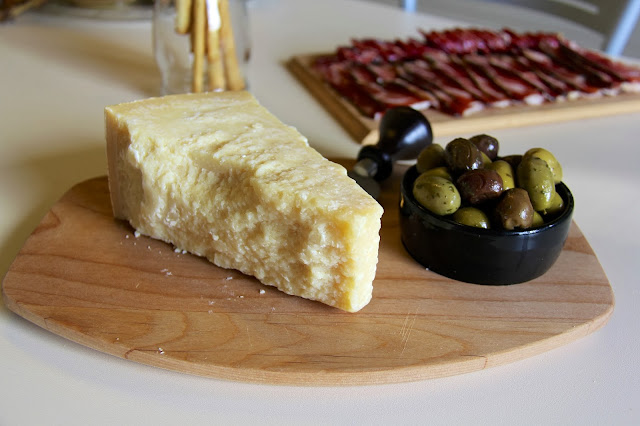
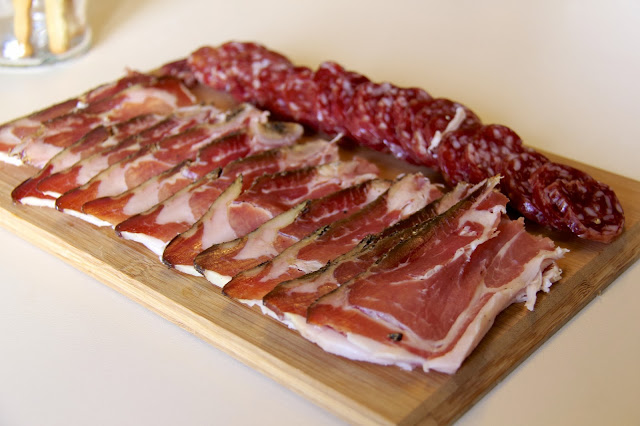
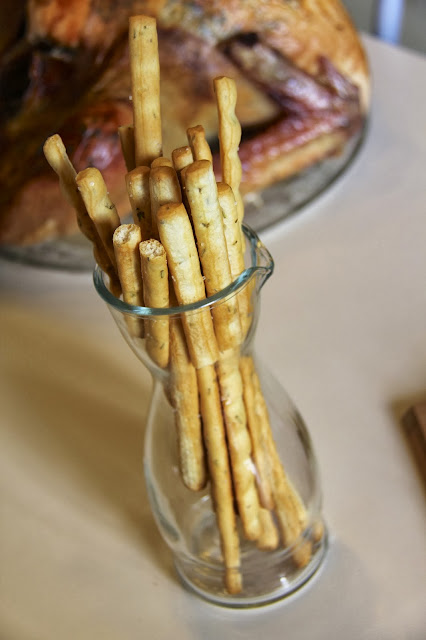
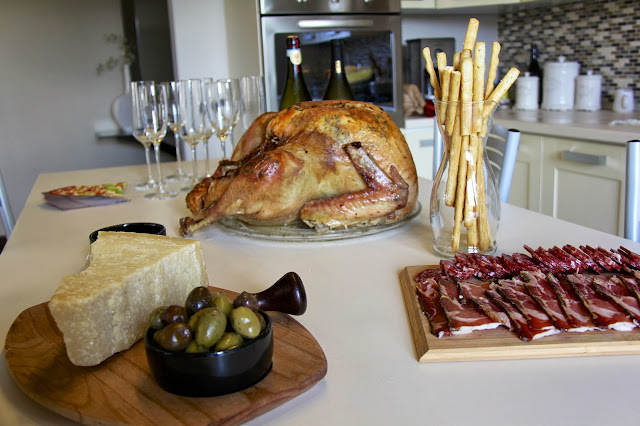
Jen had perfectly timed the turkey to come out and rest next to all of our antipasti. I am willing to bet that we hosted one of the few thanksgiving dinners in the world to start with olives, grissini (Italian breadsticks), salami and parmigiano. Our 7.4 kg (16.3 lb) turkey was quite the showstopper as Jen’s Italian relatives walked in. It was one of the first times ever that I have seen Italians take out their cell phones to take pictures of food. For them, food should be eaten – not photographed (I’ve been called, pazzo more than once). So it was quite a reward for all our hard work to see jaws dropped and cell phones flashing.
Our welcome table
The turkey came out moist and delicious
36-month aged Parmesano cheese and olives
Speck and salami
Grissini
Let’s get the party started
Let’s get the wine decanted…
This is going to be good
After proscecco and antipasti, we each took turns taking family photos on the balcony. I’m glad that Jen suggested this – it gave each family a nice keepsake from a pleasant afternoon.
My girls
Love this peanut
Gianni and Giusi along with their son Marco and daughter Sara
Massimo and Alessandra with their daughter Bea
You know this cast – Greg and Jen with our daughter, Julia
Franco and Claudia – Franco actually smiles for a photo!!
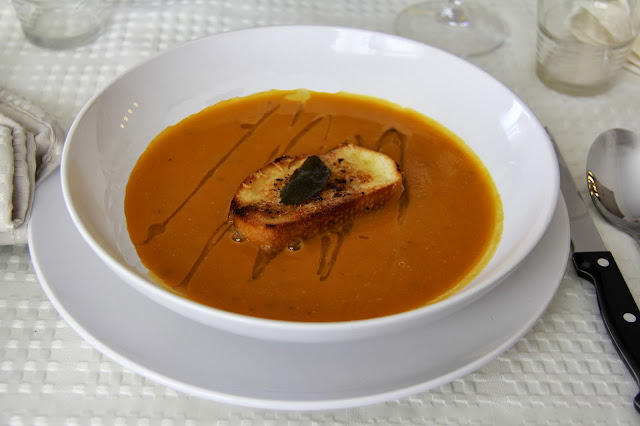
We eventually made our way to the table for our first course, a squash soup with parmesano croutons.
Now we’re ready to really dig in
A drizzle of fine olive oil enhances the taste and presentation
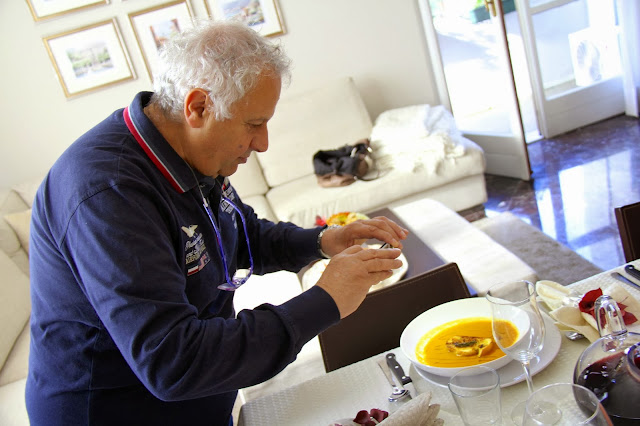
Franco took a picture of the soup as well as the turkey – this was a first!
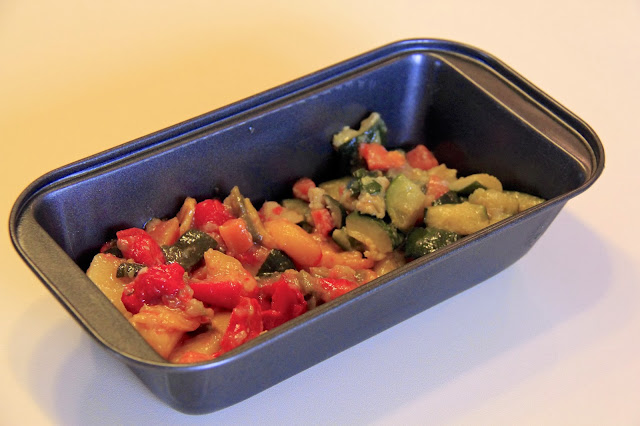
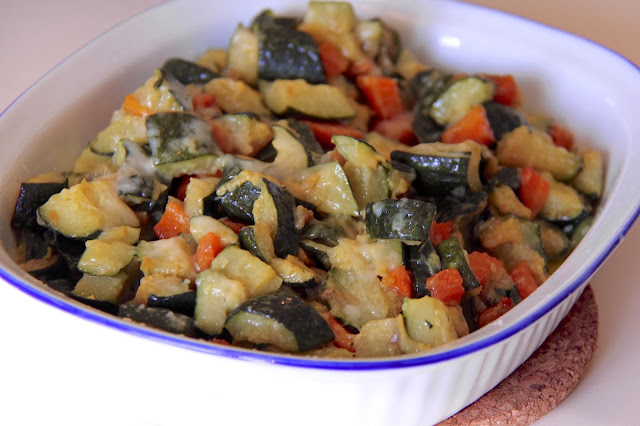
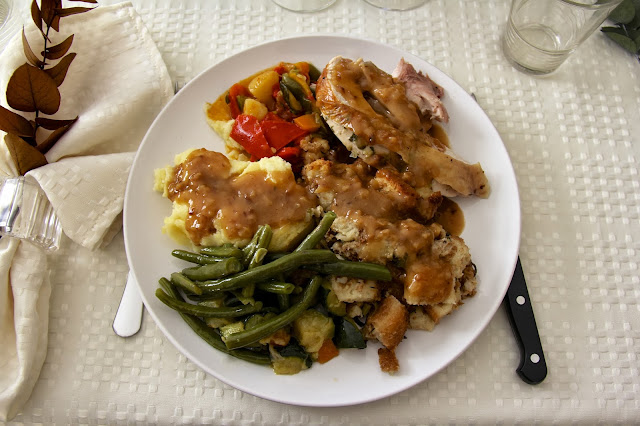
Next, we brought out all the food. We had the stuffing (I had to explain it as “cooked bread”). We had mashed the potatoes. We had the gravy – “questa è una salsa” (this is a sauce). Pouring a “sauce” over everything was definitely a foreign concept. Claudia made the vegetables – green beens and a ratatouille. And of course, we had the turkey. A roasted lemon sage turkey that was delicious. I explained that the goal was to cram your plate so full that none of the plate was visible. Jen’s cousins Gianni and Marco understood the goal… no one else quite got it. We went around the table to say what we were most thankful for and dug in.
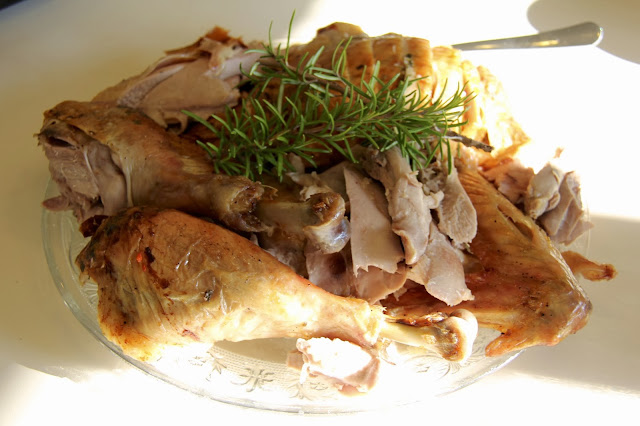
A plate of the carved turkey
Claudia’s vegetables
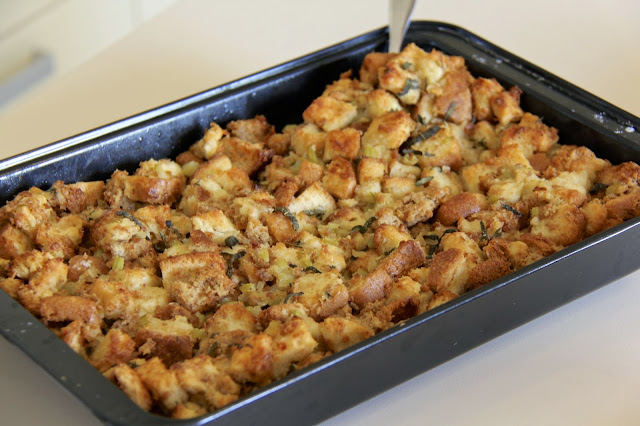
Jen’s stuffing
My plate – a proper American Thanksgiving plate
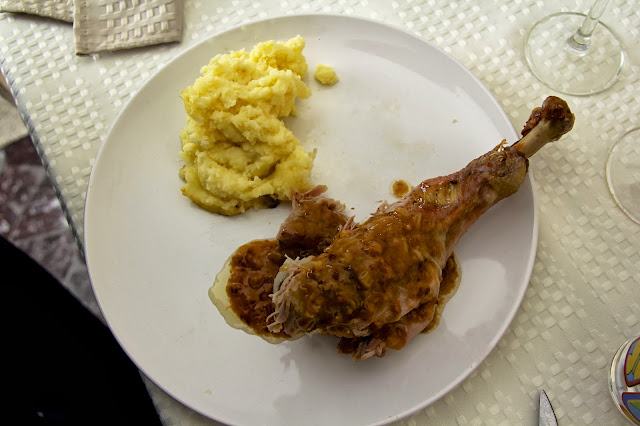
Franco’s plate – he didn’t quite get the idea to cover it
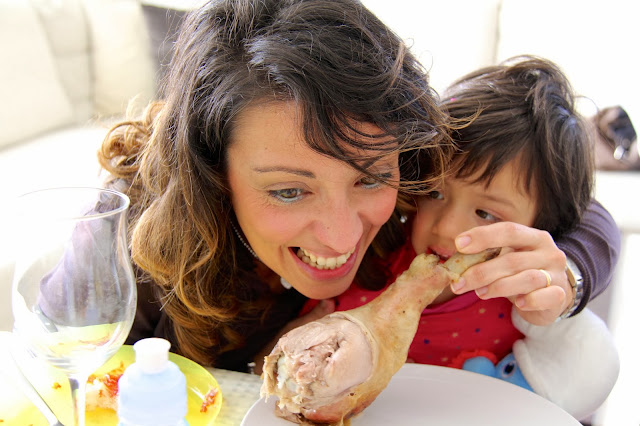
Alessandra plays around with Bea, who has likely never seen a turkey leg
Gianni brought a delicious wine that we opened
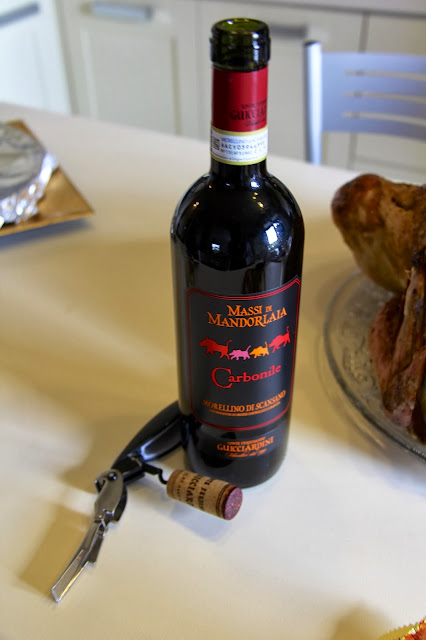
We never even finished my selections
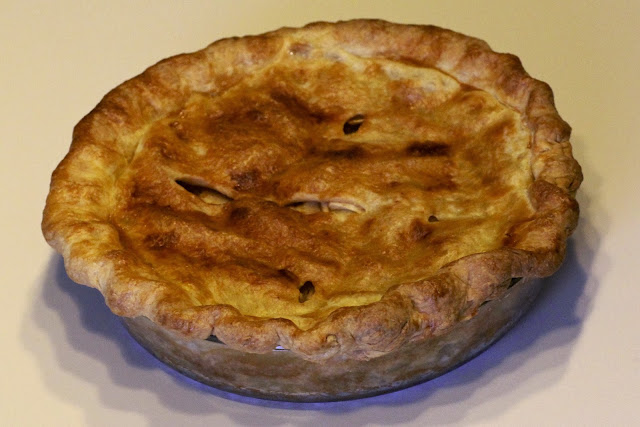
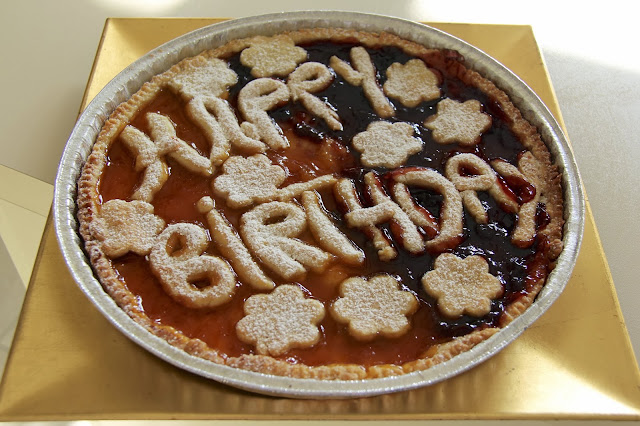
When we had finally finished eating our dinner, it was time for dessert. Jen made a wonderfully American apple pie. Her cousins Alessandra and Giusi were surprised when she told them that she made her own pie crust from scratch. When they tasted it, they both immediately asked for the recipe (which secretly filled me with pride for my wife). Giusi was so cute, she literally took out a notepad, ready to write – Jen had to promise to work on the measurement conversions and translation and email it at a later date. Equally as impressive was the torte (pie) that Alessandra made. Jen’s birthday had just passed and so she added a surprise element to the dessert. It tasted every bit as good as it looked.
Jen’s apple pie
Alessandra’s torte
I have to say – Jen’s first Thanksgiving Dinner was A-M-A-Z-I-N-G!! There were no hiccups, very little stress and it was absolutely delicious!
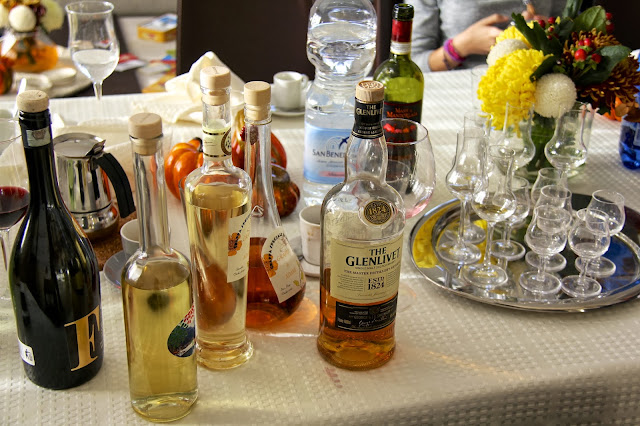
Of course, we finished the day off with grappa and whiskey and the most important part of Thanksgiving… a game of football on the television. Only, it wasn’t a game. It was a match. And it wasn’t football. It was fùtbol (soccer). Oh well, you work with what you’ve got.
Our grappa and whiskey
Teenaged girls are the same in any country
Julia puts on a performance
Jen did Sara’s hair – I thought she looked beautiful
Soccer plays on the TV – not quite the football game I’m used to after a Thanksgiving dinner
I hope you enjoyed!
In case you’re interested in viewing the menu that Jen created, I copied and pasted her menu (and then, without her permission… her outline)! Shhhh, don’t tell.
It’s likely that you may think I’ve gone off my rocker. Vinegar on a salad – of course. Vinegar on french fries – sure. But vinegar on ice cream?! Greg, you must be crazy?! I assure you, I am not (well, at least when it comes to this point). Provided one very important detail is in play… that the vinegar used is aged balsamic vinegar from Modena. This dark, delicious treat becomes sweet and thick (almost, syrupy) once it has been aged 12(+) or 25(+) years.
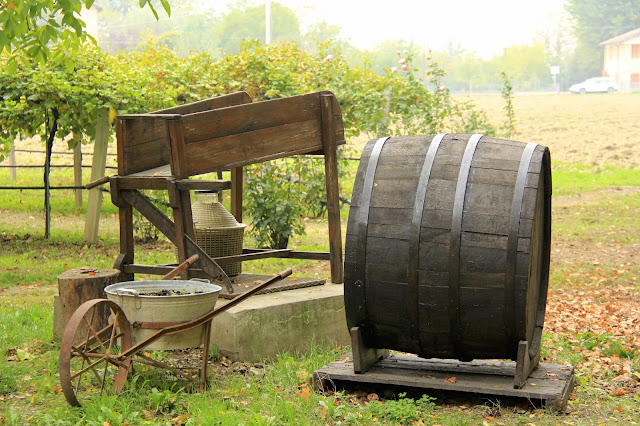
Old fashioned equipment used to make vinegar now stands as decoration
I have been a fan of all things vinegar for as long as I can remember. Admittedly, a strange condiment choice (above ketchup or mayonnaise) – but the heart wants what the heart wants. Although we use apple cider vinegar every single day, I have always been quite fond of balsamic vinegar. Just the right amount can add the perfect hit of acid to round out a caprese salad. However, I recently learned that I have become accustomed to eating the equivalent of a McDonald’svalue meal when a readily available filet mignon was just around the corner. But let’s back up and find out how I discovered this…
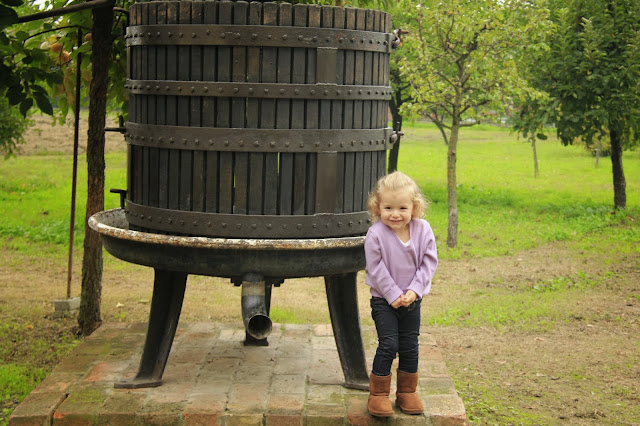
Julia stand by an old grape press
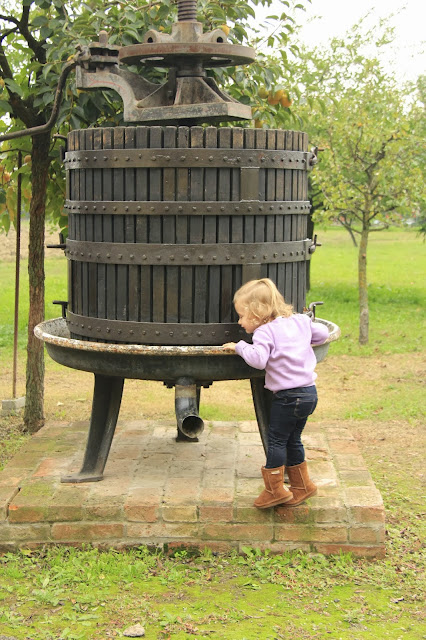
She’s a curious little girl
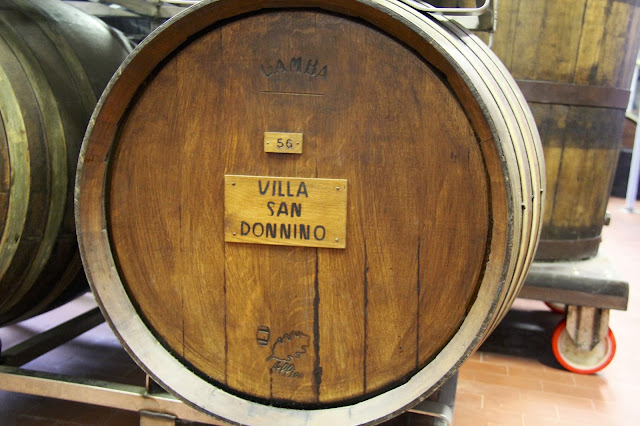
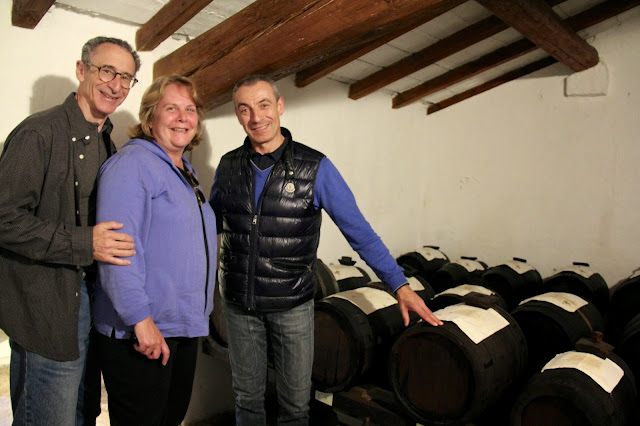
One of the barrels used for aging
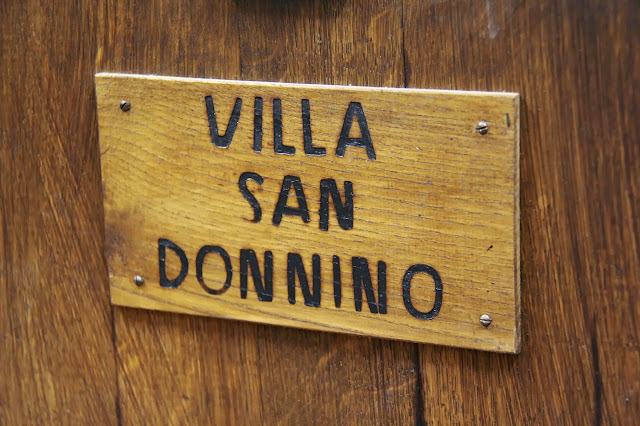
Villa San Donnino has been a family run business for three generations
When my aunt Deborah and uncle S came to visit, we ventured on a road trip to the Emilia-Romagna region of Italy. If you read that particular post, you learned that Emilia-Romagna is widely known for two things – cars and food. One of the most significant contributors to the food column is the aged balsamic vinegar that is produced exclusively in Modena. On our final day of the road trip, we arranged for a private tasting with a local producer, Villa San Donnino. Jen had learned that a tour and tasting at Villa San Donnino was one of the top-rated attractions on Trip Advisor. Once again, our favorite online guide for all things travel hit a home-run.
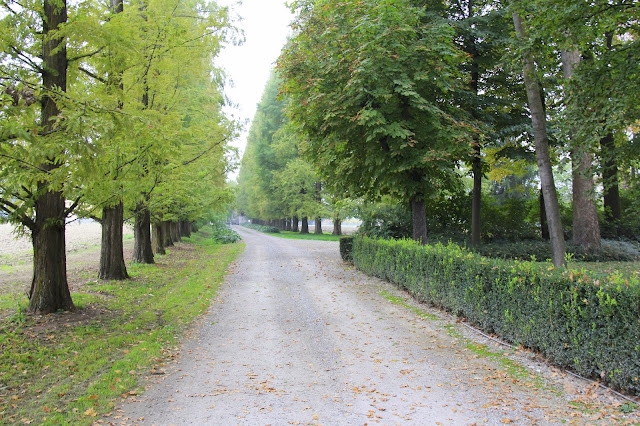
The driveway leading toward the villa
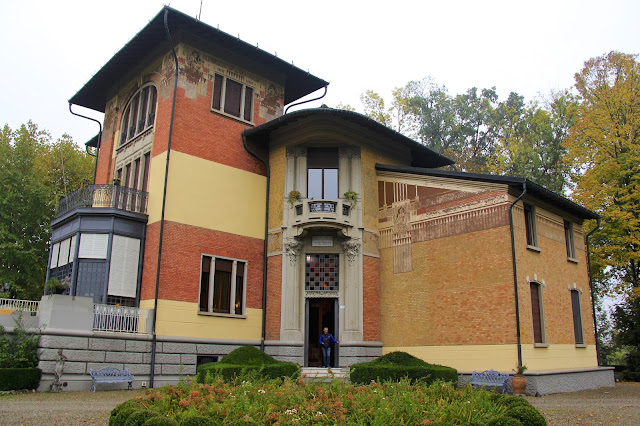
The villa of, Villa San Donnino
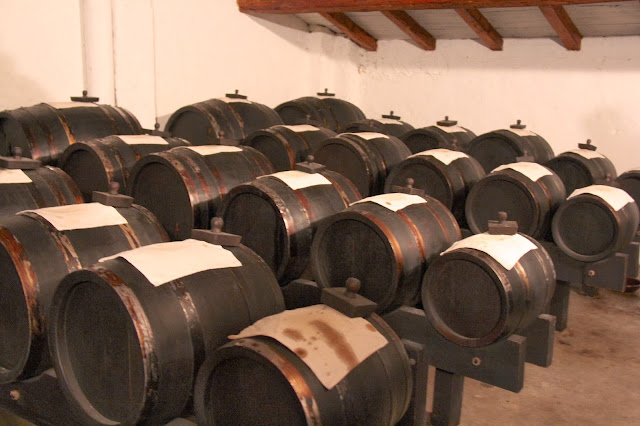
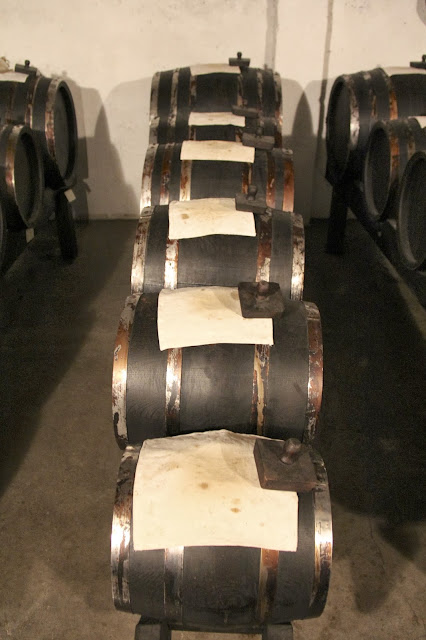
The important aging process begins here, in these barrels
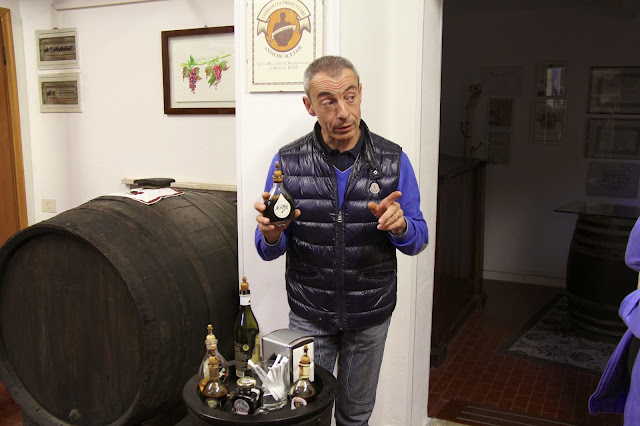
Not only did the overall experience exceed our expectations – it raised the bar for what events like this should be all like over the country. The owner and third generation producer, Davide greeted us warmly and took us into the portion of the property where the vinegar is aged. He first gave us a brief explanation of the vinegar itself. It was summarized nicely in a marketing brochure I took from the villa, so I will copy the text below:
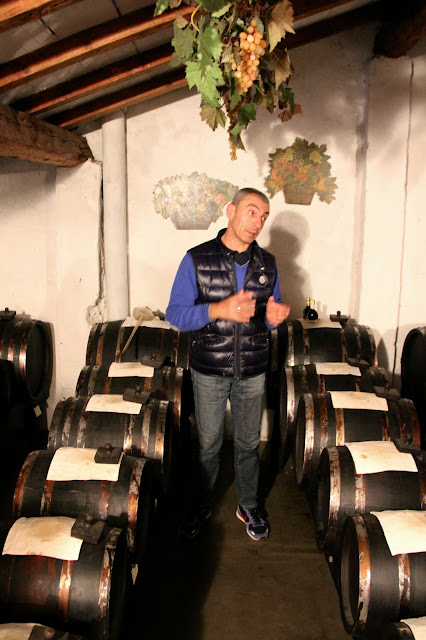
Davide explains the rigorous balsamic making process
Traditional Balsamic Vinegar of Modena is unique from all other vinegar based condiments. Unlike ordinary vinegar which has its origins in an alcoholic liquid, balsamic vinegar is produced directly from grape juice. Grapes, harvested in the region in which balsamic vinegar is produced, are crushed and their liquid – “must” – is boiled in an open vat over a fire. This liquid is then placed in a high quality wooden barrels in which, through an oxidation process, it is transformed into vinegar. The barrels are kept in a vinegar loft – acataia – where over a number of years, the precious liquid inside is lovingly cared for through a special technique involving transfers and topping up. Over many years macrobiotic and enzymatic modifications unite to achieve an exceptional balance in the fragrance and flavor.
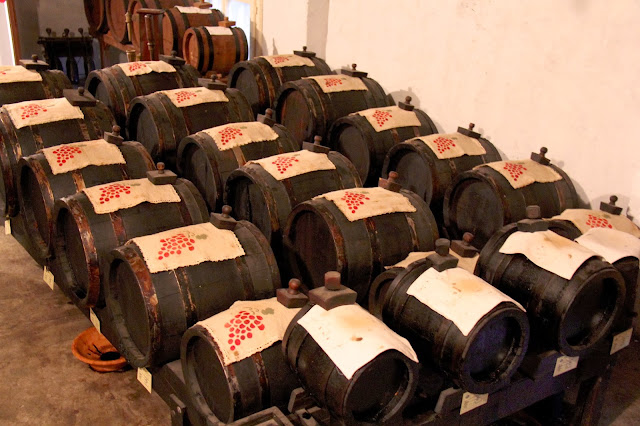
As we climbed the stairs to the acataia (vinegar loft) we were first greeted by the unique and pleasant aroma permeating throughout the loft. Davide began to explain the aging process, having already described that his balsamic vinegar juice comes exclusively from grapes on his property. In order to properly age vinegar, you must use a batteria, a series of five or six barrels that descend in size. A process of “topping” off from the larger barrels into the subsequent smaller barrels is done over many years in order to replace evaporated liquids. Since the last, smallest barrel is the object from which the final contents are removed for bottling – there is no way to identify a specific amount of time in the barrels (i.e. twelve years). Because the liquids have been mixed from the larger barrels over many years, a unique system of labeling was created. A balsamic vinegar that was aged for 12 years will have been aged for at least twelve years (meaning, that 12 years is the youngest portion allowed in that mixture). The same is true for 25 years and the extremely rare 50 year vintages.
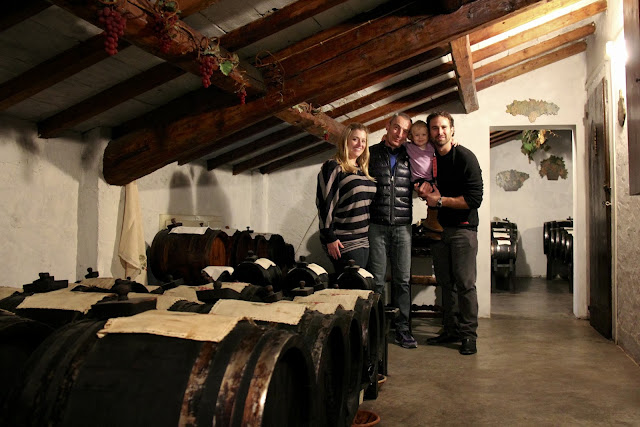
A batteria, aging the vinegar
Another room with a different collection of barrels
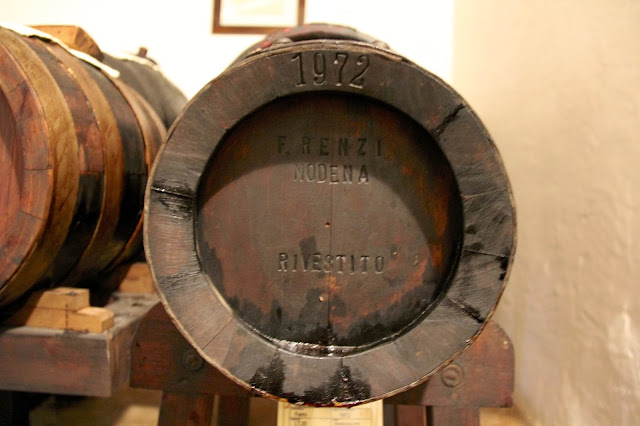
This reserve vinegar has been aging since 1972
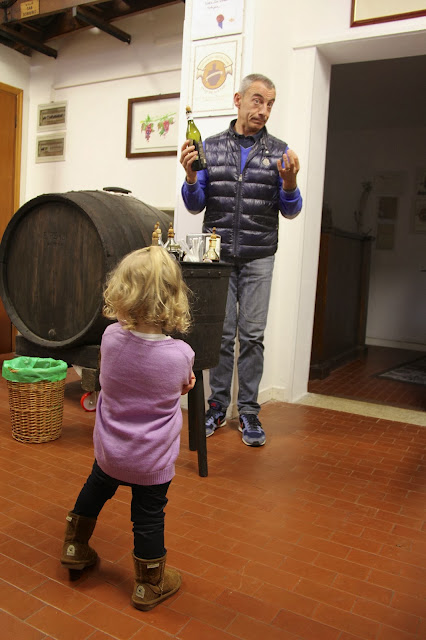
As Davide was explaining the process, we all noticed that he acquired a little two-foot groupie. Our little Julia seemed more than just enamored with Davide, she fell head over heels for him! She kept asking him to pick her up and would require his attention at almost every point hereafter. It was hard for Davide to focus on the remainder of his tour, when at each turn he would hear a little voice saying, “Davide… hold me!” If she liked him this early on in the tour, she loved him when he brought out the gelato (ice cream) for us to try.
Davide with S and Deborah
Julia holds Davide close for a photo
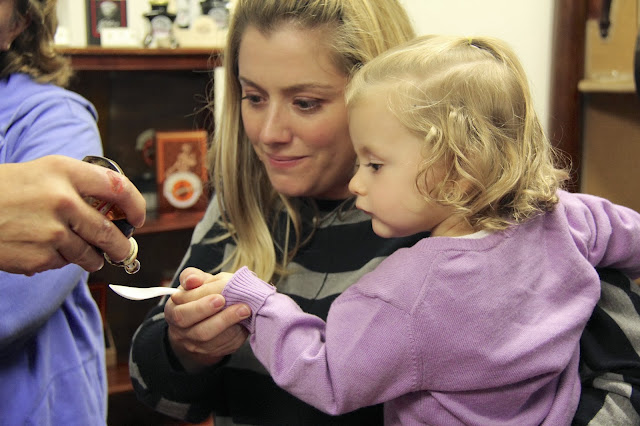
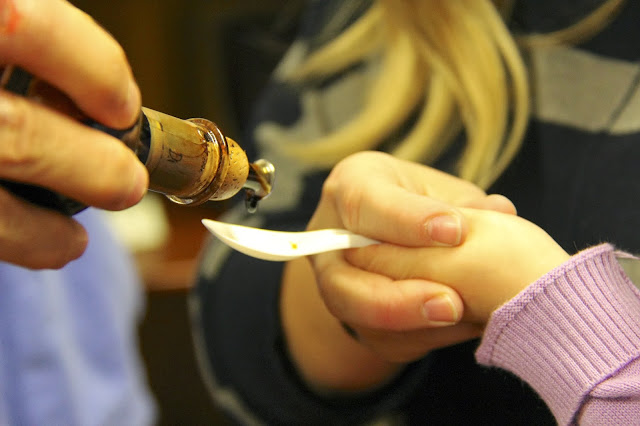
Davide brings Julia in to taste the vinegar with ice cream – she wouldn’t let him go
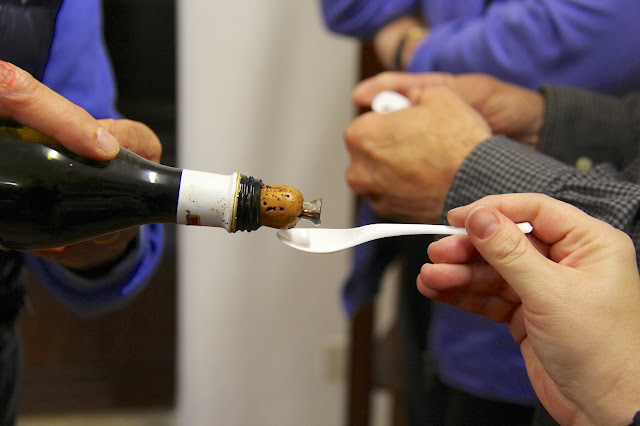
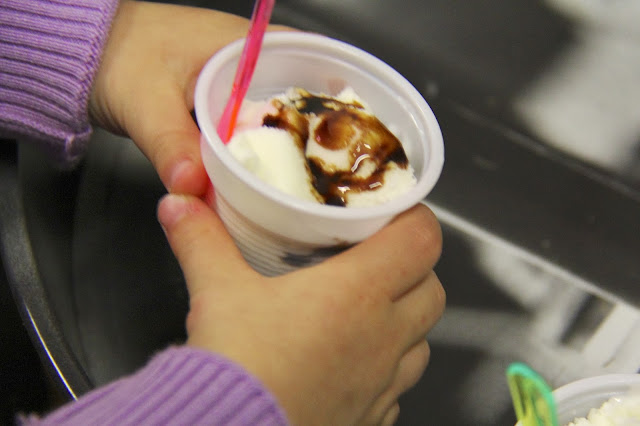
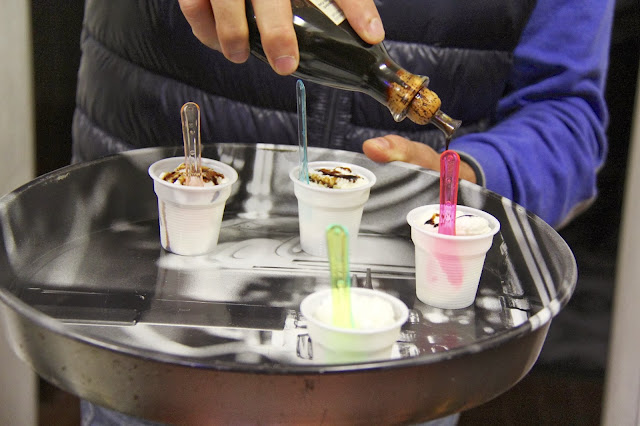
You see, as I mentioned earlier, aged balsamic vinegar has a wonderfully sweet taste with a somewhat thick consistency. It pairs wonderfully with fruit (melon, strawberries), meat (a nice hearty steak), cheese (a few drizzles over parmigiano) and especially ice cream!* In order to prove this point, Davide had arranged a tasting – a “flight” of vinegars, if you will. We started with a store-bought, uncertified vinegar. It was not good. Then we moved onto his white vinegar before climbing the ladder through his 12 year and on to the 25 year. Each one was more magical than the last. When he drizzled it on the ice cream, we couldn’t believe how well it paired. Julia was such a fan of the vinegar that she didn’t want anything to do with the ice cream, and just wanted more vinegar! This is one Italian baby!
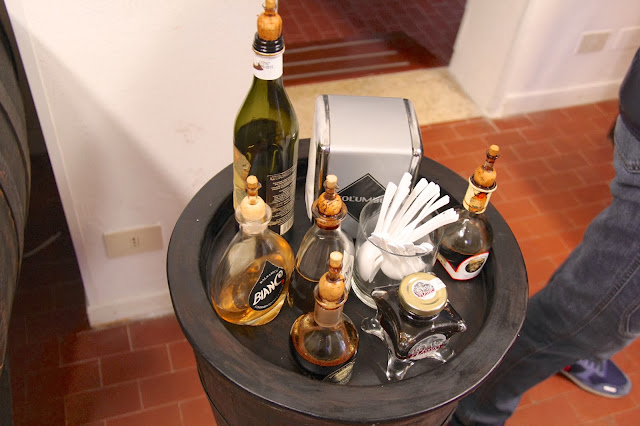
A display set, ready for us to taste
Davide explains the differences of the vinegars to an enamored fan
“Let the tastings begin!”
Davide gave us a very informative and interesting lesson
Julia did not want to miss her turn tasting
She loved the vinegar of Villa San Donnino
“More please!”
The vinegar coats the ice cream like a sweet syrup
Davide drizzles the vinegar for the rest of the group
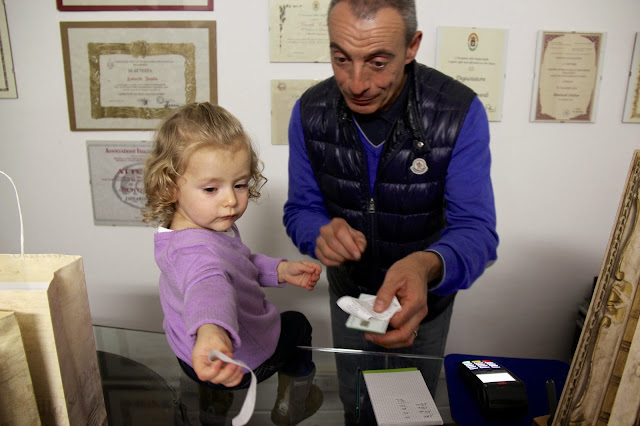
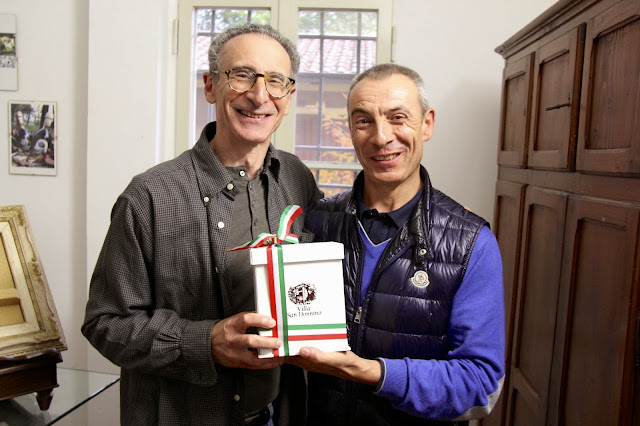
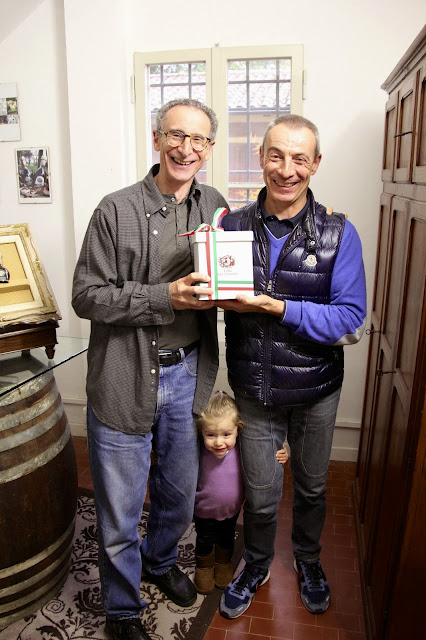
As the tour wound down, Davide was starting to feel more like a family member than someone we had just met. Each couple bought some of his wonderful aged balsamic. Jen and I got some to use here in Italy and some for when we move home (unlike olive oil, the vinegar can last for many years in the bottle). I think S and Deborah bought his entire supply, including an affinato (aged 12+ years), an extravecchio (aged 25+ years) and the riserva (aged 50+ years). I think I’ll risk facing ten years in prison to smuggle home a wheel of parmigiano-reggiano cheese if S will promise to drizzle some of his riserva on it!
Julia helps Davide ring her father up
S and Davide take a picture with his new 50 year Riserva
All of a sudden, we all heard, “anche io” (“me too” or “so do I)
Julia didn’t want them taking a picture without her
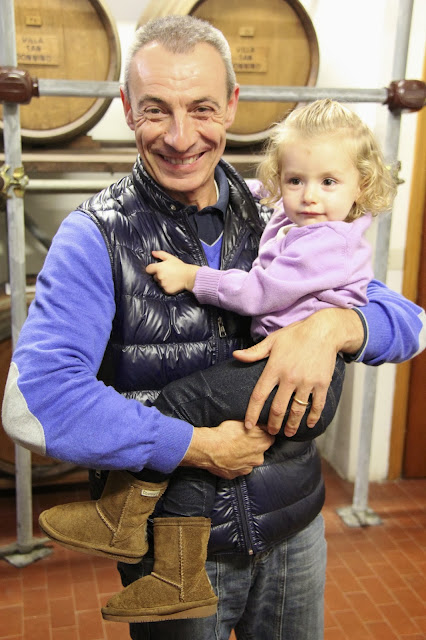
Davide holds Julia for a hug
Julia gives Davide a big hug
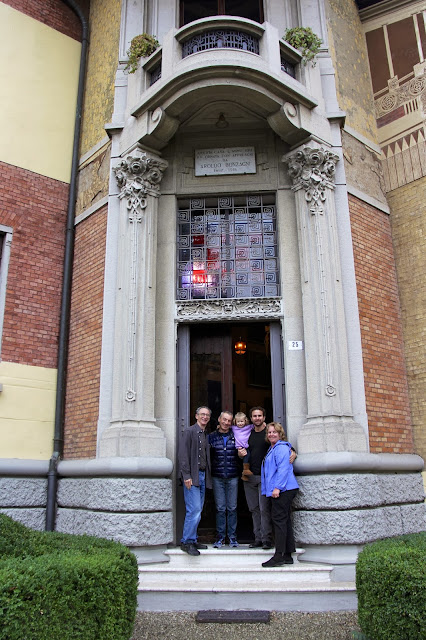
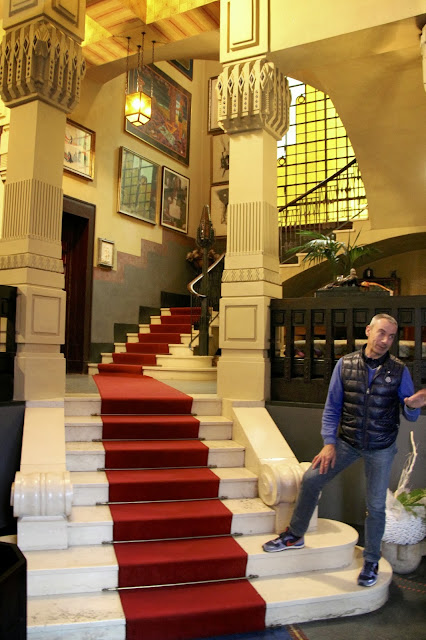
When we had completed the tour and acquisition of our newfound condiments, Davide did something that I suspect he doesn’t do for most tour groups. He offered to open his private home to us, the villa pictured in the brochure. This villa was acquired by his grandfather in the 1940’s and has stayed with the family ever since. In fact, the villa itself plays an integral role in the history of Acetaia Villa San Donnino. After acquiring the property, his grandfather happened upon a barrel used for making vinegar and so he thought he would “give it a try”. Over seventy years later, the family is still making vinegar in the traditional way. Davide explained that to be included in the small fraternity of roughly 80 producers in the world… you must have time, patience and a passion that cannot be taught. The tour of his home was simply amazing, jaw dropping examples of art and collectables abound around each corner. It was no wonder that Bernardo Bertolucci chose this location to film part of his movie, 1900, staring a young Robert DeNiro and Gérard Depardieu.
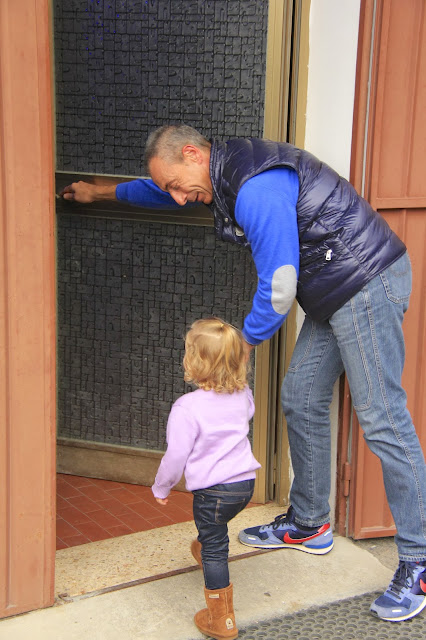
Everyone prepares to go into Davide’s home
Quite a grand entrance
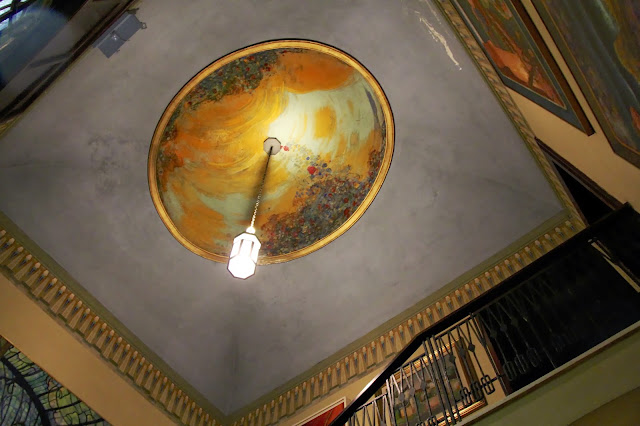
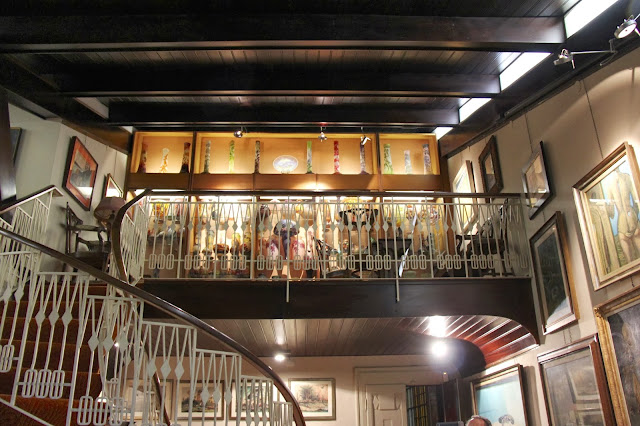
The ceiling above the staircase
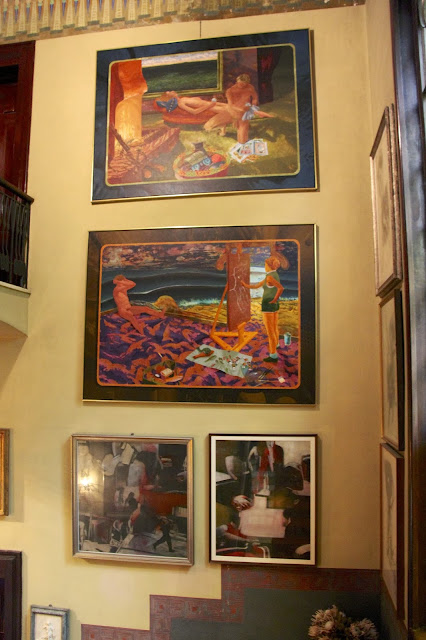
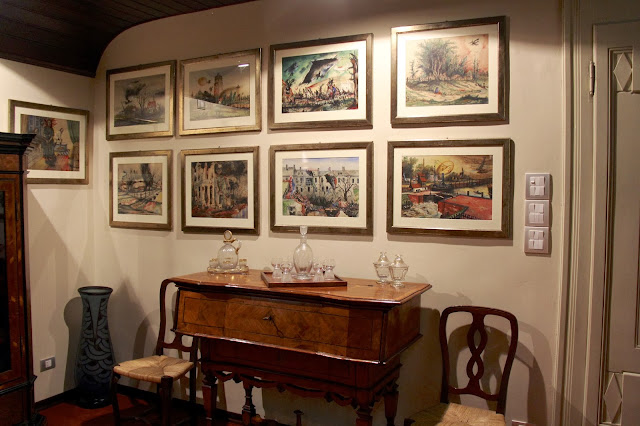
Stunning artwork adorns nearly every wall
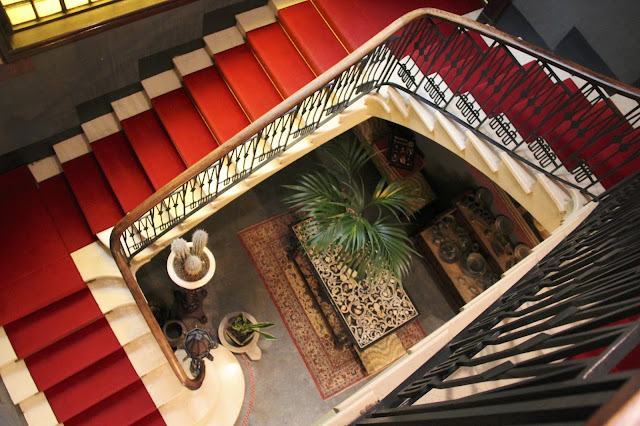
The stairwell from the second floor
A collection of smaller original prints frame an antique desk nicely
A stairwell leads to an annex full of glass pieces
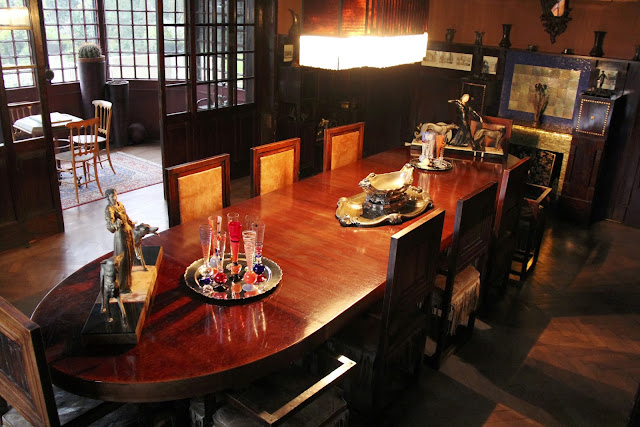
If this dining room could talk… I can’t imagine the history it’s seen. Robert DeNiro, for starters…
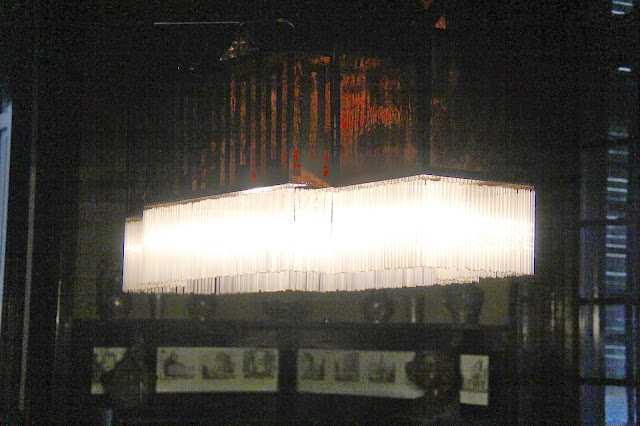
This was one of the more beautiful chandeliers I’d ever seen
As the sun was setting on a long and wonderful day, we bid Davide a fond farewell and Julia tossed her new friend many many kisses. We will definitely come back to see Davide again and re-stock our balsamic vinegar; if you find yourself anywhere near Modena, I suggest you pay him a visit as well!
*These are just a few of the wonderful uses for the condiment. While there are many, many uses for aged balsamic – most applications require a unique understanding of the complexities of this liquid gold. Since it is very expensive and can also overpower a dish with careless use, it is recommended that you do a quick bit of research before adding to your next dish.
Before Jen blindsided me so many months ago with the suggestion that we move to Italy, I never thought I would know how to make grappa. Honestly, I never thought that I would ever even like grappa! But like so many other things I swore I’d never change about myself, living in Italy has transformed that part of me (keep an eye out for me sporting a “puffy” coat this winter – a style I hated when I first moved here and now think is the coolest thing to come of the runways of Milano).
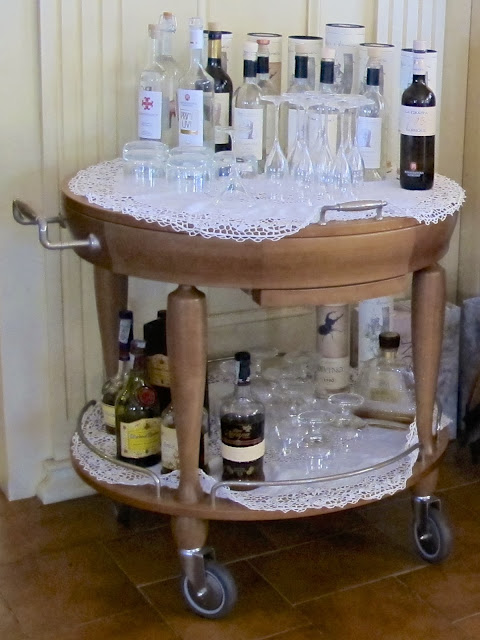
A selection of grappa offered in a restaurant in Lago Maggiore
Grappa is an alcoholic beverage that is served in Italy as a digestivo (digestive) after a meal. We have learned that Italians take the digestion of their meals very seriously and have structured the order of eating in such a specific way as to aid in the digestion. A full blown Italian meal will include the following:
You’ll notice that you’ll begin with the antipasto as a medium to enhance the appetite. The pasta course lays the “foundation” for the meal and acts as a base (note: when served as a primo, you should only serve roughly 80 grams of pasta). Next you’ll move onto your main dish and vegetables – the “center” of the meal. After that you’ll progress on to your salad (as opposed to having the salad first) because Italians believe that finishing your meal with the light and refreshing salad helps aid in digestion (add this to the list of things that I’ve changed in my daily life). Finally, the dessert rounds out the meal and the coffee always comes last. But when you eat like this, you’ll need one final component to assist in proper digestion – your ammazzacaffè (coffee killer). In many cases, this will come in the form of a grappa.
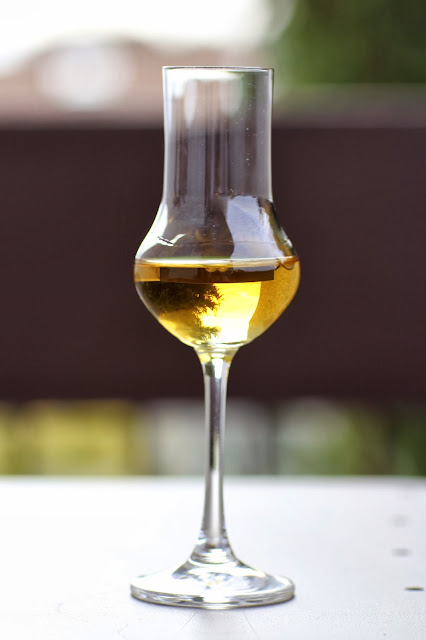
A glass of my favorite grappa in a proper bicchierino (small glass)
I have had the good fortune to have visited Italy many times before moving here, so grappa was not foreign to me. I’d choked the stuff down on many previous occasions, admitting to the table that I wasn’t a fan – but not leaving a drop behind, lest my manhood be challenged. However, somewhere along the way I have not only grown accustomed to drinking grappa – I have become quite the fan. I seldom finish a heavy meal without a grappa and I would be lying to you now if I didn’t tell you that I am presently sipping a nice Grappa Casereccia as my fingers glide across the keyboard (the same grappa pictured above).
The only thing better than drinking grappa is making your own grappa. You see, while the distilling process of grappa is more or less the same, the taste can vary greatly between types (grappa is made by distilling the skins, pulp, seeds and stems left over from the winemaking after pressing the grapes). The quality of grapes used, the specifics within the distillation process and any additional processes can alter the flavor of the grappa.
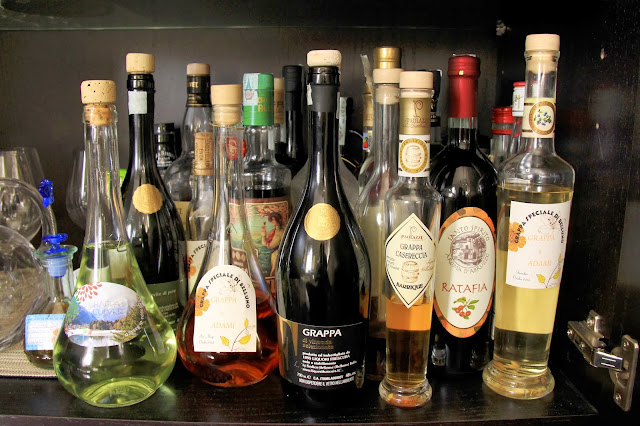
Claudia (Jen’s aunt upstairs) is fortunate enough to be from a region in Italy that [I personally believe] stands out above many other fabulous grappa-producing areas. She has brought back many different types for us to try and our liquor cabinet has expanded and contracted like the aged wood of the barrels themselves. In addition to supplying us with some of Belluno’s best grappa, she has an incredible knack for making her own. She taught us her secrets and now I’m going to impart them on to you.
Our liquor cabinet – please don’t play “I spy” with how many bottles of grappa are in there!
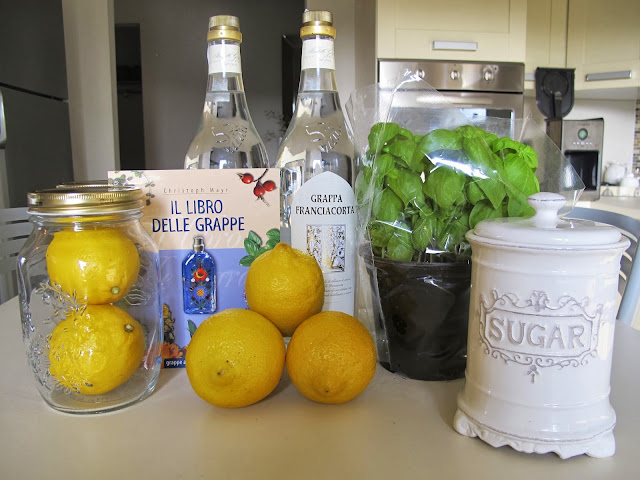
First, you start with a “white” grappa. This is a plain grappa that does not have any flavors and uses the traditional distilling process. Next, you pick your “flavor”. This can be anything from a melissa (a plant that tastes a lot like mint) to a pino mugo (a small pine-cone unique to the Dolomites). For our first batch of grappa, Jennifer selected basilico (basil) and limone (lemon).
The ingredients
BASILICO (BASIL)
Ingredients
>1 liter of grappa (white)
>20 leaves of fresh basil
>Lemon peels
Preparation
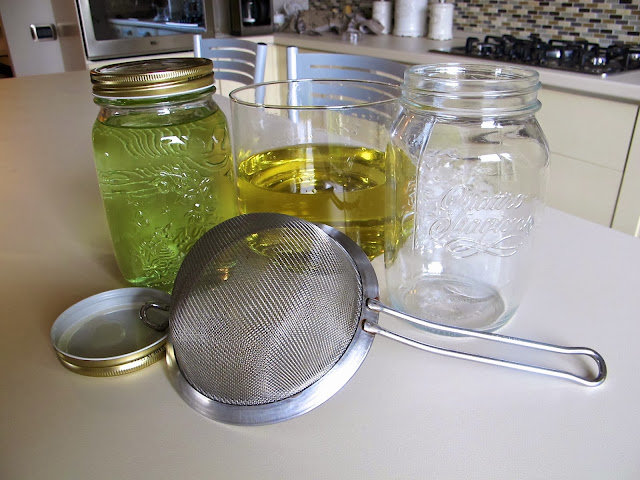
>Place the grappa into a jar
>Add 10 unwashed leaves (if the plant is dirty, wash and let dry)
>Leave the liquid for three weeks in a warm place, not exposed to the sun
>Filter the basil and leave for another three weeks with remaining leaves
Note: basil is particularly suitable to be combined and to macerate together with other fine herbs
LIMONE (LEMON)
Ingredients
>1 liter of grappa (white)
>Lemon peels of two lemons
>6 leaves of sage
>2 cloves
>1 tablespoon of sugar
Preparation
>Add all the ingredients of the grappa in a jar and leave in a hot place for two weeks
>Shake the bottle occasionally
>Filter and leave for another four weeks
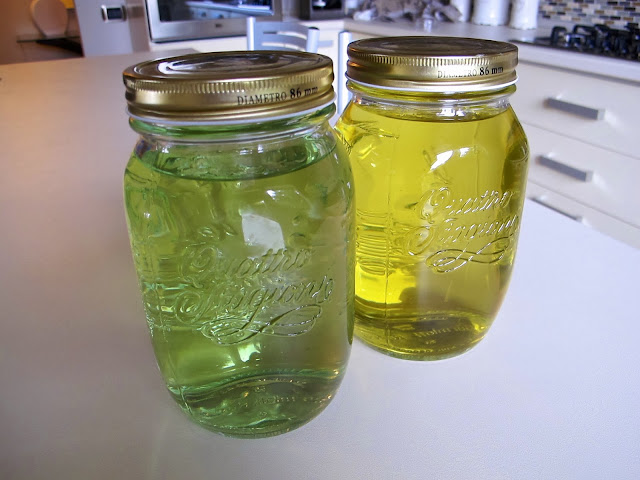
The jars after the filtration process
Now that they’ve been filtered, they’re set to rest a little longer
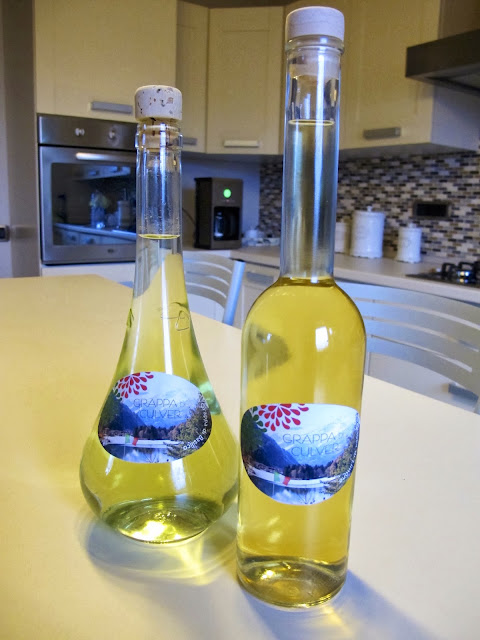
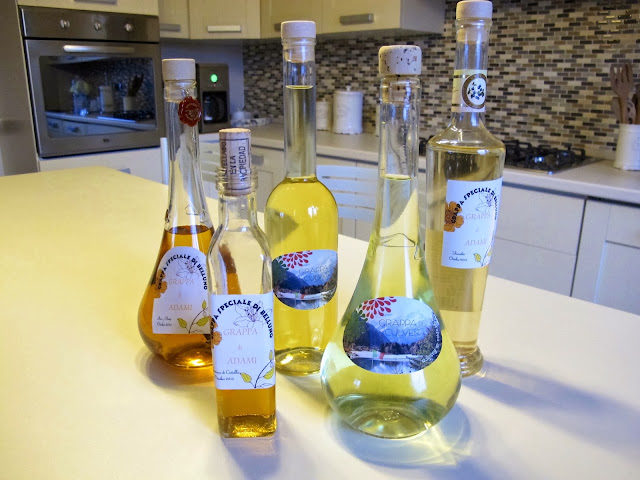
Once complete, pour contents into bottles of your choosing (in our case, old grappa bottles)
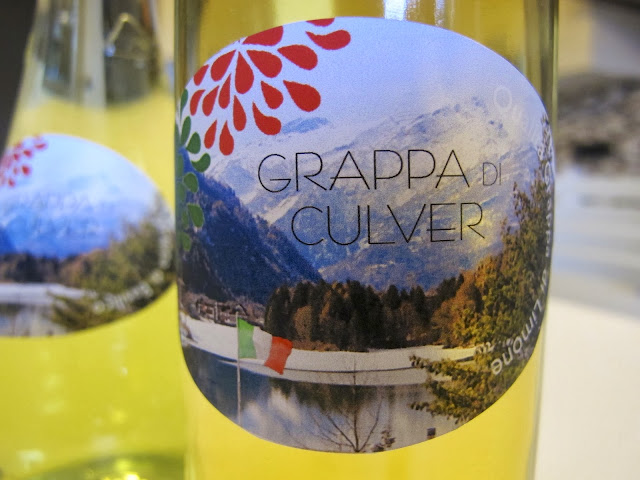
If you really want to get nutty, make custom labels
Claudia was simultaneously making grappa of her own and gifted us many bottles (hers was better)
I hope that you’ve found this to be informative and fun. Making grappa is not the hardest thing in the world, you just need some time and access to good grappa (admitadly, we did chose two of the easier recipes). If you end up trying it at home – let me know. And if you haven’t tried grappa yet, eat a big meal and have a sip. You may be cursing me as the first taste burns your throat, but thanking me as it frees open your full stomach.
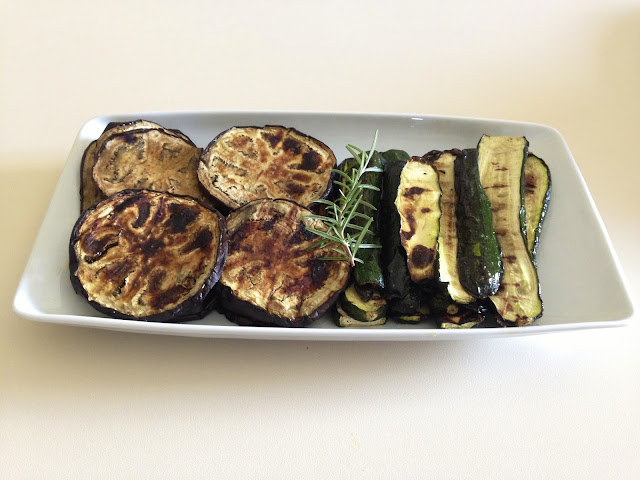
Before you put away your grills for the summer, you have to try these very simple but delicious verdure alla griglia (Grilled Vegetables). The combination of a few very simple ingredients helps bring out the flavors of the vegetables, leaving even the pickiest of eaters wanting more.
Verdura alla griglia (grilled vegetables)
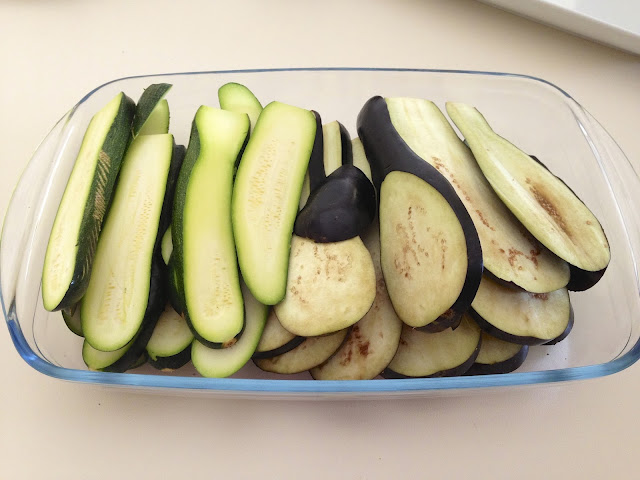
For this particular meal we chose to use melanzane (eggplant) and zucchine (zuccini). You can use a number of different vegetables that will all come out terrific on the grill.
DIRECTIONS
>Begin by slicing the vegetables in thin strips. I don’t have a mandolin here but that would have made it much easier!
Slice thin, but not paper thin – roughly a 1/4 inch. It has to withstand the heat of the grill
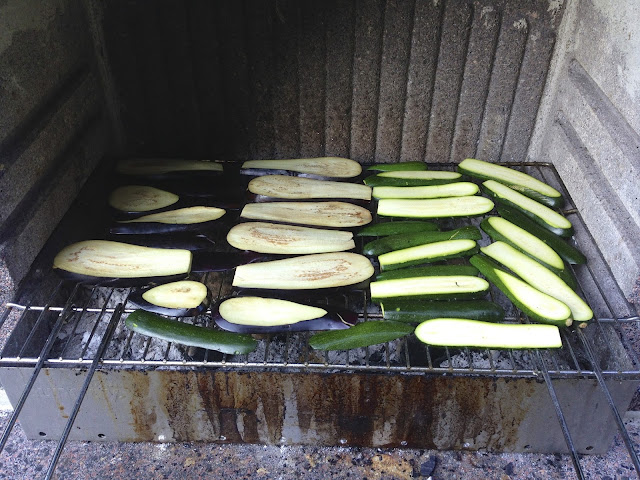
>Next, place vegetables on the hot grill. The seasoning comes later. This was foreign to both Greg and me because we had grown accustomed to brushing olive oil and seasoning on before we grilled the vegetables. In this case, don’t apply anything – just put them on the grill naked.
Place on the grill without any prior treatment or coating
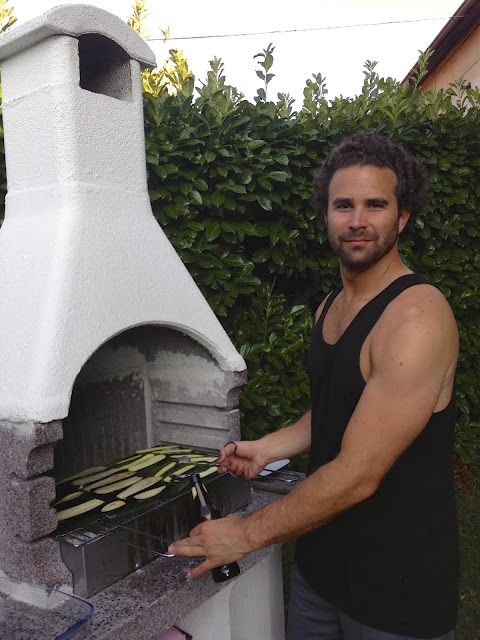
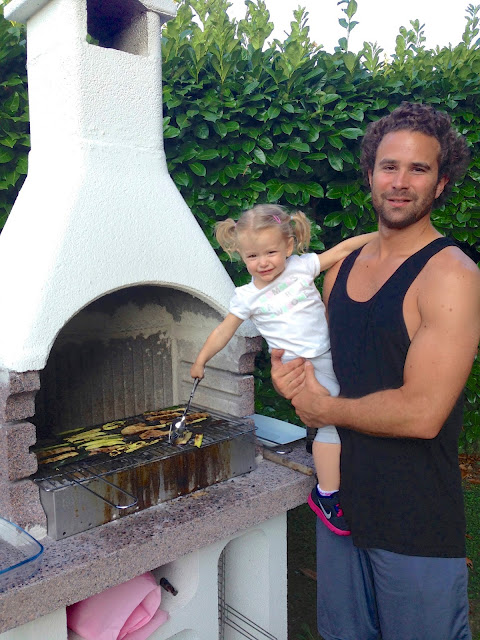
If you are lucky like me, you’ll have a good-looking crew working the grill!
For some reason, Greg always grills better with a beer
But this is his real secret weapon!
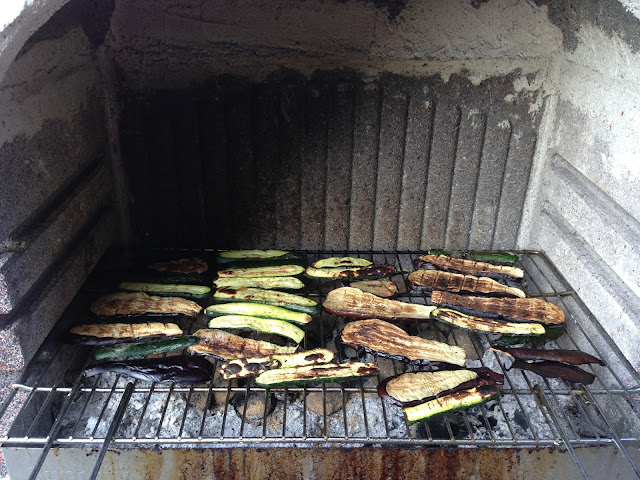
Greg was careful to brown each side to get that wonderful charred flavor without burning the vegetables.
Brown each side and be sure to cook all the way through – grill marks add a nice appearance
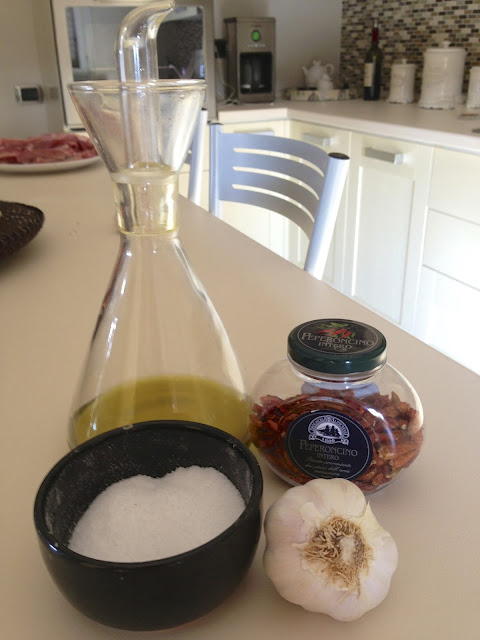
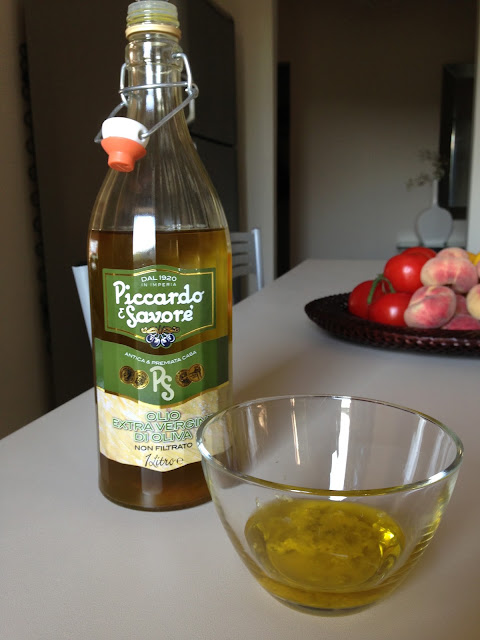
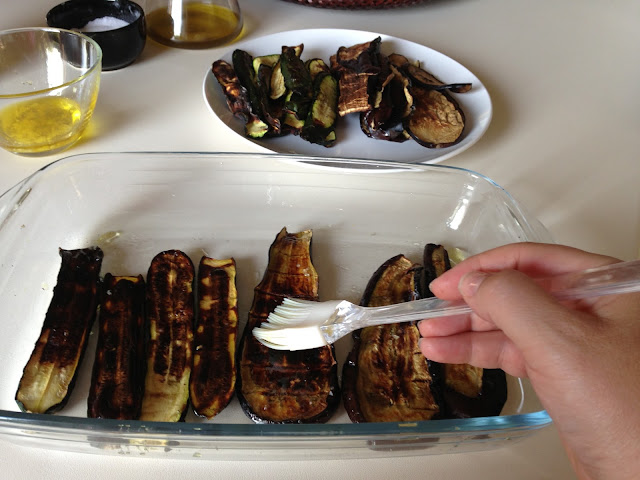
>The final step is adding the seasoning, a combination of olive oil, salt, minced garlic and a dash peperoncino (dried, spicy red peppers). >Combine minced garlic and olive oil in a bowl. Brush on the garlic-oil and add salt to taste.
>At the end, add a dash of peperoncino for a kick of flavor. Remember to be careful when you add the heat. You can always add more but you can’t take it away. I make a separate dish for Julia without the hot peppers.
Olive oil, garlic, salt and hot peppers
Olive oil mixture
Brush on to evenly disburse the oil
If the vegetables sit they will continue to develop flavors. They don’t have to be served hot. This is a great side because you can prepare it ahead of time before your guests even arrive.
I hope you will give these a try the next time you and your family decide to pull out the grill. Word to the wise, if you’re using a charcoal grill (like we do) – be sure to give yourself plenty of time to heat the coals, grill and then cook the vegetables. You’ll probably need a two hour total head-start before you plan on cooking your meat.
From Greg’s Grill
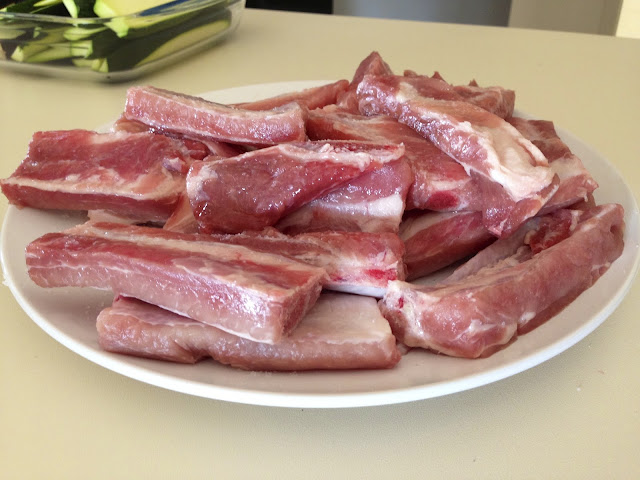
Greg here – just quickly chiming in. Since I am a carnivore and would never eat just vegetables (I’d compare that to watching watching “Sleepless in Seattle” without immediately following it up by watching a football game – just to even the scales), I suggest pairing your tasty vegetables with any delicious grilled meat… without heavy sauces. Chicken would work quite nicely, but without the BBQ sauce (in which case, you’re better off pairing it with a pickled slaw). In that same vein, I’d suggest you try grilling ribs (pork or beef – we prefer pork) but with a slightly different twist. Try grilling it the Italian way – you may be pleasantly surprised.
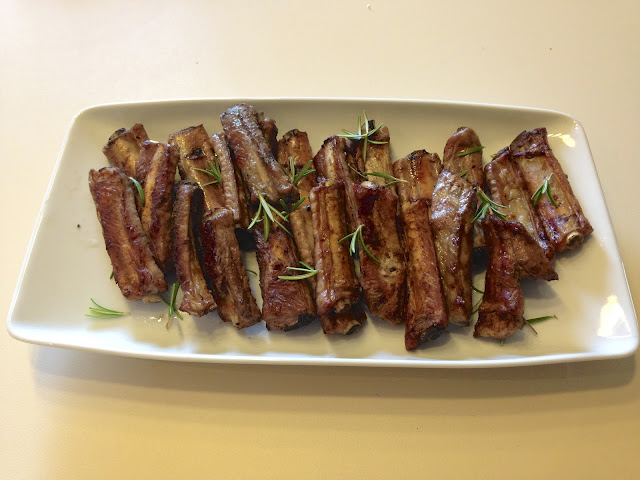
The process is simple – high heat, grill for a few minutes, searing on each side. Remove from grill and serve. But here’s the kicker. No marinade. No sauces. No seasoning (not even salt). Like the vegetables above, place the ribs on the grill as naked as Miley Cyrus when she twerks. When they are fully cooked, remove from the grill and then liberally add salt. The salt will bind and enhance the natural flavors of the meat, leaving your tongue free to enjoy the flavor as it was intended. I learned long ago that Italians prefer fewer flavors and hardly ever mask food with heavy sauces. We have lovingly grown accustomed to these types of ribs over the summer, but admittedly – I did just smuggle some Texas BBQ dry rub back from the US… just to do a taste test. I’ll be sure to let you know which way reigns supreme.
Get good, meaty ribs from your butcher (we prefer pork – beef has nice flavor, but less meat)
Grill and simply add salt (the rosemary was sprinkled for presentation and aromatics)
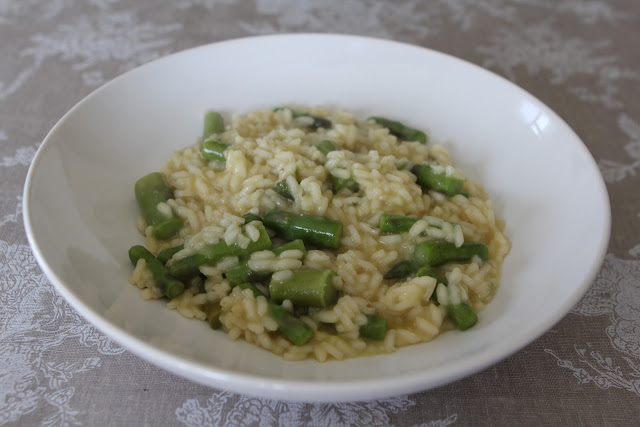
If you have never tried Risotto, I think it is a must. It’s delicious and a great way for us to change up lunch from our typical pasta dishes. Since this has been our first week of spring weather I wanted to make a spring risotto with beautiful seasonal asparagus.
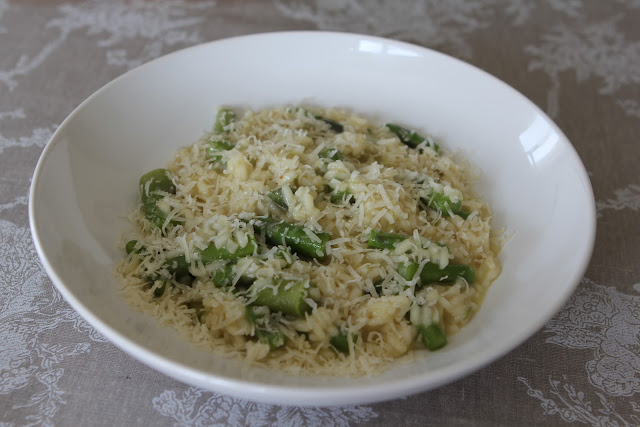
Risotto with fresh asparagus
My mom used to make this for us a lot as a kid growing up in the spring and summer, so I was excited to make this for Greg and Julia. I was pretty happy with how this dish turned out. I served with a fresh salad of fennel and our meal was complete. Even Julia ate a huge plate. This dish is a great way to get kids to eat their vegetables. I hope to post some other risotto recipes soon (like pasta, there are many different ways to introduce new flavors). I hope your enjoy this as much as we did.
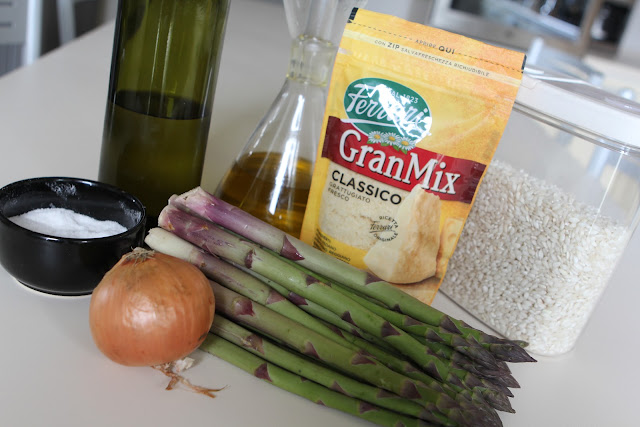
INGREDIENTS (serves 4)
>Olive oil
>One (1) small onion (diced)
>Four (4) cups of chicken stock
>Nine (9) palms of arborio rice (two palms of rice per person, with one extra for good measure). This is roughly two (2) cups of rice
>Two (2) cups of asparagus, pre-cooked (best to blanch to preserve color and texture). Cut into 1″ pieces
>Between half (½) and a full cup of white wine (depending on taste/quality of wine)
>Roughly one half (½) a cup of grated parmesan cheese and then additional cheese for the table and garnish
>Third (1/3) stick of butter
>Salt to taste
Fresh ingredients
>Heat chicken stock in a pot.
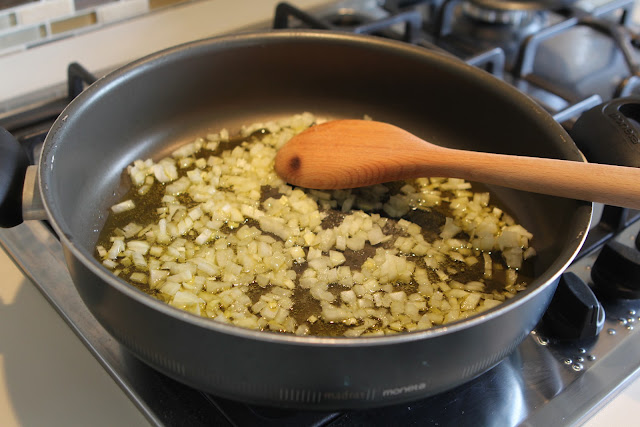
>On a separate burner, heat olive oil in a large flat pan with high sides. >Add onion until it is softened and translucent. While the onion is cooking, add a dash of salt. This could take a little over 5 minutes. Don’t allow the onions to brown.
Cook onions
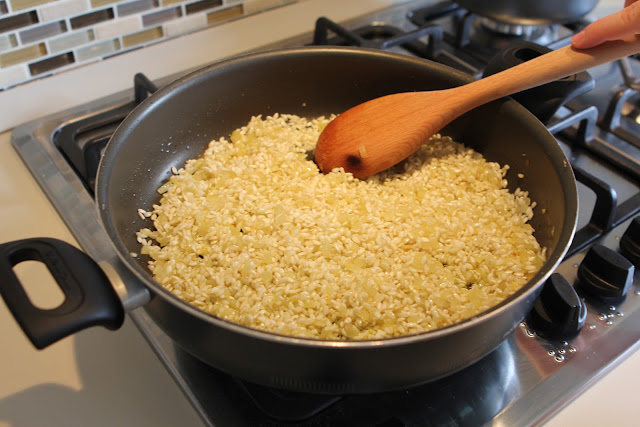
>Add the rice and mix together. Stir until the rice is toasted (but not brown) about three – four (3-4) minutes.
Add the rice and continue to stir
>Add wine and continue to cook the rice.
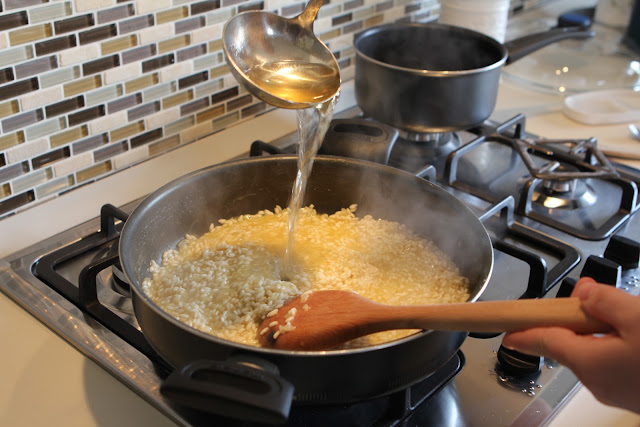
>After a minute, add a ladle or two of the stock, stirring the rice continuously until the liquid is absorbed.
>Continue stirring and ladling the broth for approximately fifteen (15) minutes. Be sure to taste as you go and add salt accordingly. The rice should be al dente and creamy.
Ladle in the stock
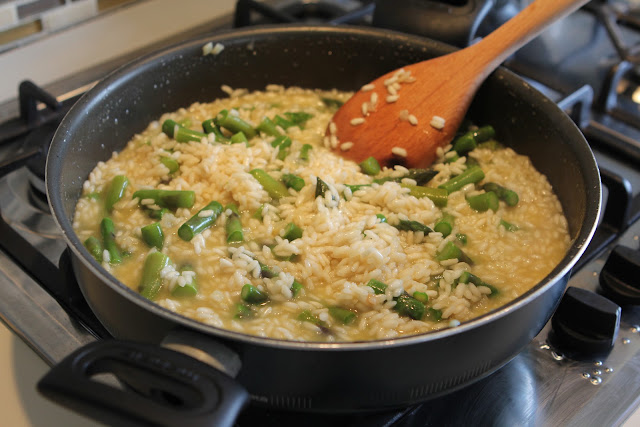
>Before you add your last ladle or two of stock, add the asparagus and stir into the rice.
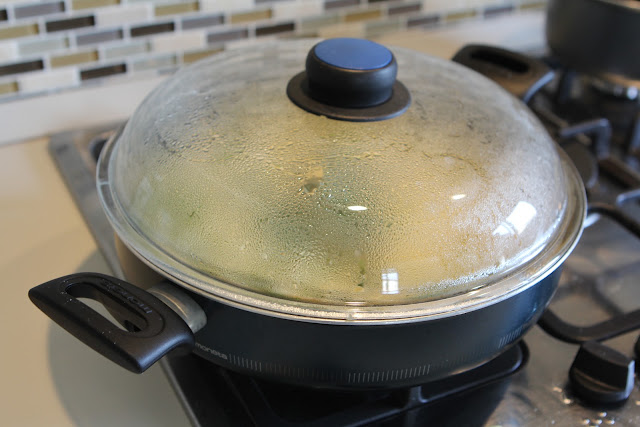
>Remove from heat and stir in butter and Parmesan cheese. Cover and allow pan to sit for five (5) minutes.
Add the asparagus…
…and cover
>Serve right away and top with fresh grated Parmesan cheese.
Enjoy!
PLEASE NOTE – Cooking risotto requires constant attention. Make sure the table is set and everything else you are serving is ready before you begin the rice. I have made that mistake before!
I recently realized that our “Home Cooking” section of the blog was growing the slowest throughout the entire site. I’m only partly ashamed to admit that the one consistent about our trip is that we’ve been indulging in some of the most amazing food we’ve ever had. However, my OCD recently kicked in when I noticed all our food posts landed in the “Restaurant” or “Jen’s Kitchen” sections. So, in an effort to right this wrong… here is one very memorable home-cooked meal we hosted a little while ago.
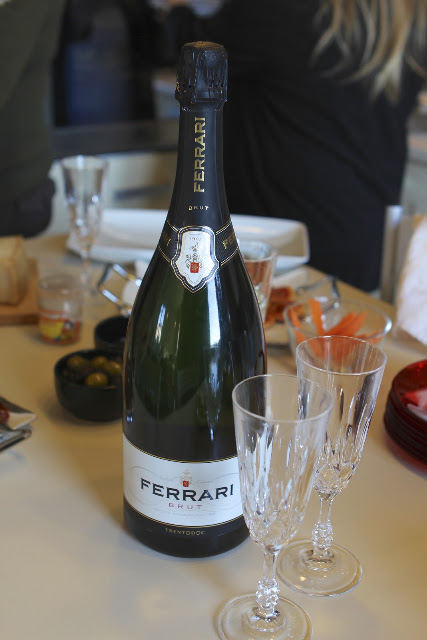
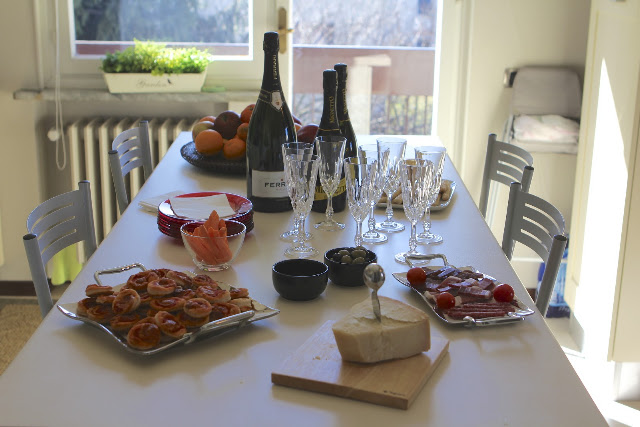
Eugenio brought a wonderful Champagne
Jen has a warm and wonderful family, with whom we love spending time. Recently, her cousin Eugenio drove from Torino to spend time with us and get reacquainted with Julia. He brought his lovely girlfriend, Barbara as well.
But enough jabbering… this post is all about the food and drink!
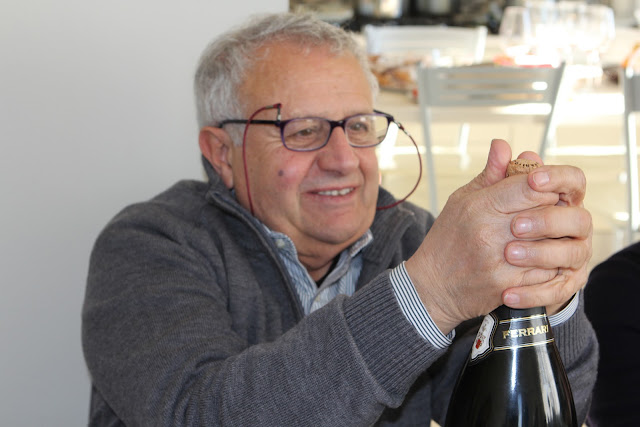
Let’s pop this cork and get the party started!
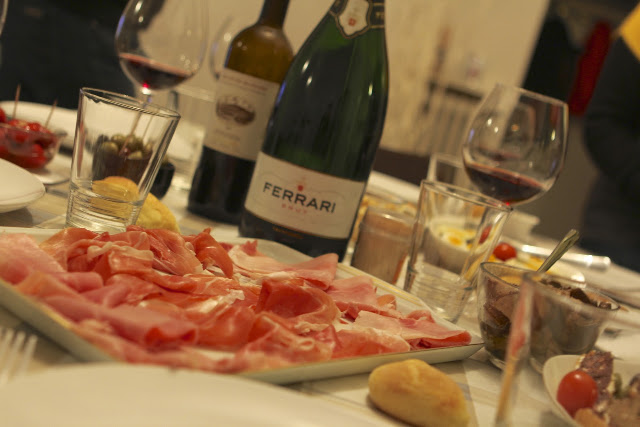
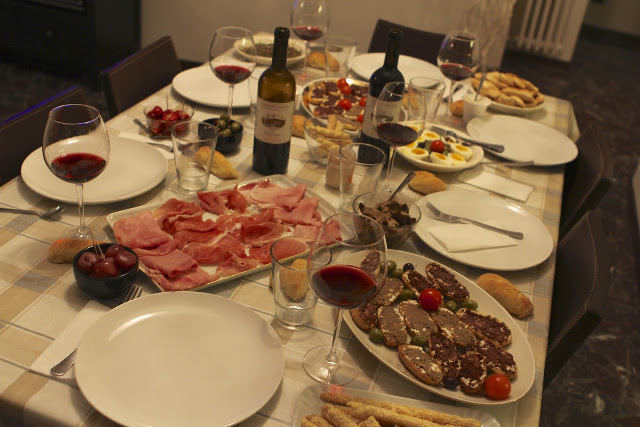
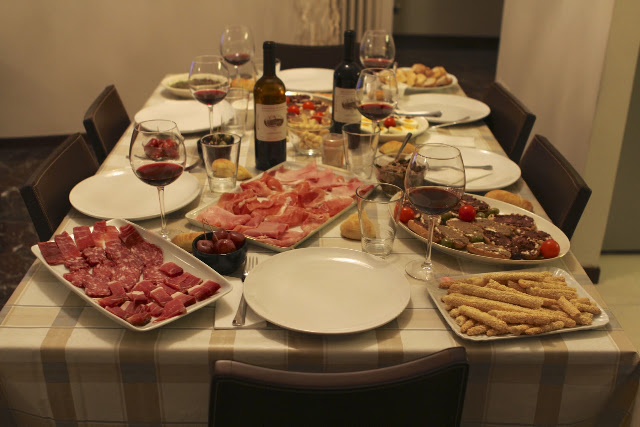
The night Eugenio and Barbara arrived, we set out a light dinner – just some typical Italian antipasti to nibble on, as well as some regional snacks we all like to enjoy.
Eugenio brought the Champagne
I think we’re going to need a bigger table
Oh wait, there was a free corner – let’s fill it with food
The next day, we had Jen’s cousin Massimo and his beautiful family over for a proper meal.
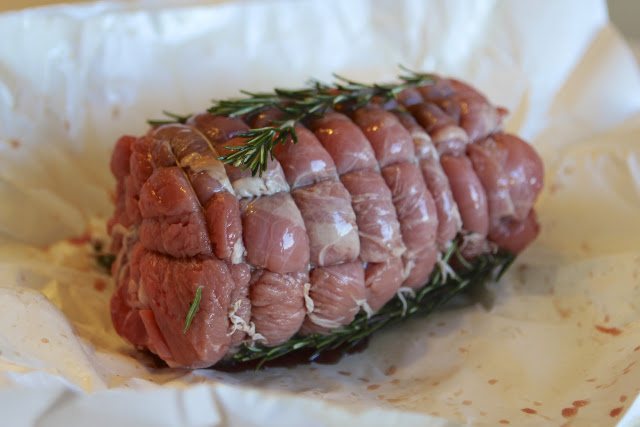
Vitello (veil) roast from our local butcher…
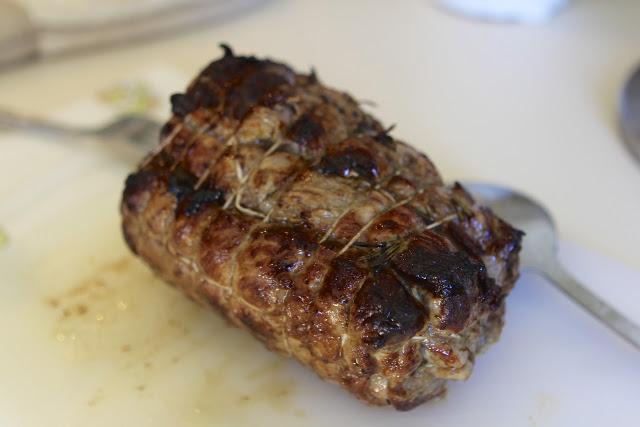
…after a nice sear
Antipasti for our guests
Claudia and Eugenio horsing around
Wait – who hit who?! Love both their expressions
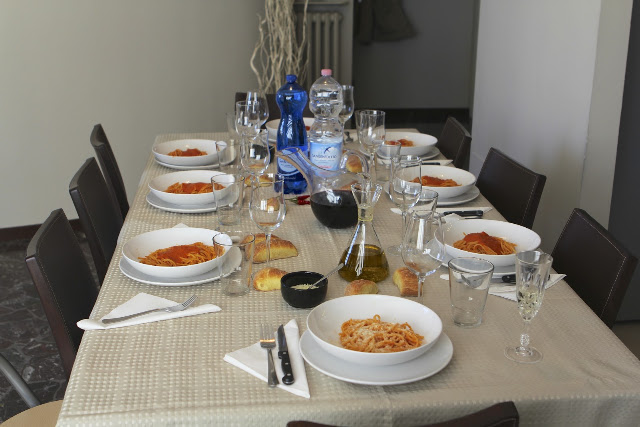
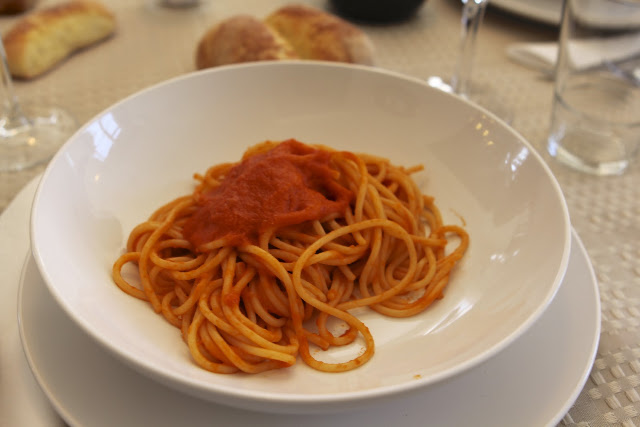
Jen made a delicious prima (first course) – pasta pomodoro
Yummy!
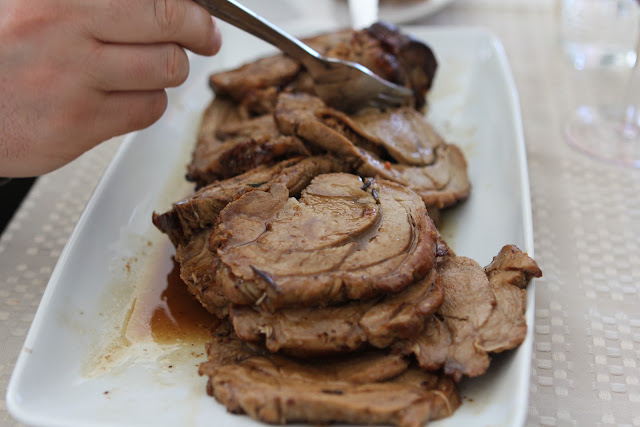
The secondo, our vitello (veil roast)
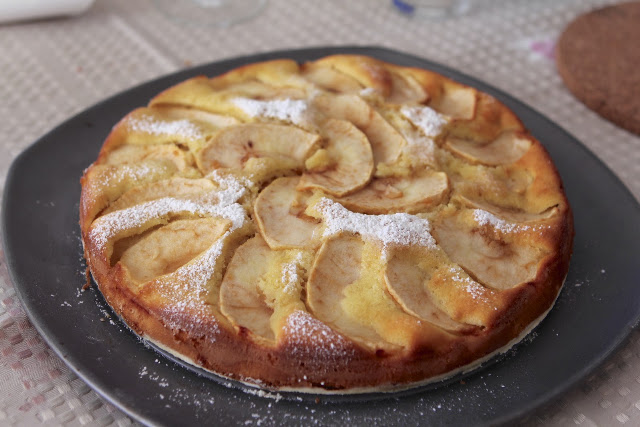
Alessandra (Massimo’s wife) made a beautiful torta
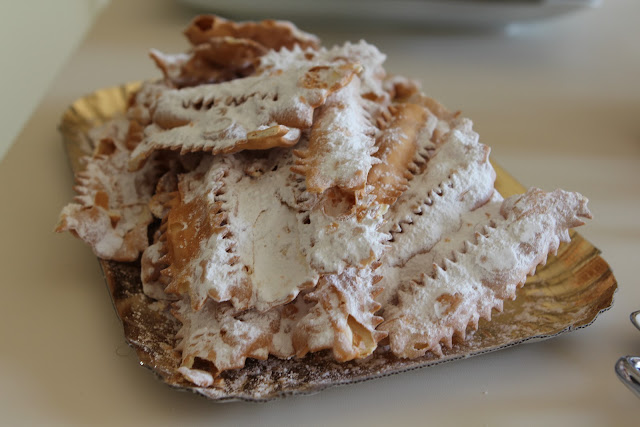
We picked up some chiacchiere
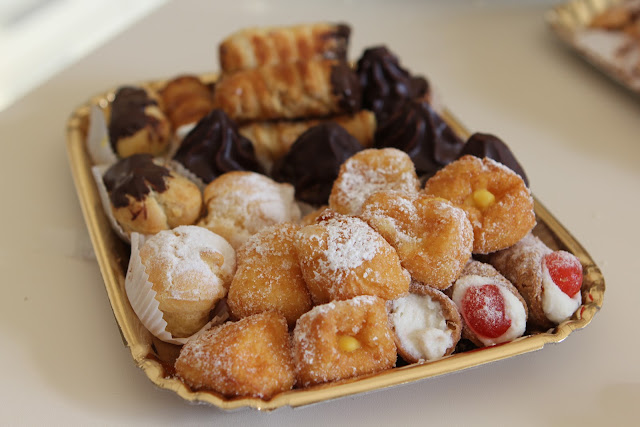
Eugenio got some additional pastries
Julia’s cousin Bea, enjoying her ice-cream
Julia stole a taste
Everyone was so stuffed we needed a break with some scotch
It’s not a party unless you serve a second dessert
It was a wonderful weekend filled with too many delicious treats. Hopefully you were able to enjoy as well.