I had the pleasure of first sampling this rich and tasty dessert at a friend’s house over the holidays. After my first bite I was hooked and inquired after the preparation of the dish. Luckily, everyone here is happy to share their secrets and pass on tips. First, let me explain, chocolate salami is not salami at all (even though Greg wolfs this dessert down, he has a hard time getting past the name). This simple, no bake dessert only resembles salami. This Italian favorite was originally served around the holidays but now is acceptable any time of year. I think it’s the perfect dessert to serve while entertaining. The best part is that you can prepare it ahead of time and store it in the freezer.
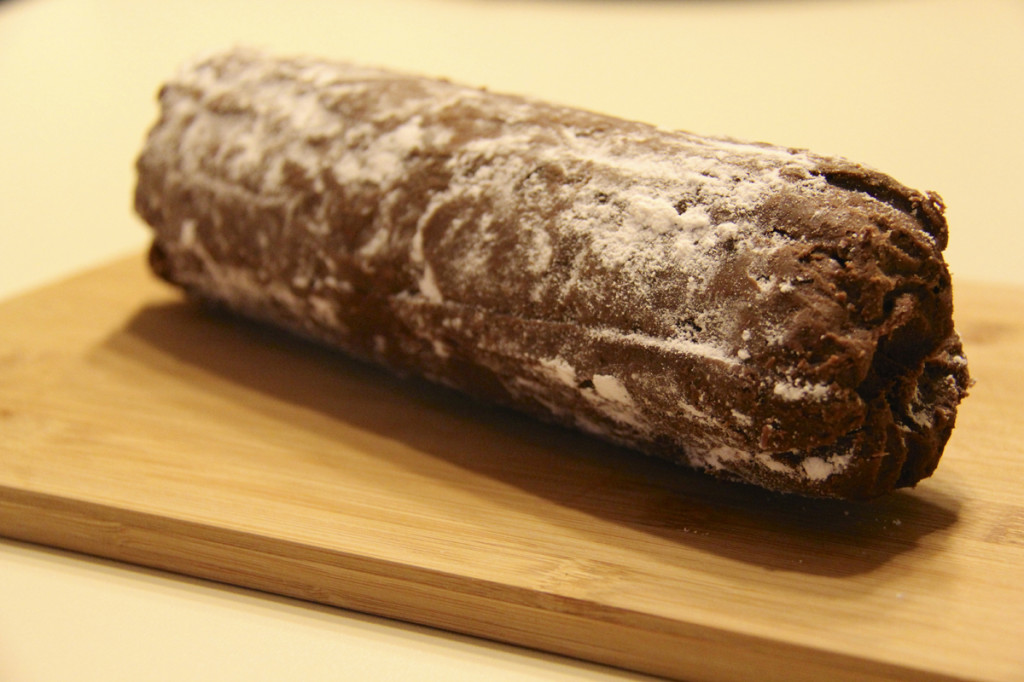
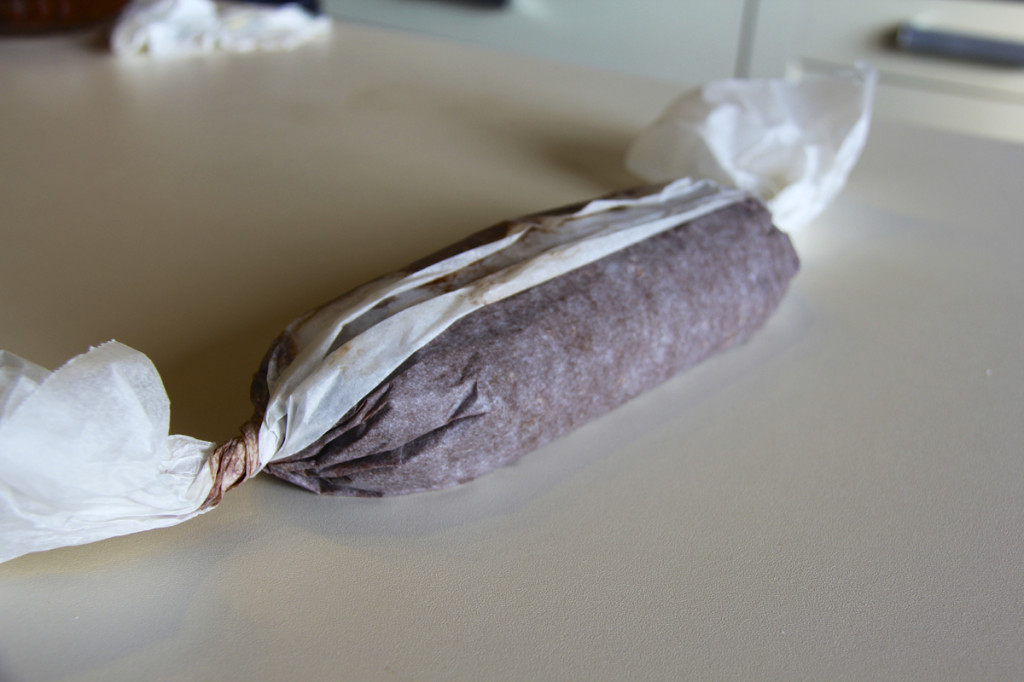
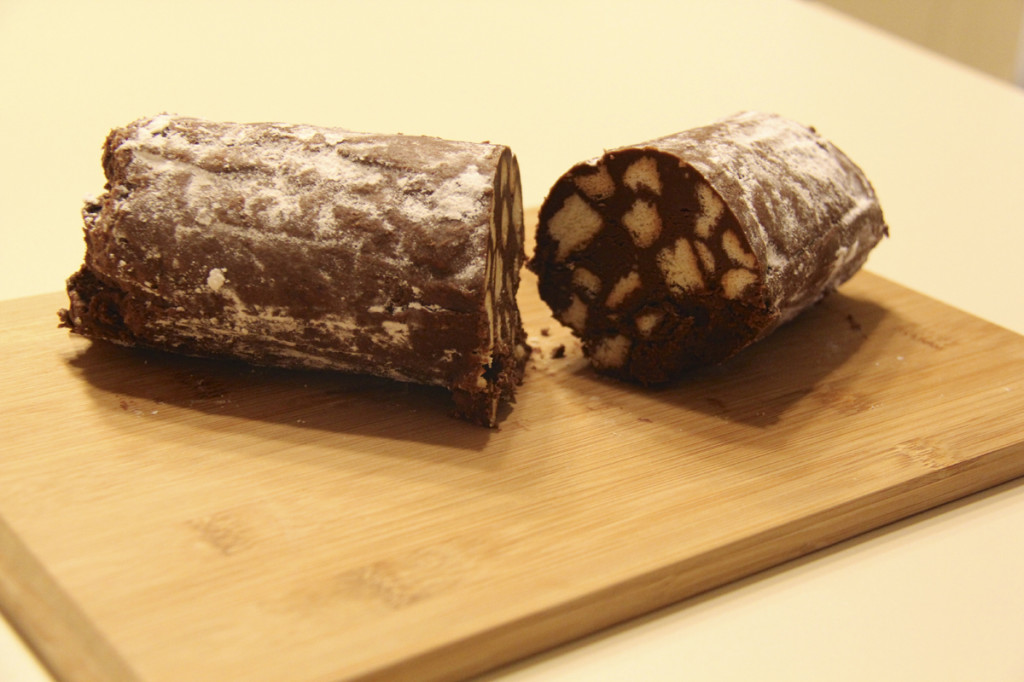
Voilà! A salame di cioccolato (chocolate salami)
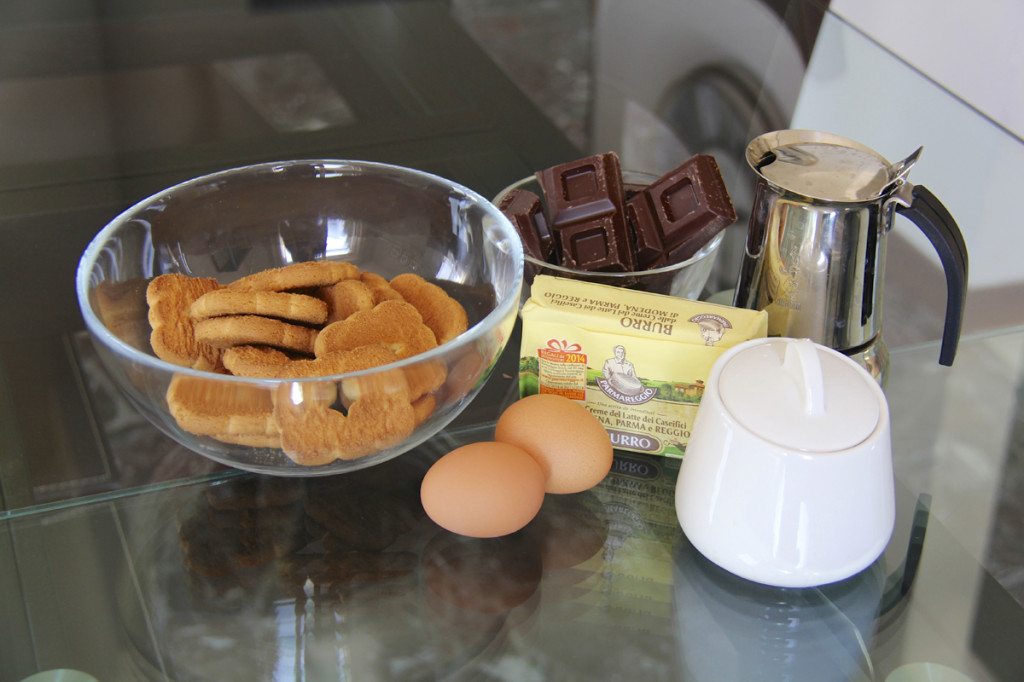
INGREDIENTS (serves 8 people)
>One (1) cup of biscotti or dry cookie broken into pieces >Eight (8) ounces of dark chocolate. I used 70% >One (1) stick of high quality butter, softened >Two (2) eggs, very fresh >Half (½) cup of sugar >Quarter (¼) cup, freshly brewed espresso >Confectioners’ sugar, as needed >Chopped nuts optional (I didn’t use them but I think I will try next time)
***RAW EGG WARNING. I have been told you can make this dish without using eggs but I haven’t tried this myself.
Your ingredients
DIRECTIONS
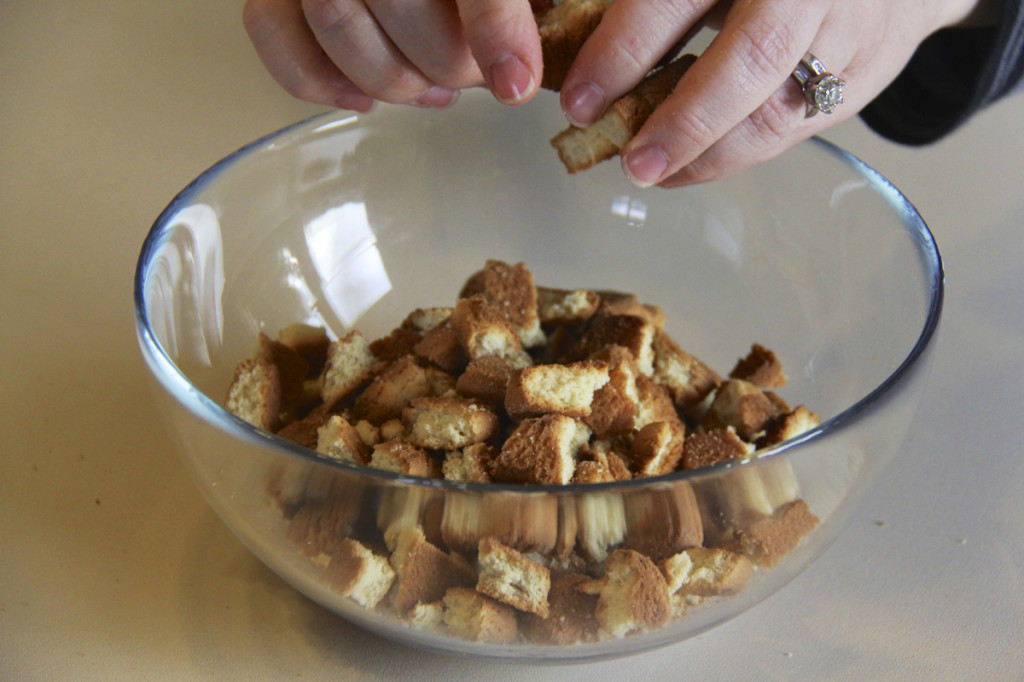
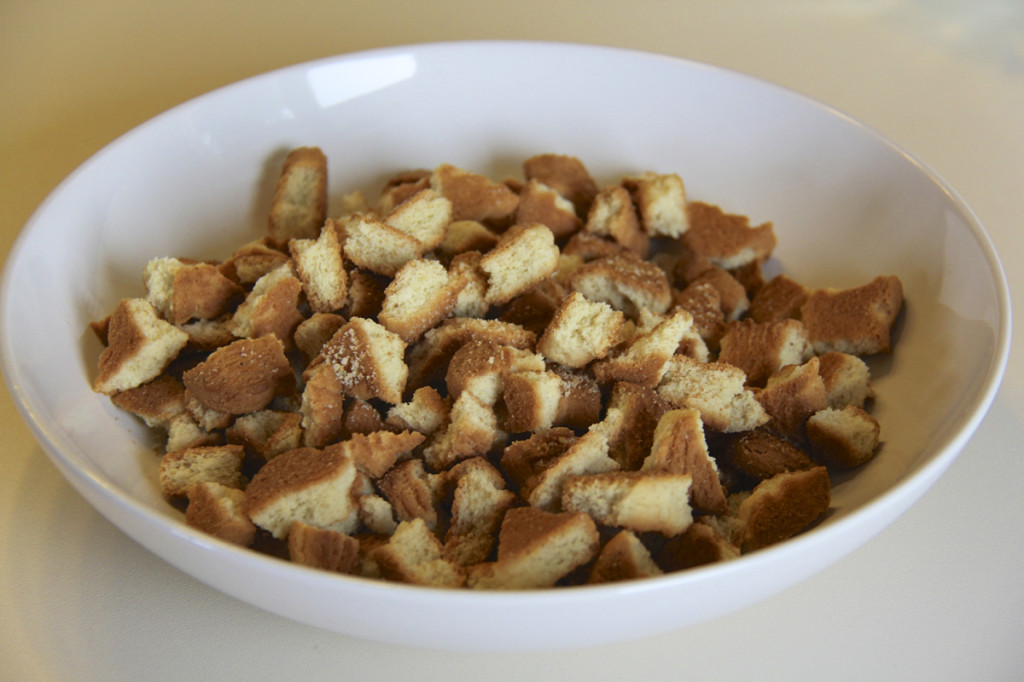
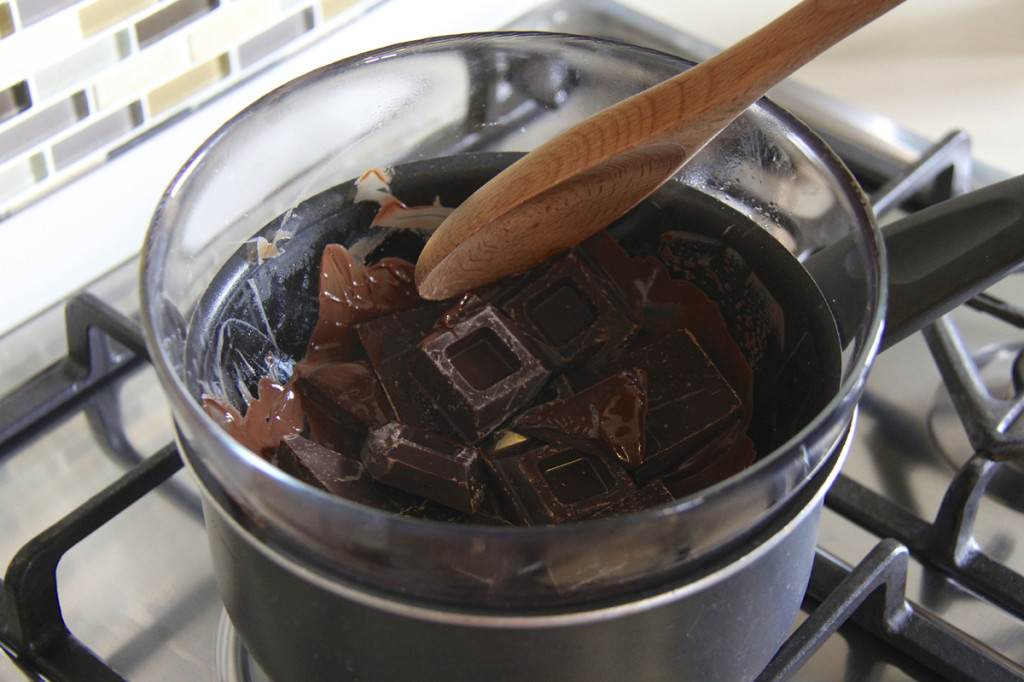
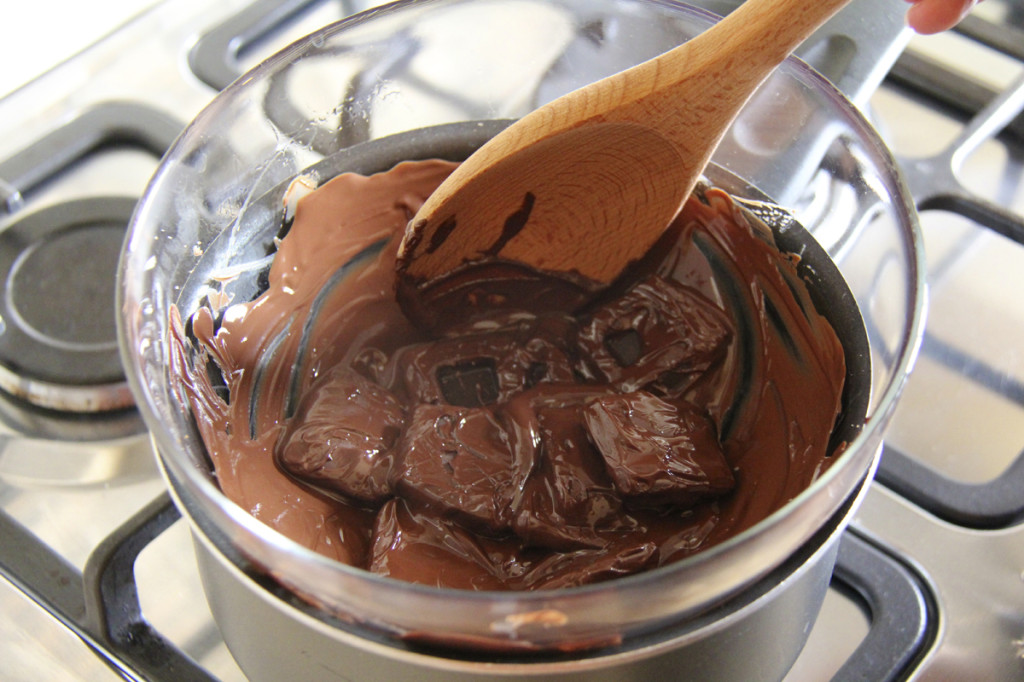
Begin by breaking up the biscotti and setting them aside. Melt the chocolate using a double boiler and stir until there are no lumps.
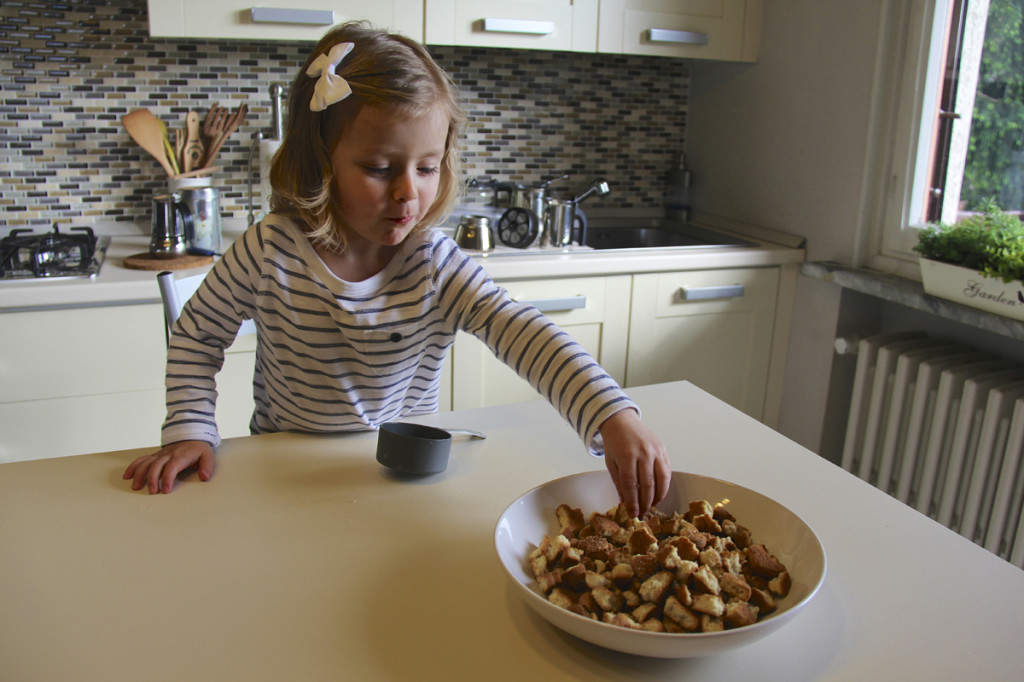
Break the bits of biscottiDon’t crumble them too much – they’ll need to represent the inside of a salamiTry not to lose any too many of your cookie crumbles in the processUse a double boiler to melt the chocolateThe double boil method is easy and brings the chocolate to a perfect consistency
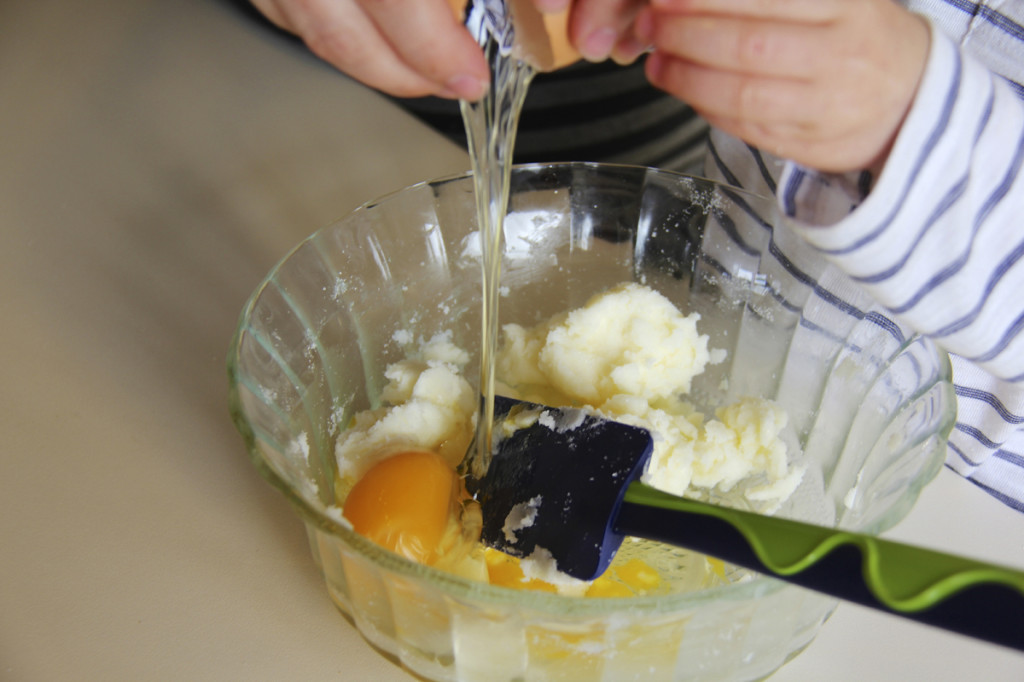
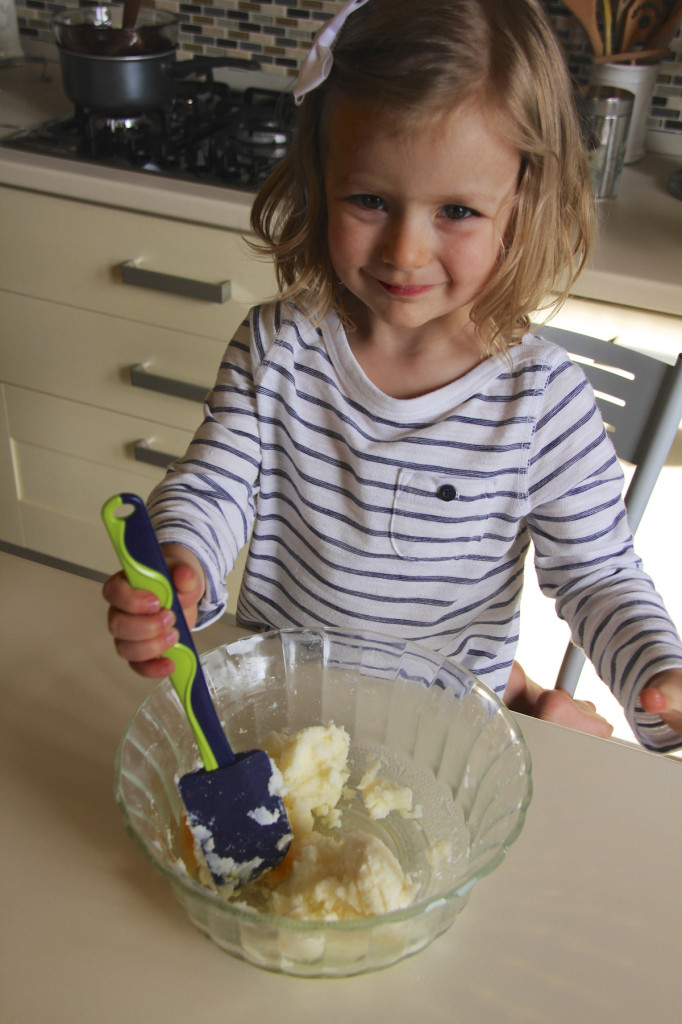
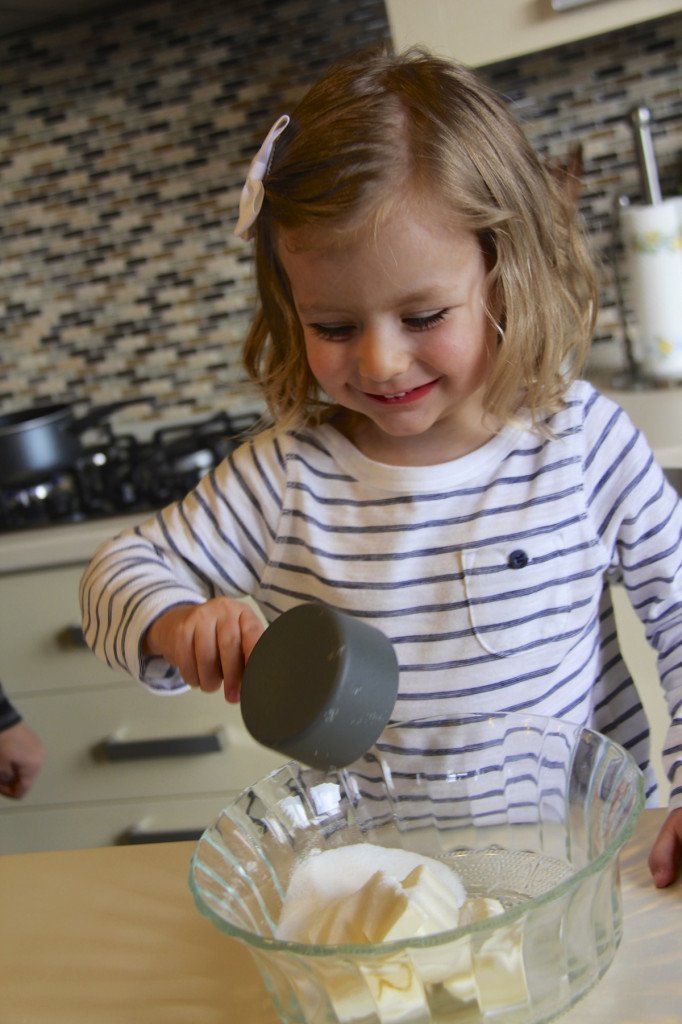
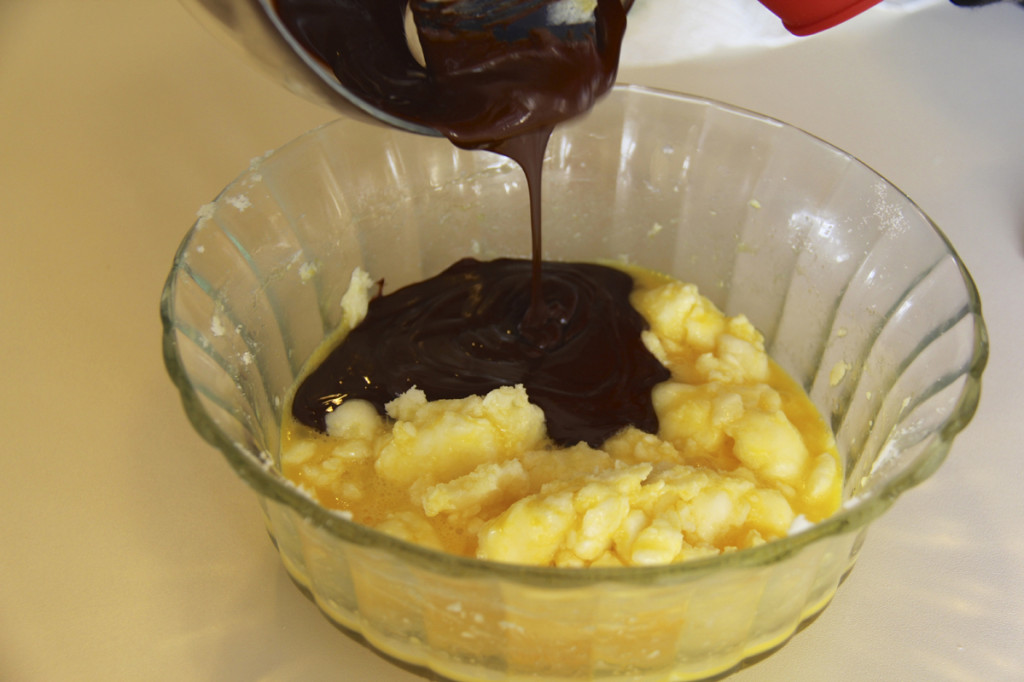
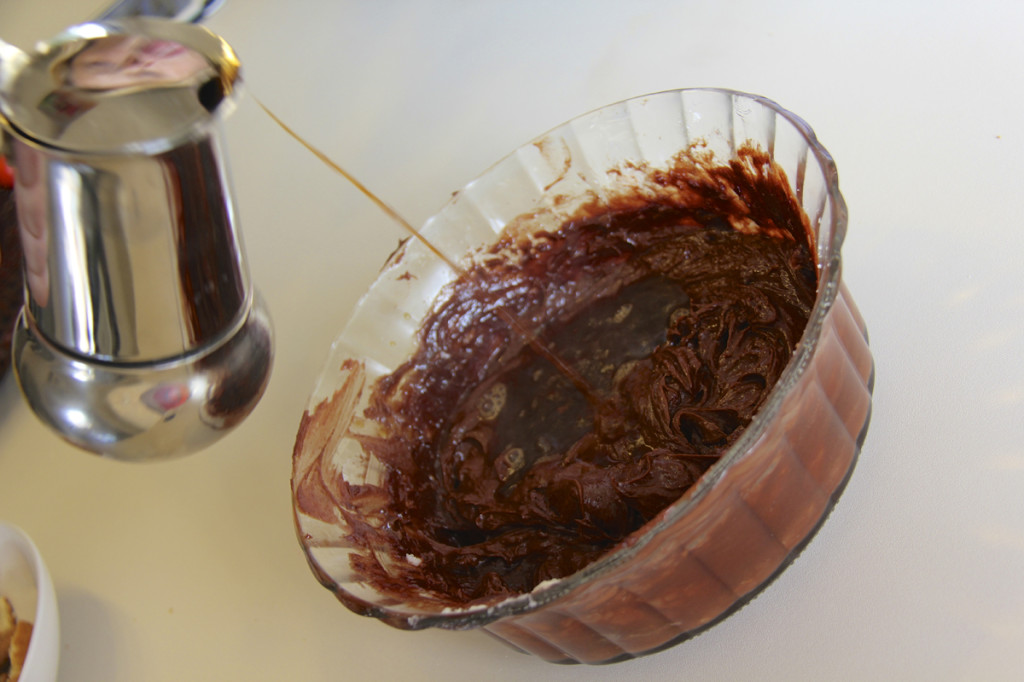
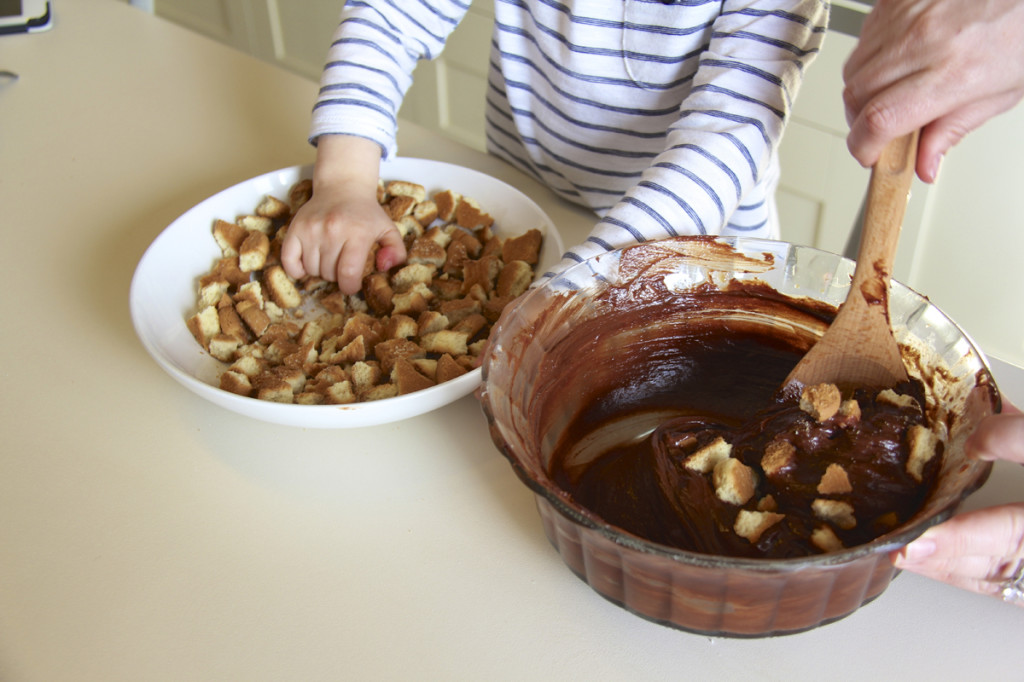
Stir butter in a large bowl. Continue stirring and add sugar and eggs. Once combined stir in the chocolate and add the espresso. Stir the cookies into the chocolate mixture until well combined.
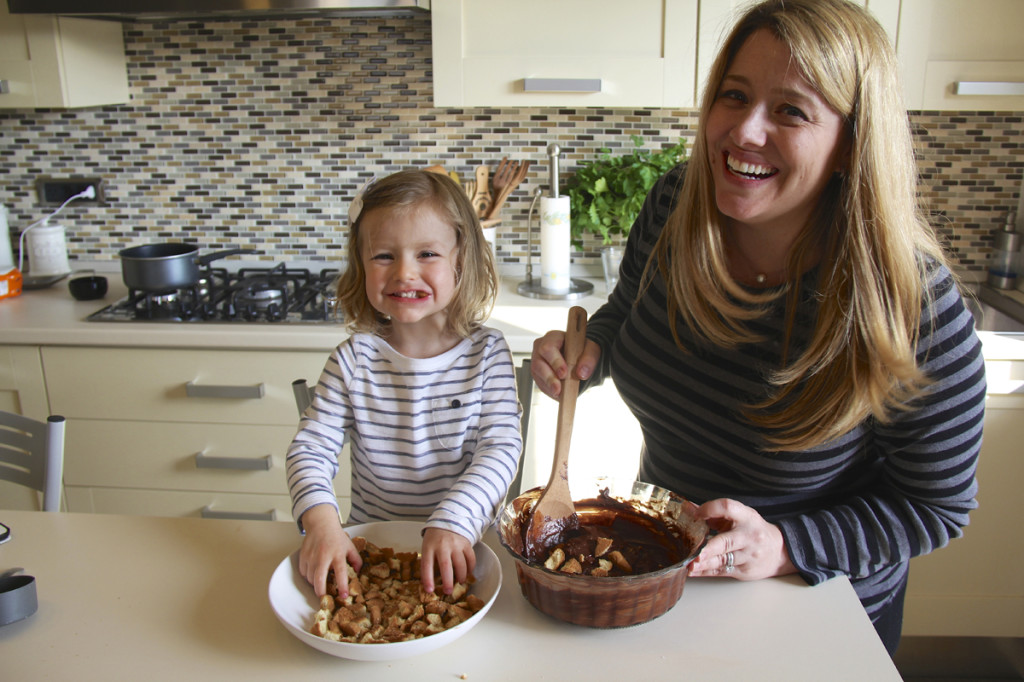
Combine the wet and dry ingredientsMix thoroughlyIt’s always nice to have a helping handAdd your chocolate and mix wellPour in the espressoSlowly combine your biscotti cookiesStir together and watch little “biscotti thieves”
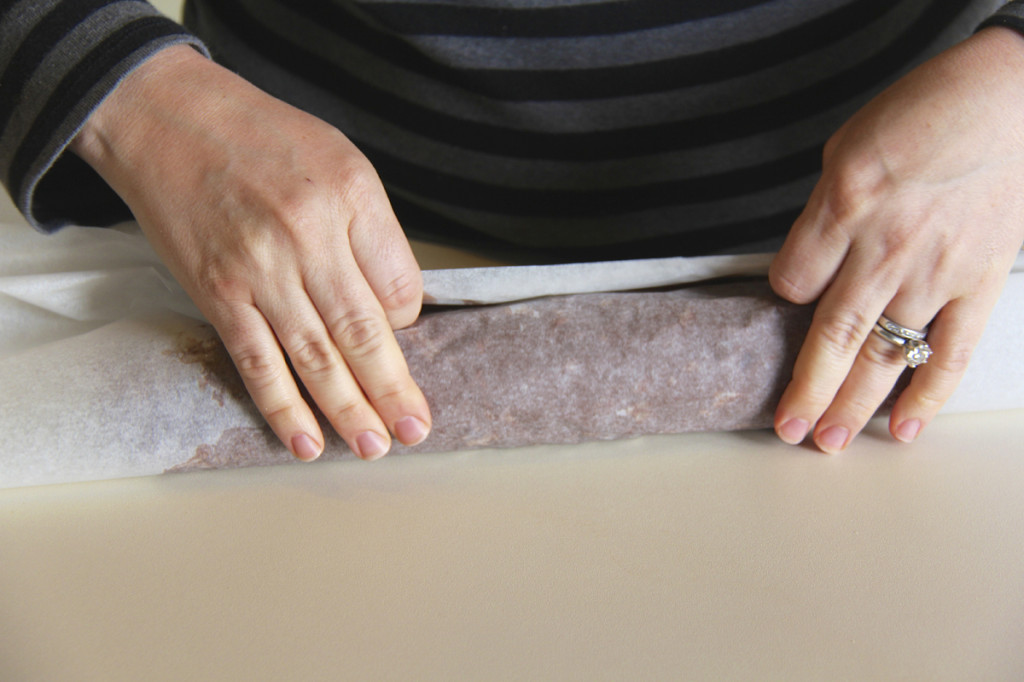
Place the mixture on a large sheet of wax paper and begin to shape the mixture into a salami by rolling it on your work surface. Tightly secure the ends and place the “salami” in the refrigerator for 8 hours. I continued to roll the salami in the refrigerator so that it wouldn’t become flat on one side.
Roll the mixture in wax paper and form the shapeTie off the ends and set in the refrigerator to form
Remove salami from the refrigerator and unwrap. Cover the salami with confectioners’ sugar using brush. Put the salami on a wooden board when ready to serve.
Chocolate Salami – Enjoy!
This dish should keep in your refrigerator for a maximum or two-three days. It should last in your freezer for about one month. Of course, if you have someone like Greg in your home, there is no way it will last anywhere near that long! Enjoy!
On a particularly warm and sunny day this week, Greg and I and decided to ditch the pasta and opted instead to share a lighter lunch. We all love shrimp (especially Julia) so we decided to try our luck with Shrimp Scampi. I have never made this dish before so I did some research and looked at a few different ways it is prepared. After evaluating the ingredients I had lying around the house, I came up with a simple recipe for my first attempt at this classic dish. I have to say – we were all pleasantly surprised with how it turned out.
Buon Appetito!
I was pleased to see Greg fare la scarpetta, or “to do the little shoe”. This is a term the Italians have come up with that I adore. When you have a delicious sauce that you can’t stand to leave behind, you can use a piece of bread to mop it up. I would encourage you to be sure that you have plenty of good bread for you or your guests to do la scarpetta!
INGREDIENTS (serves two)
>Two (2) teaspoons Olive oil >Juice of half (½) a lemon >Zest of about one (1) lemon >Three quarter (¾) cup of white wine >Three (3) cloves of minced garlic >Two (2) tablespoons of unsalted butter >One-two (1-2) tablespoons of chopped flat leaf parsley >One (1) pound of shrimp >Salt
IngredientsBe sure to prep your ingredients – it will make cooking much easierWe kept the shells on the shrimp
As you can see I used shrimp that was still in the shells. You can also choose to use peeled shrimp. I thought we got good flavor from keeping the shells on though. Either way, make sure your shrimp is clean and dry before putting it in the pan.
Place the shrimp in the pan with a little olive oil
>Place olive oil and two (2) tablespoons of butter in a large skillet over medium-high heat.
>Add the shrimp to the pan and spread them out so they lay flat on the pan bottom.
>While the shrimp is cooking, flavor with salt.
>Cook for one-two (1-2) minutes without moving. Once that side is cooked, mix in the garlic and flip the shrimp.
>Cook for an additional one-two (1-2) minutes or until fully cooked. >Remove the cooked shrimp, set aside and keep warm.
Add the shrimp and spread evenly in the panTurn to evenly brown each shrimpAdd the garlicBe sure to turn as necessary so to not burn the shrimpLooking yummy alreadySet the shrimp aside
>In the same skillet add the wine and lemon juice, scraping up any browned bits from the bottom of the pan.
>Allow the liquid to come to a boil and slightly thicken and salt to taste. >Remove from heat and stir in the lemon zest and parsley. Return the shrimp to the pan and mix into the sauce. Serve while hot!
Making the sauce – I would recommend you make extra – it’s that good!Serve and enjoy!
Note: The next time I make this dish I will try to make additional sauce by increasing everything but the shrimp. The sauce was so good, we wanted more!
If you’ve read a couple of our recent Christmas posts, you may notice a consistent theme over and over. We have been thoroughly enjoying the official drink of the season, vin brulé from the markets of Alto-Adige to the lakeside shores of Lugano, Switzerland. I promise you, we are by no means a pair of winos – but I’m pretty sure it’s against the law not to have a vin brulé in your hands as you stroll through the Christmas markets.
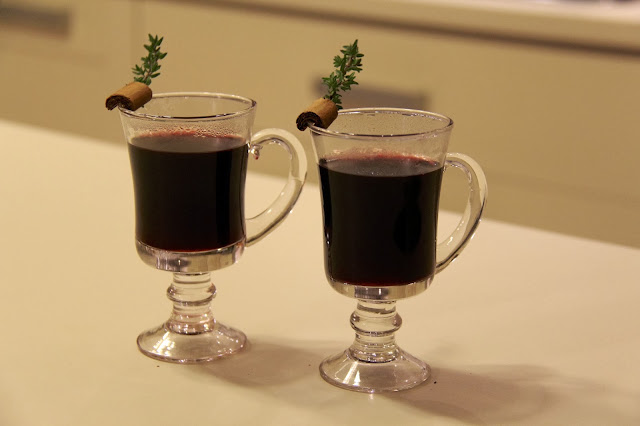
Homemade vin brulé
We have been having so much fun thawing the chill from our bones with this delicious winter drink that we thought we should make it at home for ourselves. I have to say, for our first attempt – it was pretty darn good! And since we enjoyed this easy and delicious recipe so much, we decided it was only fair to share it with you. Of course, that meant that we had to go back to the test kitchen and whip up another batch!
What is vin brulé, you ask? You may know it better as mulled wine or glühwein (it is a very common German drink). No matter what you call it – it is basically a red wine heated over a flame, sweetened with sugar and seasoned with spices and fruit. The result is nothing short of perfection. You are sure to find the drink in just about any of the thousands of holiday markets set up all over Europe in December.
Here’s how it is made (follow closely… nah, just kidding. It’s pretty easy).
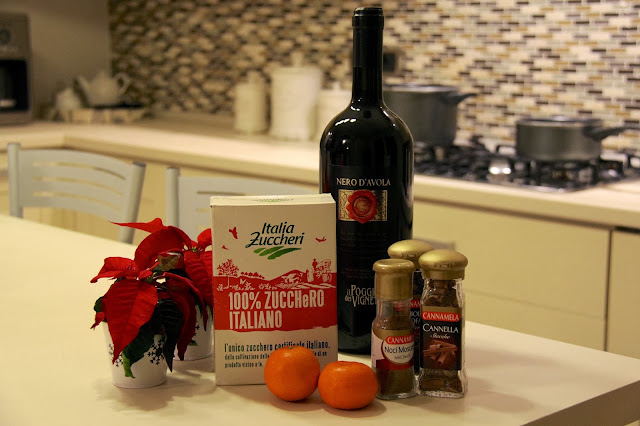
Ingredients (serving for four)
>1.5 liters of red wine (a lot will cook down)
>1.5 cups of sugar
>4 to 8 cloves
>Nutmeg to taste
>2 cinnamon sticks
>2 mandarins (you can also use a small orange)
Your ingredients – feel free to add or subtract items
The great thing about the ingredients for this recipe is that they don’t have to be exact. You can use what you have lying around. If you like more nutmeg flavor – go ahead and add it. This is completely based on personal preference.
Directions
>Slice some of the citrus peels and set them aside
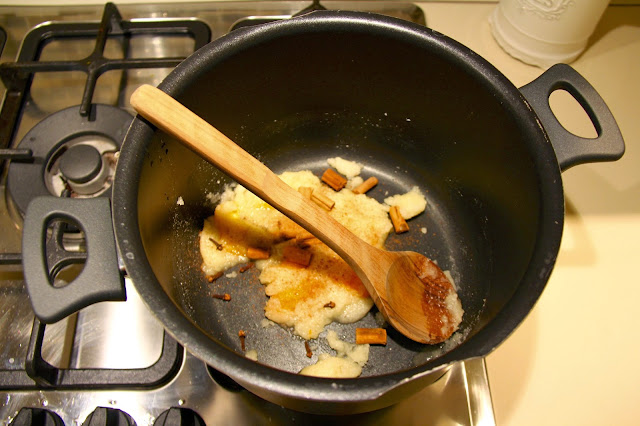
>Grate the zests of one of the manderian and add to a pot with the sugar, cloves, cinnamon and citrus peels
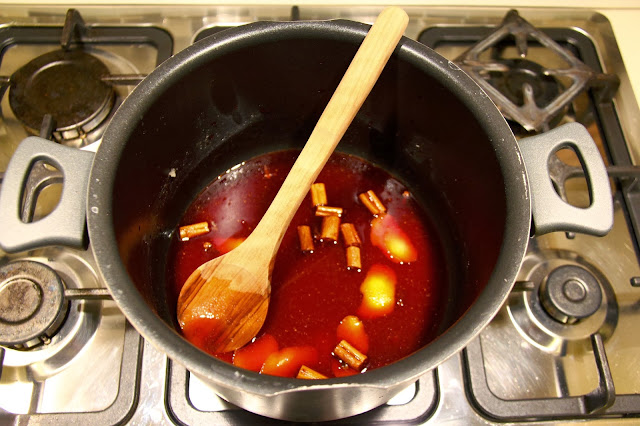
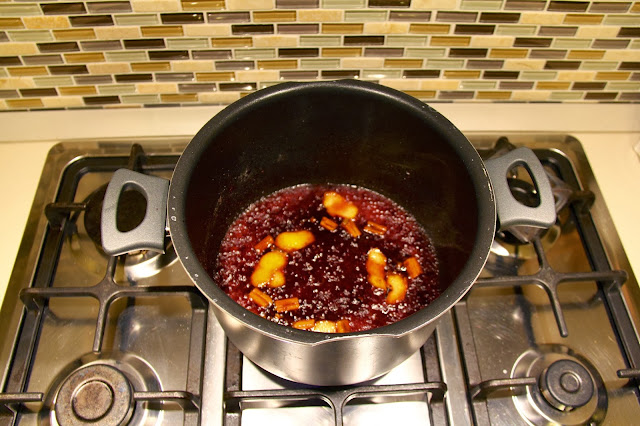
>Add about one cup of the wine and cook on a high heat until everything blends together. This will create a thick almost syrup like liquid that is infused with tones of Christmas flavor. You don’t want to use all of your wine because cooking it at this high heat will burn off the alcohol
>Add the remaining wine and reduce the heat to a low simmer
>Serve and enjoy!
Add the ingredients
Add one cup of the wine
Cook over a high heat
There you have it! Easy and delicious!
We wanted to be sure to post this recipe on Christmas, with the hope that you make this delicious and easy drink on your own today or tonight. You have our personal guarantee that it will increase your festive cheer by 19.6%. That’s 4.6% higher than the next best thing… not getting underwear in your stocking.
Since Thanksgiving is tomorrow – here is a suggestion of something you can do to dress up your leftovers.
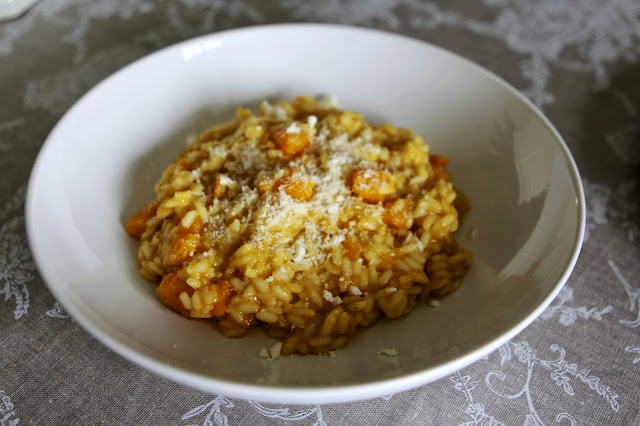
Risotto is a favorite of mine; winter, spring, summer or fall. While cooking risotto, I like to use fresh, seasonal ingredients – and with fall comes all things pumpkin. So, this was my chance to combine one of my favorite dishes with one of my favorite fall flavors.
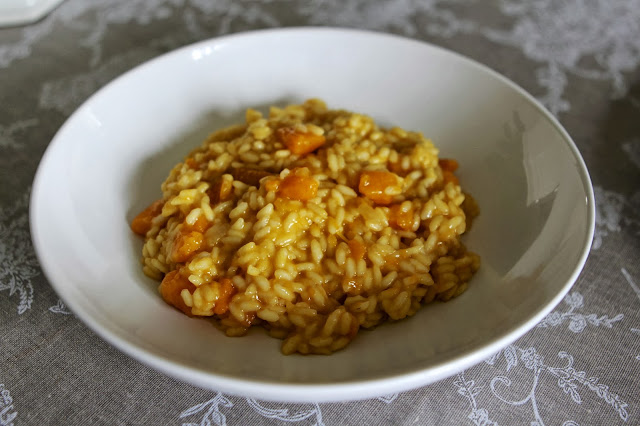
Risotto con zucca (Risotto with pumpkin)
However, when it came to the Thanksgiving dinner we just had, I knew it would be too much for a first course. While risotto is relatively simple to prepare it is time consuming and requires my undivided attention for at least 20 minutes. I decided instead to create a new family tradition. My plan was to serve pumpkin risotto the day after Thanksgiving, along with all of the other delicious leftovers. I think it’s a perfect way to add a new element to a meal we’ve already eaten a couple times over by lunch the next day. I had plenty of left over zucca (pumpkin) from the soup course, which worked out perfectly. I have officially converted Greg into a pumpkin/squash lover. If you want to add some Italian flavors to your holiday meal this year, check out my simple recipe. I hope your family enjoys it as much as we do.
INGREDIENTS (serving of 4)
>Olive oil
>One (1) small onion (diced)
>Four (4) cups of chicken stock
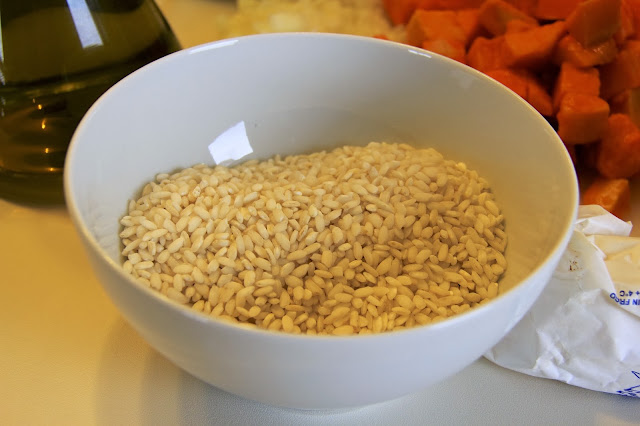
>Nine (9) palms of arborio rice (two per person with one extra). Roughly two (2) cups
>Half (½) – full (1) cup of white wine (depending on taste… and quality of wine)
>Roughly ½ cup of grated parmesan cheese and additional cheese for the table and for garnish
>Third (1/3) stick of butter
>Salt to taste
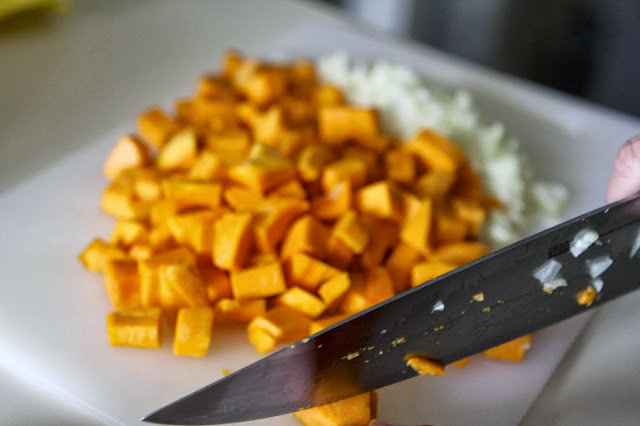
>One and a half (1 ½) cups of cubed butternut squash (one butternut squash cleaned, peeled and deseeded)
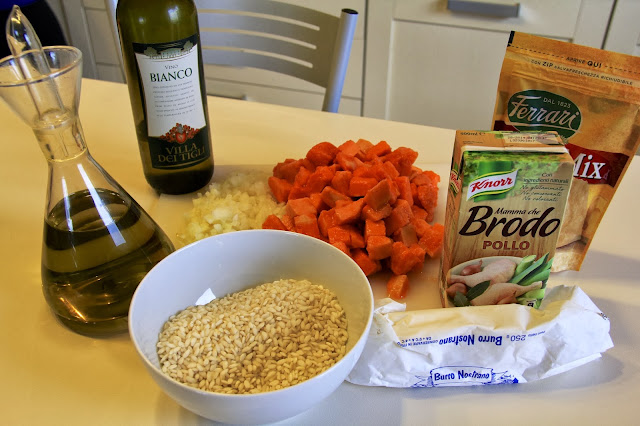
The ingredients
Arborio rice
Directions
>Cube the pumpkin and dice the onion
Prepare your pumpkin and onion
>Heat chicken stock in a pot
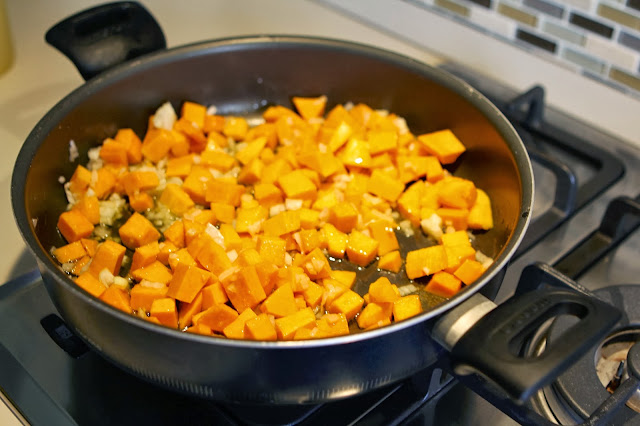
>On a separate burner, heat olive oil in a large flat pan with high sides. Add onion and squash until it is softened and the onion is translucent. While the onion and squash are cooking, add a dash of salt. This could take a little over 5 minutes. Don’t allow the onions to brown
Watch that the onions don’t burn
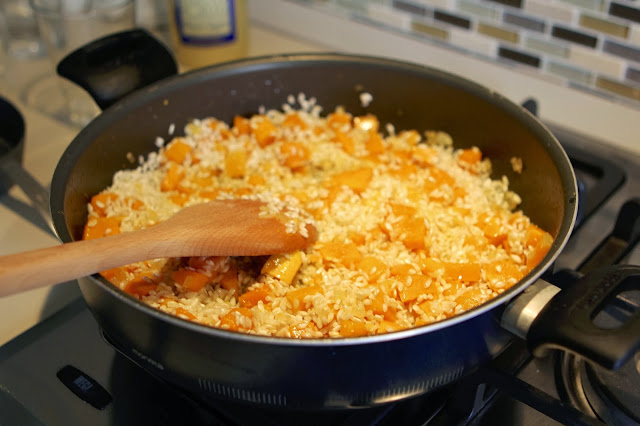
>Add the rice and mix together. Stir until the rice is toasted (but not brown) about three – four (3-4) minutes
Stir in the rice
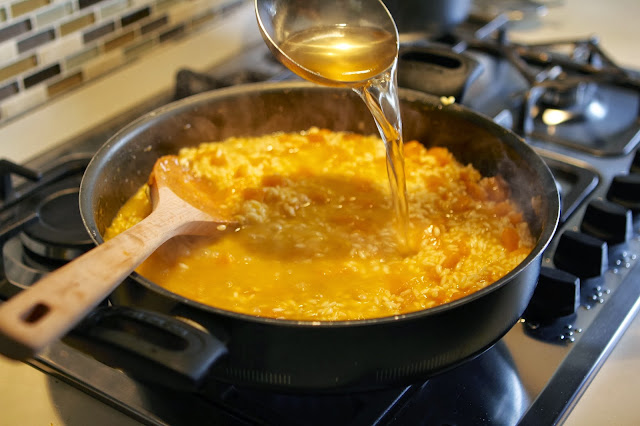
>Add the wine and continue to cook the rice until the wine is absorbed. After a minute, add a ladle or two of the stock, stirring the rice continuously until the liquid is absorbed
Laddle in the broth
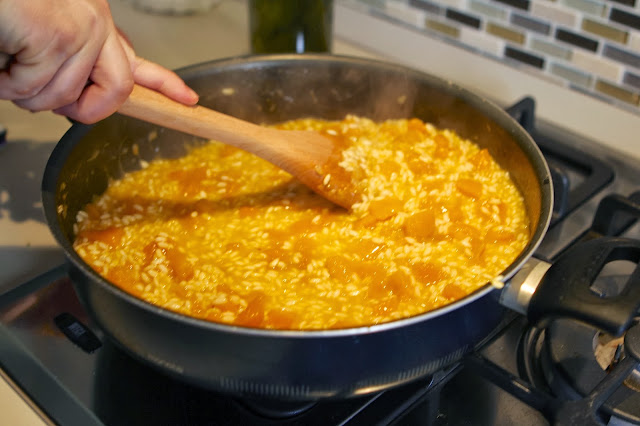
>Continue stirring and ladling the broth for approximately fifteen (15) minutes. Be sure to taste as you go and add salt accordingly. The rice should be al dente and creamy
Keep stirring and add more broth once it’s absorbed
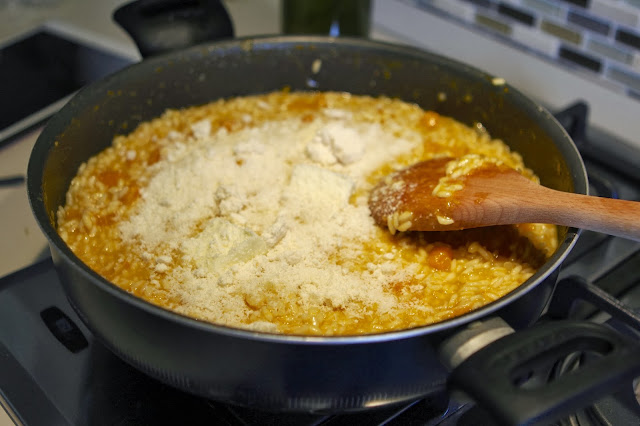
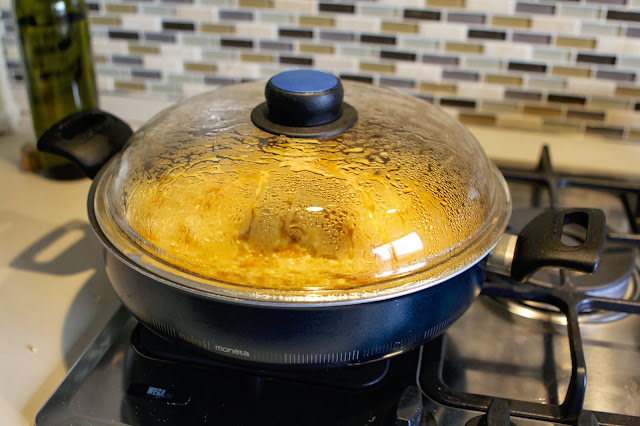
>Remove from heat and stir in butter and Parmesan cheese. Cover and allow pan to sit for five (5) minutes
Stir in the parmesano
Cover and let sit for five minutes
>Serve right away and top with fresh grated Parmesan cheese
Don’t forget to add the grana (grated cheese) and enjoy
PLEASE NOTE – Cooking risotto requires constant attention. Make sure the table is set and everything else you are serving is ready before you begin the rice.
Don’t forget to combine your risotto with your Thanksgiving leftovers!
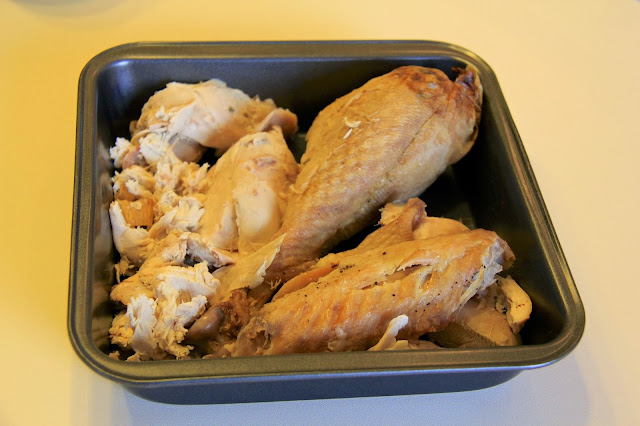
Is it possible that the turkey gets better after the Thanksgiving meal?!
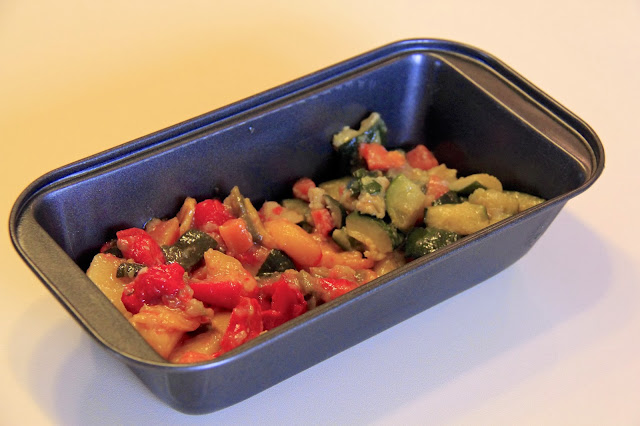
Combine whatever sides you have leftover
I hope that you’ve enjoyed this recipe and that perhaps you’ll try to incorporate it into this year’s Thanksgiving! Let us know if you do and buon appetito!
Can you believe that they don’t celebrate Thanksgiving here in Italy?! They also don’t celebrate the Fourth of July, Memorial Day or Labor Day! I know weird, right?!
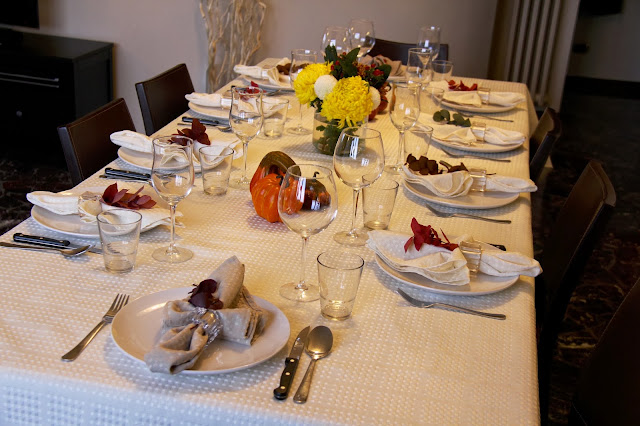
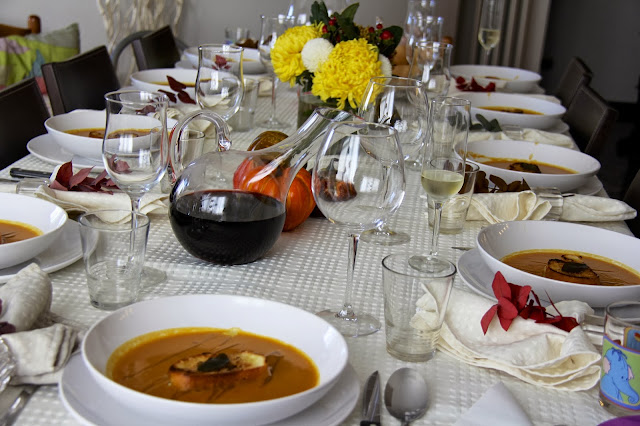
Our Thanksgiving table is set
Thanksgiving is one of my favorite holidays. Of course I love the spirit of Christmas, the fun costumes of Halloween (another holiday that they don’t really celebrate), the fireworks of our Independence Day… but nothing can match the guilt-free ability to gorge on delicious food all…day…long! And if that wasn’t good enough, you are then permitted… nah, encouraged to lay on your duff and watch football until it’s time to re-heat a plate of leftovers.
Julia was Superwoman for Halloween this year –
even though she was one of few kids dressed up
We knew that we weren’t going to give up our tradition of Thanksgiving just because we are living in another country. In fact, we were excited to share our holiday and traditions with Jen’s relatives. Ideally, we would have eaten our Thanksgiving dinner along with the other people in America (well, six hours ahead anyway) – but we will be out of town during the holiday. So we decided to host our Thanksgiving dinner early. Before we could take our first bite of that delicious dinner, we needed to plan a menu. And if you’ve ever been around my wife when she plans an event… if we have an official menu, then we’ll also need an official outline for the entire week leading up to the event.
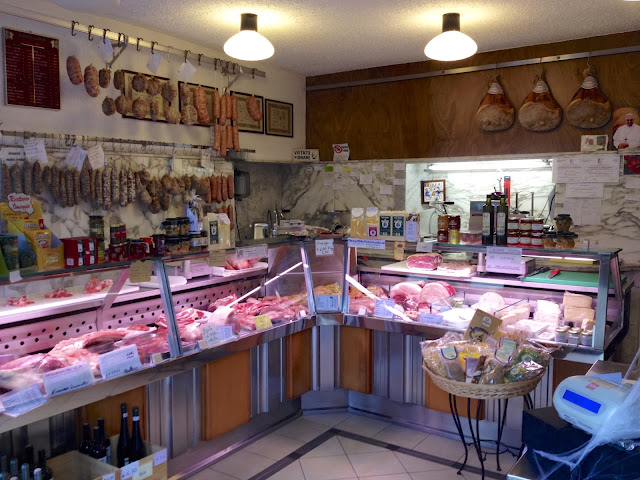
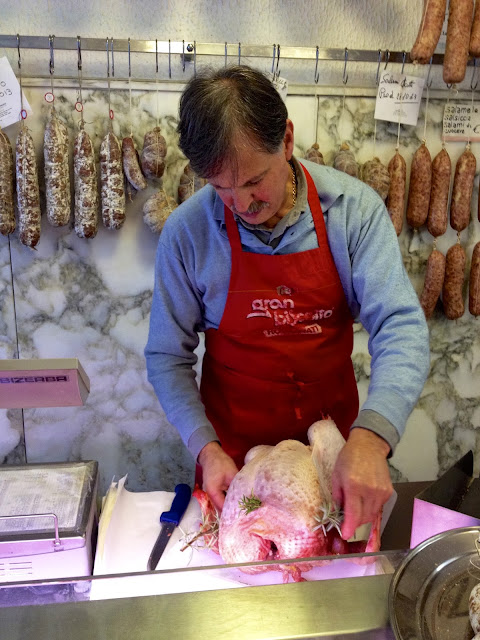
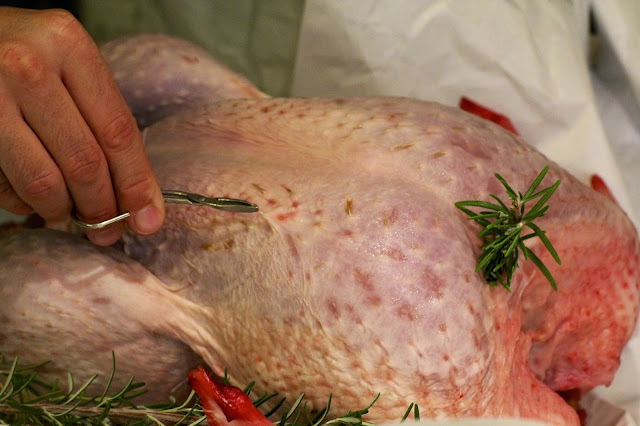
I had many small jobs, but the most important – procurement of the bird and selecting the wine. For the turkey, I went to our local macelleria (butcher shop), Macelleria Ostinelli. You see, you cannot just go down to the supermarket and pick up a whole turkey. It simply doesn’t exist here. Italians eat turkey, but they are either quartered or filleted – never sold whole. In fact our macellaio (butcher), Marco had to call his “turkey guy”, Lorenzo just to confirm that they could even have a whole turkey delivered within three days. It was the first whole turkey Marco had ever sold in 20+ years of being a butcher. We got the green light from Lorenzo and went home to continue planning.
Inside Macelleria Ostinelli
Our macellaio (butcher), Marco prepares our turkey
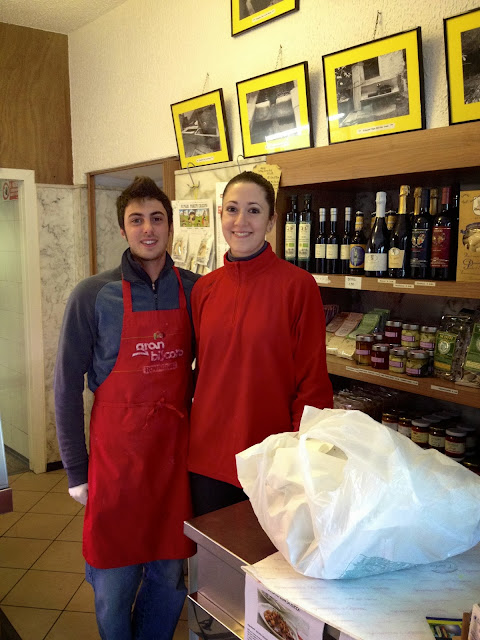
His son, Paolo and niece, Francesca
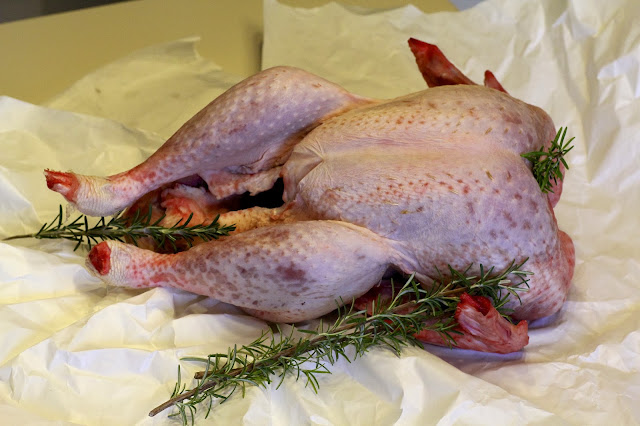
“Cook me like one of your French turkeys, Jack”
The turkey was so fresh that it was still red… and needed a few extra feathers plucked
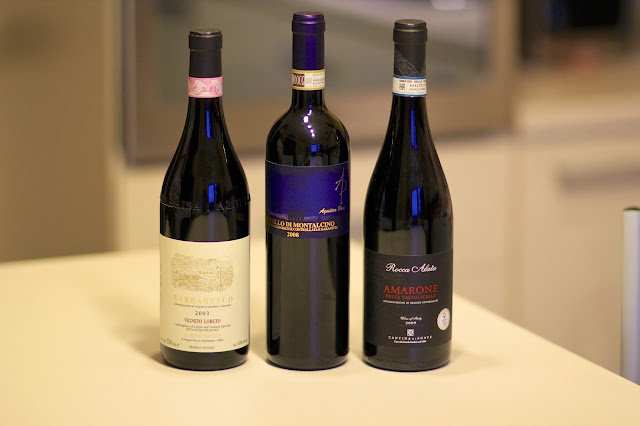
The wine was a much more complicated process. I went into a wine shop I’ve been wanting to try; one just outside of downtown Como. The selections of fine Italian wine seemed endless. I chose three wines that are classified as Denominazione di Origine Controllata e Garantita (DOCG), a designation that connotes some of Italy’s best-known and highest quality wine.
A trio of wine from all over Italy
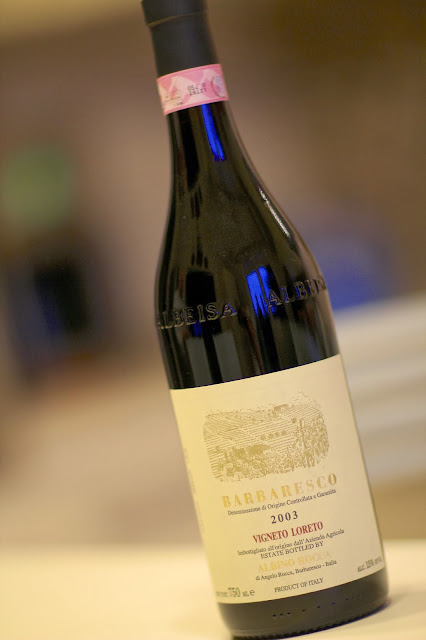
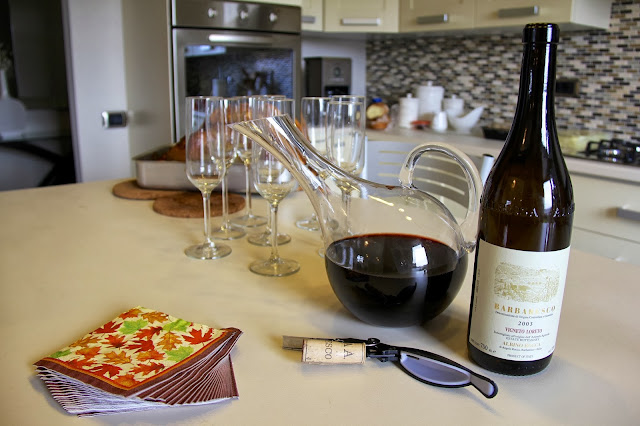
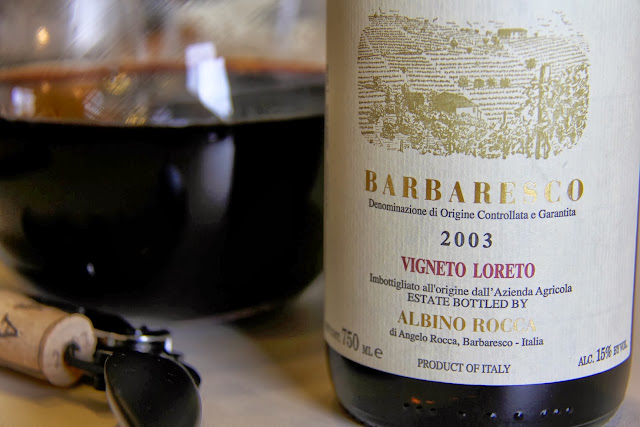
I opted to start our meal with a Barbaresco (having recently come back from Piemonte). I picked a 2003 Vigneto Loreto from Albino Rocca – a producer that obtains their [nebbiolo] grapes from the finest area in the region. I thought that the balanced flavor profile of this Barbaresco would do nicely to awaken our palates.
2003 Barbaresco Abino Rocca, Vigneto Loreto
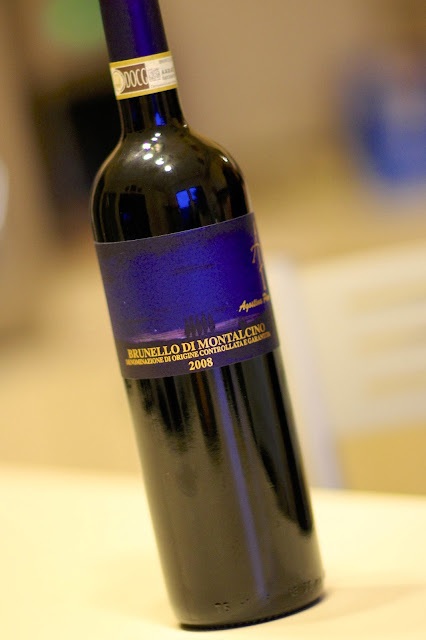
For our second wine, I selected a 2008 Brunello di Montalcino. Tuscany is known for many things and their wine is nothing short of spectacular. Agostina Pieri produces a fine example of the wine that incorporates one of my favorite Italian grapes, Sangiovese. The bold flavors would serve as a nice progression from the more tannic and refined Barbaresco.
2008 Brunello di Montalcino Agostina Pieri
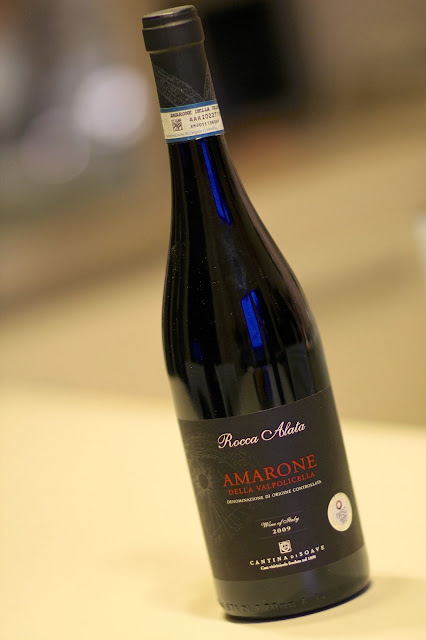
Finally, I wanted a wine to shout from the rooftops – so I chose a big, bold Amarone della Valpolicella. Jen and I were just recently introduced to this type of wine by my uncle, and it was love at first taste. A unique harvest and fermentation process yield a ripe, raisiny and full-bodied wine that jumps across your tongue and waltzes with your tastebuds. How could this not be the perfect wine to finish the afternoon?! Cantina di Soave produces a wonderful Amarone, Rocca Alata.
Amarone Cantina di Soave, Rocca Alata
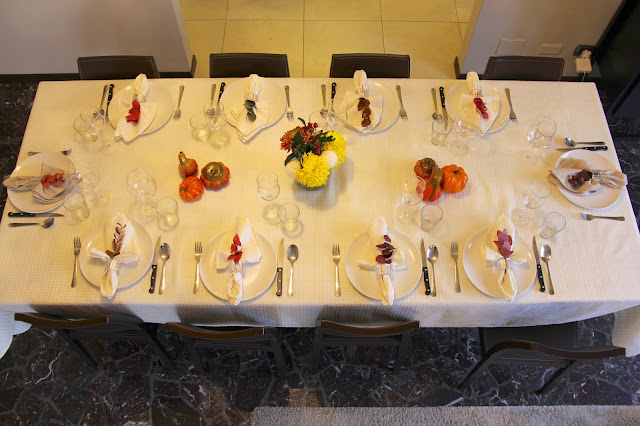
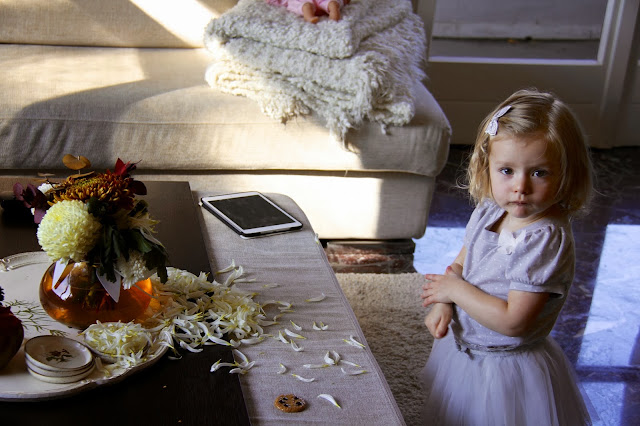
The night before our guests arrive, I helped Jen set the table. Well, I mainly played defense against Julia while Jen set the table. I let her get a goal past me the next day when she ripped up part of the bouquet just before our guests arrived!
Jen’s table
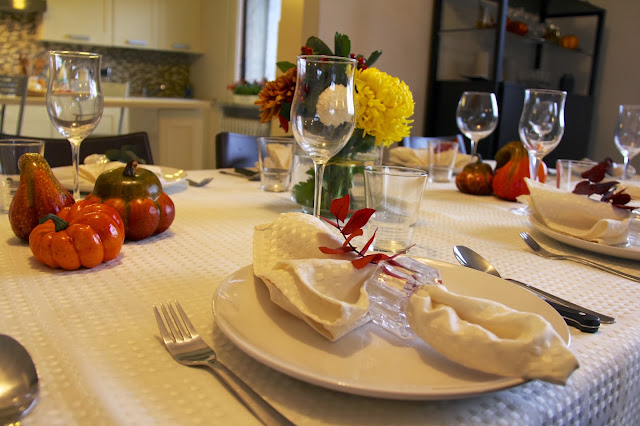
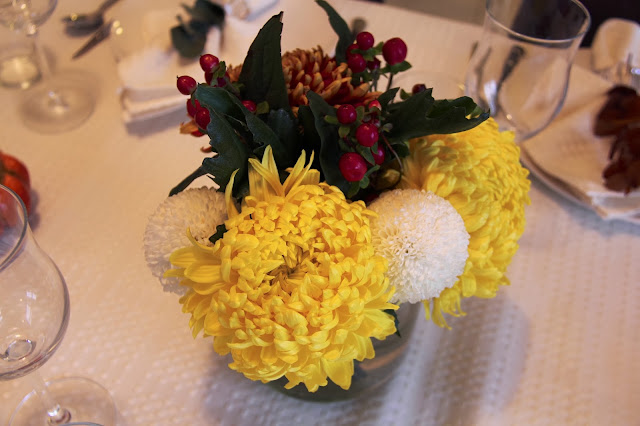
We used seasonal flowers as part of the decoration
A place setting
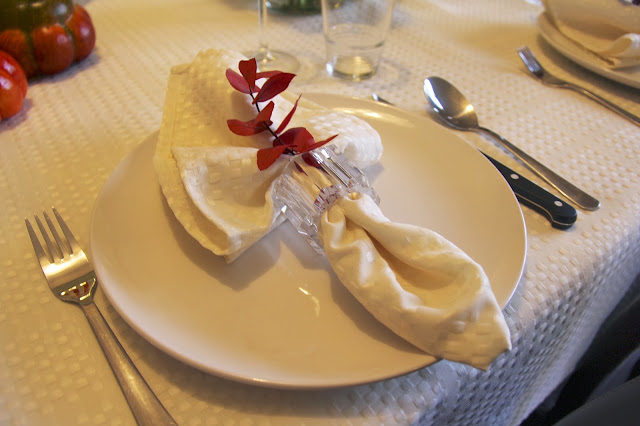
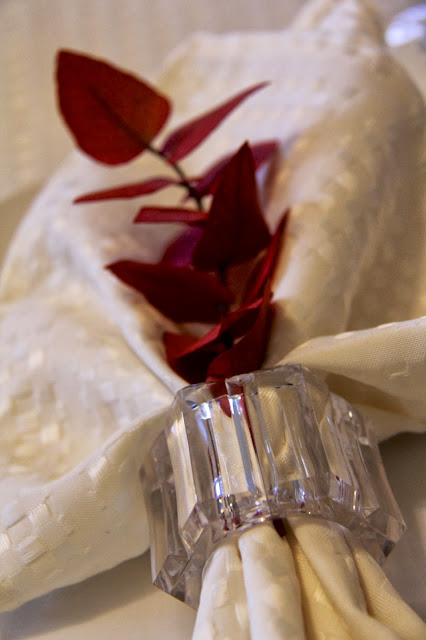
A napkin before it got messy with delicious food
Center bouquet
Julia got to the other bouquet – I love her look as if to say, “I didn’t do it”
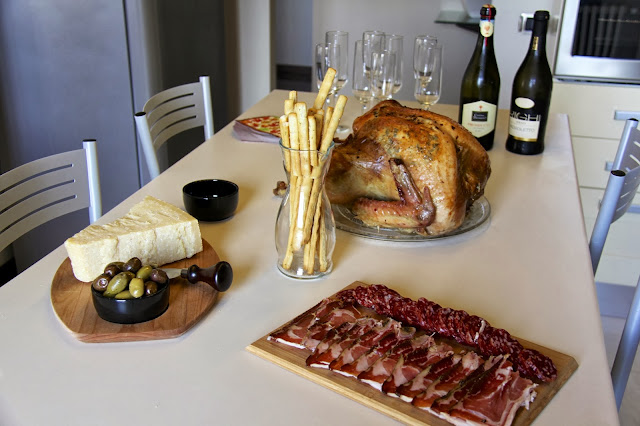
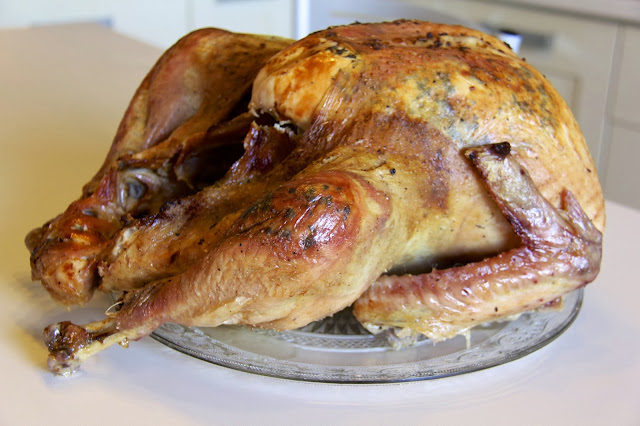
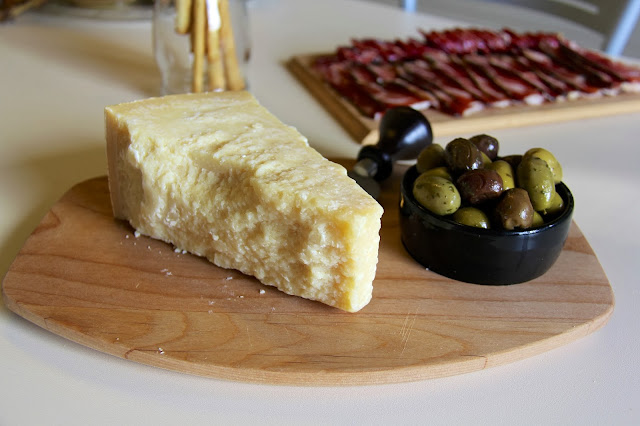
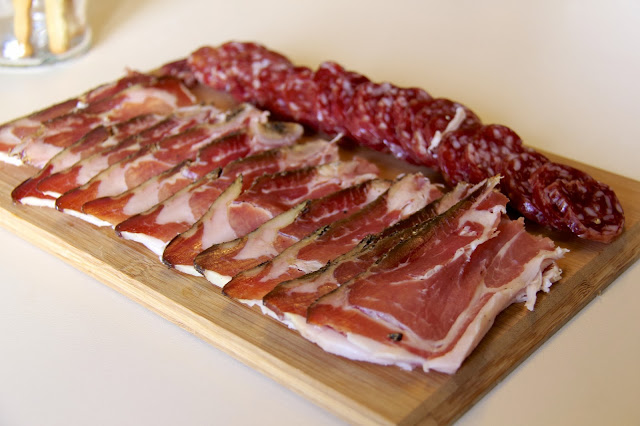
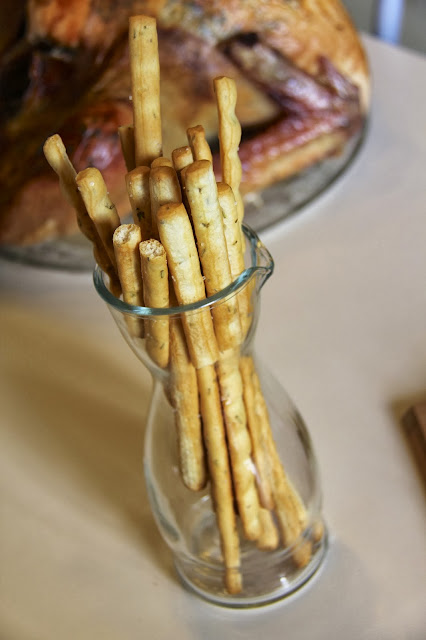
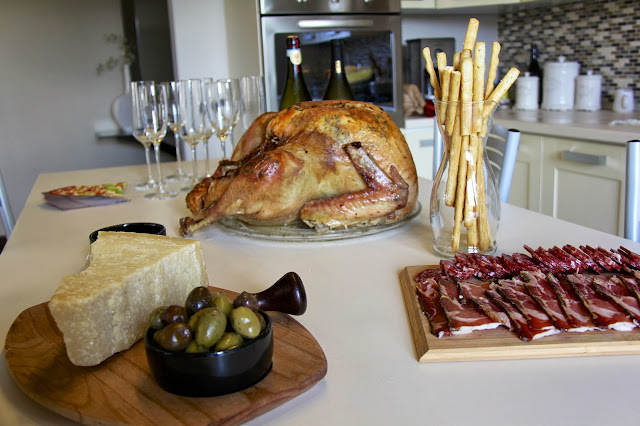
Jen had perfectly timed the turkey to come out and rest next to all of our antipasti. I am willing to bet that we hosted one of the few thanksgiving dinners in the world to start with olives, grissini (Italian breadsticks), salami and parmigiano. Our 7.4 kg (16.3 lb) turkey was quite the showstopper as Jen’s Italian relatives walked in. It was one of the first times ever that I have seen Italians take out their cell phones to take pictures of food. For them, food should be eaten – not photographed (I’ve been called, pazzo more than once). So it was quite a reward for all our hard work to see jaws dropped and cell phones flashing.
Our welcome table
The turkey came out moist and delicious
36-month aged Parmesano cheese and olives
Speck and salami
Grissini
Let’s get the party started
Let’s get the wine decanted…
This is going to be good
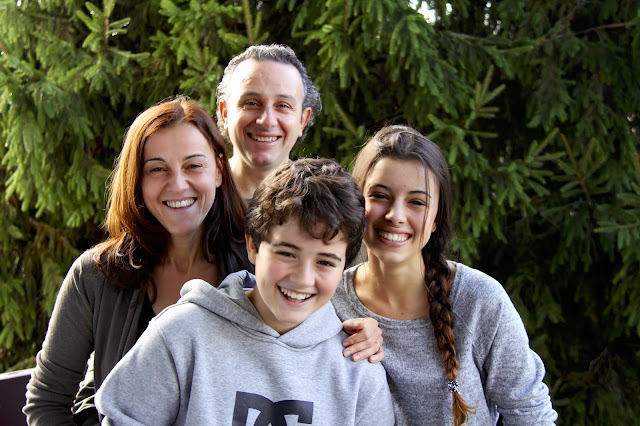
After proscecco and antipasti, we each took turns taking family photos on the balcony. I’m glad that Jen suggested this – it gave each family a nice keepsake from a pleasant afternoon.
My girls
Love this peanut
Gianni and Giusi along with their son Marco and daughter Sara
Massimo and Alessandra with their daughter Bea
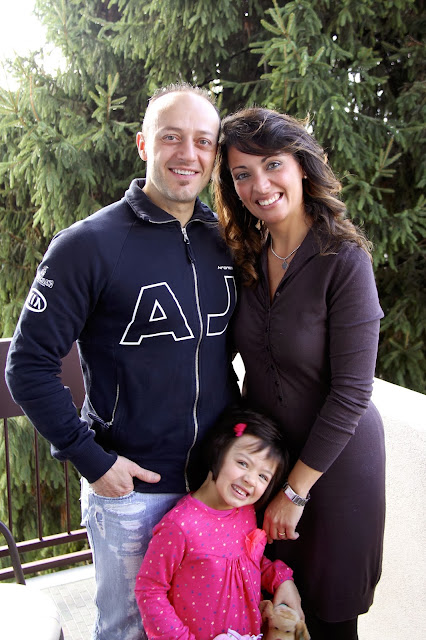
You know this cast – Greg and Jen with our daughter, Julia
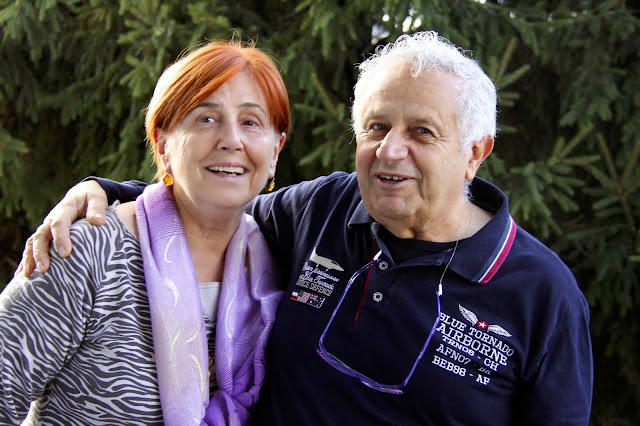
Franco and Claudia – Franco actually smiles for a photo!!
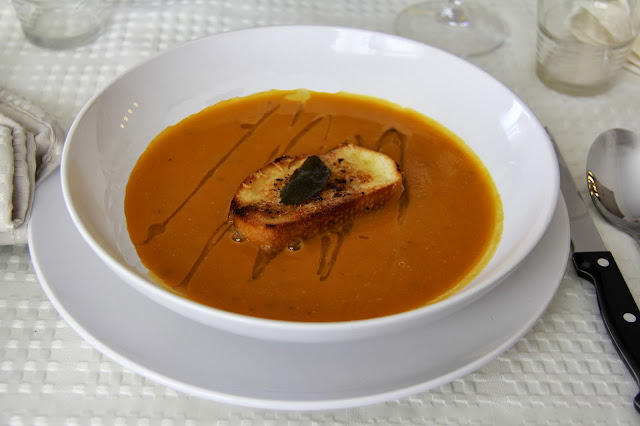
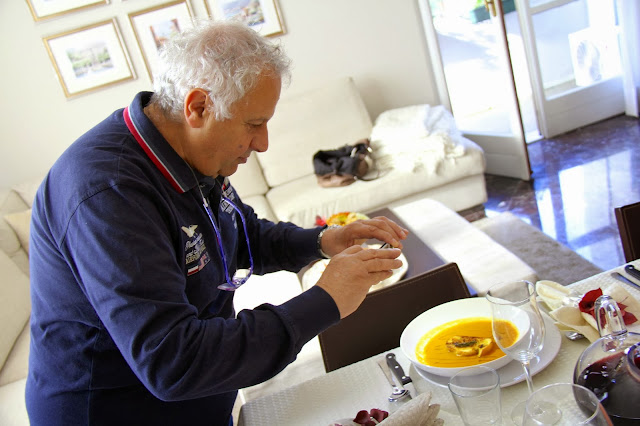
We eventually made our way to the table for our first course, a squash soup with parmesano croutons.
Now we’re ready to really dig in
A drizzle of fine olive oil enhances the taste and presentation
Franco took a picture of the soup as well as the turkey – this was a first!
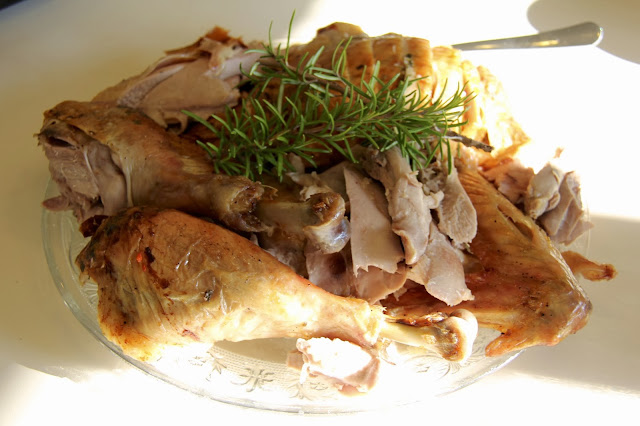
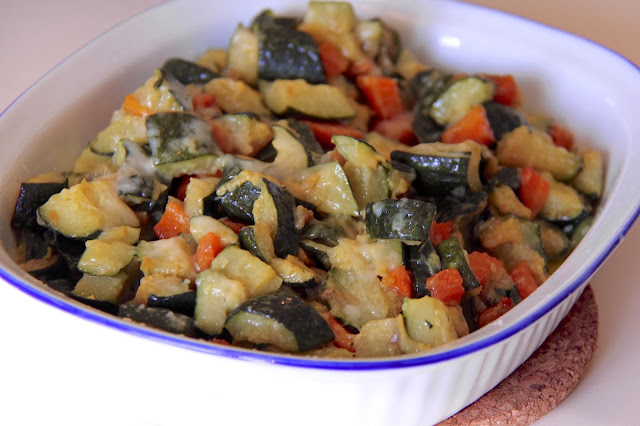
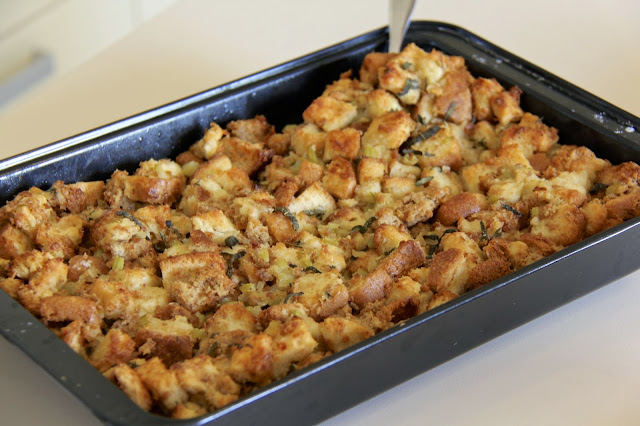
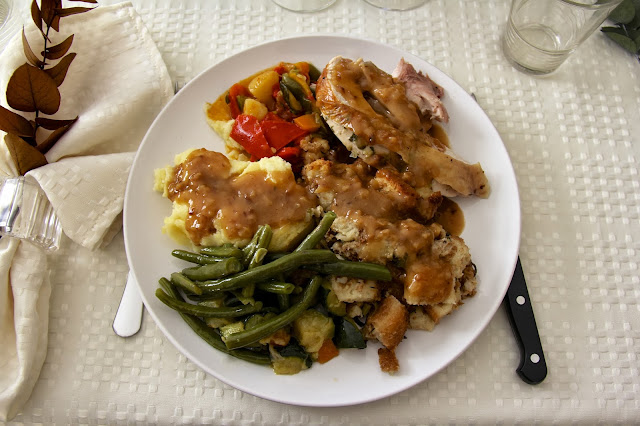
Next, we brought out all the food. We had the stuffing (I had to explain it as “cooked bread”). We had mashed the potatoes. We had the gravy – “questa è una salsa” (this is a sauce). Pouring a “sauce” over everything was definitely a foreign concept. Claudia made the vegetables – green beens and a ratatouille. And of course, we had the turkey. A roasted lemon sage turkey that was delicious. I explained that the goal was to cram your plate so full that none of the plate was visible. Jen’s cousins Gianni and Marco understood the goal… no one else quite got it. We went around the table to say what we were most thankful for and dug in.
A plate of the carved turkey
Claudia’s vegetables
Jen’s stuffing
My plate – a proper American Thanksgiving plate
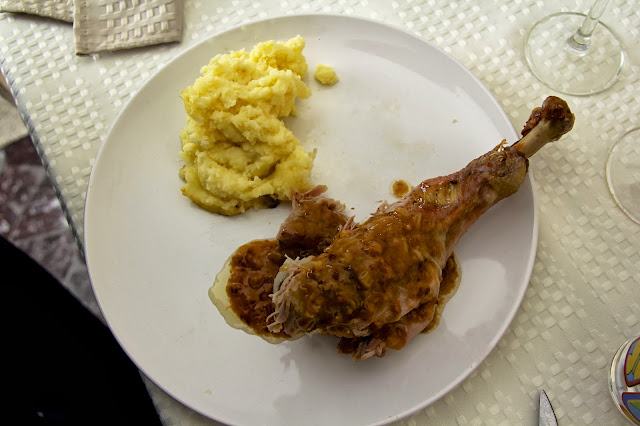
Franco’s plate – he didn’t quite get the idea to cover it
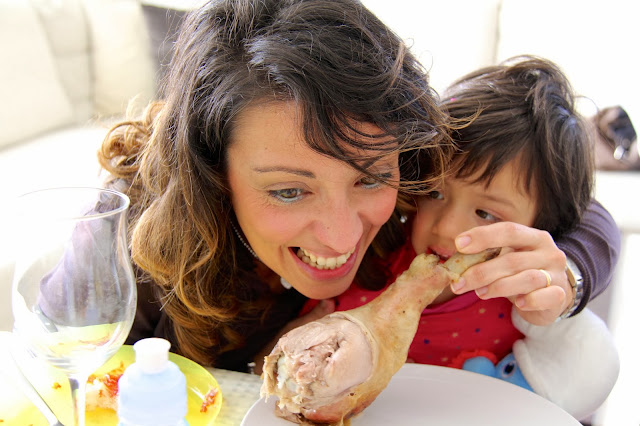
Alessandra plays around with Bea, who has likely never seen a turkey leg
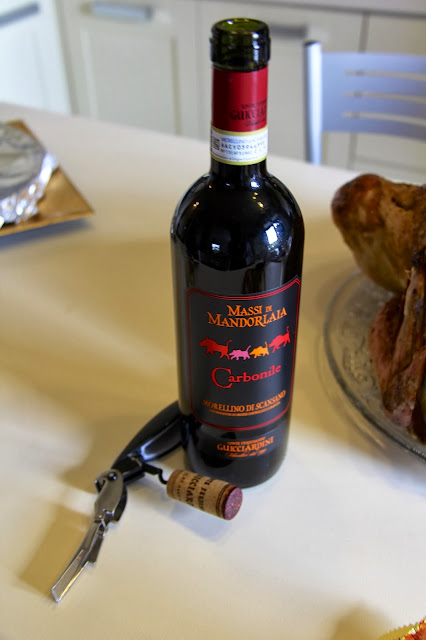
Gianni brought a delicious wine that we opened
We never even finished my selections
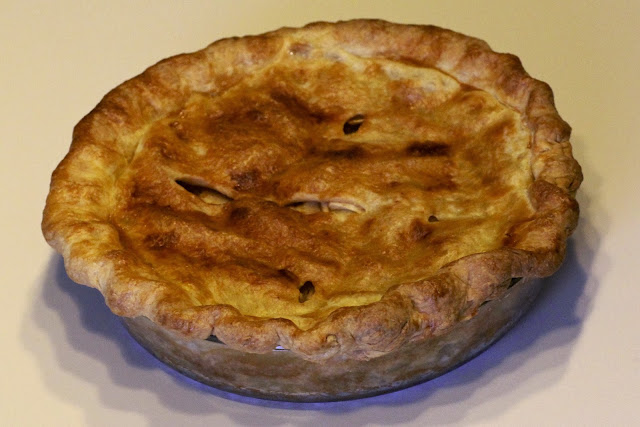
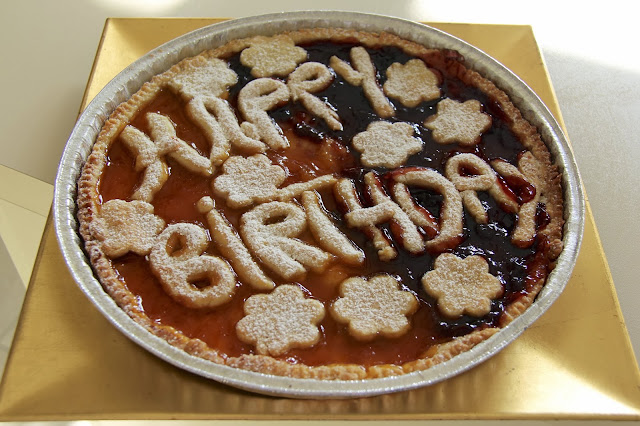
When we had finally finished eating our dinner, it was time for dessert. Jen made a wonderfully American apple pie. Her cousins Alessandra and Giusi were surprised when she told them that she made her own pie crust from scratch. When they tasted it, they both immediately asked for the recipe (which secretly filled me with pride for my wife). Giusi was so cute, she literally took out a notepad, ready to write – Jen had to promise to work on the measurement conversions and translation and email it at a later date. Equally as impressive was the torte (pie) that Alessandra made. Jen’s birthday had just passed and so she added a surprise element to the dessert. It tasted every bit as good as it looked.
Jen’s apple pie
Alessandra’s torte
I have to say – Jen’s first Thanksgiving Dinner was A-M-A-Z-I-N-G!! There were no hiccups, very little stress and it was absolutely delicious!
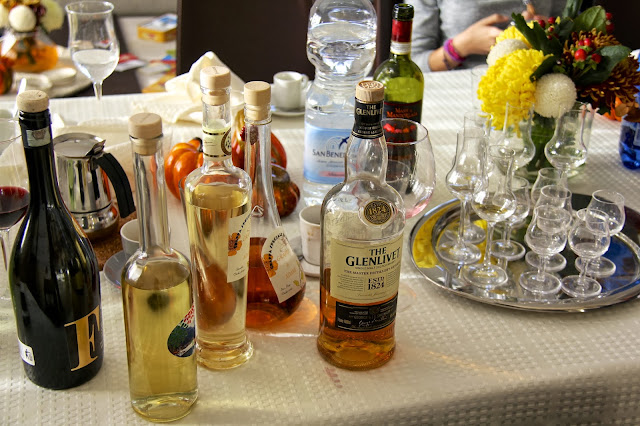
Of course, we finished the day off with grappa and whiskey and the most important part of Thanksgiving… a game of football on the television. Only, it wasn’t a game. It was a match. And it wasn’t football. It was fùtbol (soccer). Oh well, you work with what you’ve got.
Our grappa and whiskey
Teenaged girls are the same in any country
Julia puts on a performance
Jen did Sara’s hair – I thought she looked beautiful
Soccer plays on the TV – not quite the football game I’m used to after a Thanksgiving dinner
I hope you enjoyed!
In case you’re interested in viewing the menu that Jen created, I copied and pasted her menu (and then, without her permission… her outline)! Shhhh, don’t tell.
It’s likely that you may think I’ve gone off my rocker. Vinegar on a salad – of course. Vinegar on french fries – sure. But vinegar on ice cream?! Greg, you must be crazy?! I assure you, I am not (well, at least when it comes to this point). Provided one very important detail is in play… that the vinegar used is aged balsamic vinegar from Modena. This dark, delicious treat becomes sweet and thick (almost, syrupy) once it has been aged 12(+) or 25(+) years.
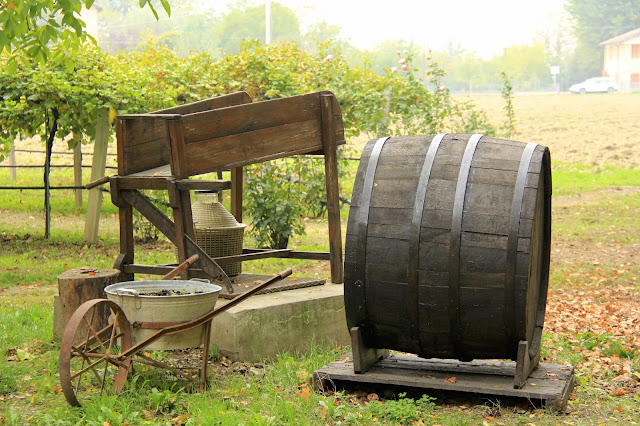
Old fashioned equipment used to make vinegar now stands as decoration
I have been a fan of all things vinegar for as long as I can remember. Admittedly, a strange condiment choice (above ketchup or mayonnaise) – but the heart wants what the heart wants. Although we use apple cider vinegar every single day, I have always been quite fond of balsamic vinegar. Just the right amount can add the perfect hit of acid to round out a caprese salad. However, I recently learned that I have become accustomed to eating the equivalent of a McDonald’svalue meal when a readily available filet mignon was just around the corner. But let’s back up and find out how I discovered this…
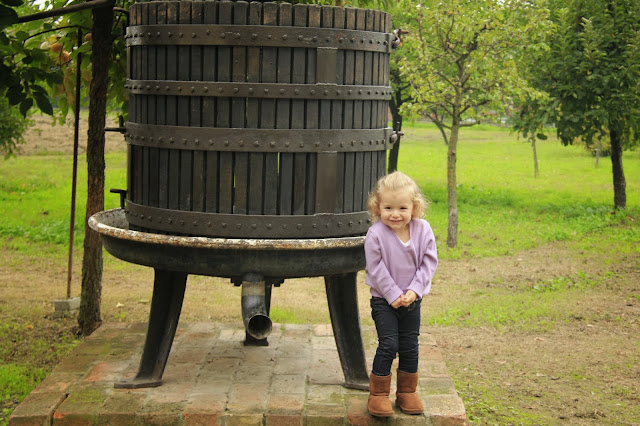
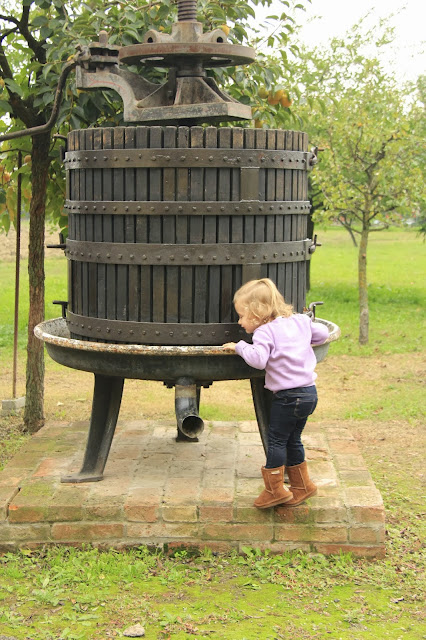
Julia stand by an old grape press
She’s a curious little girl
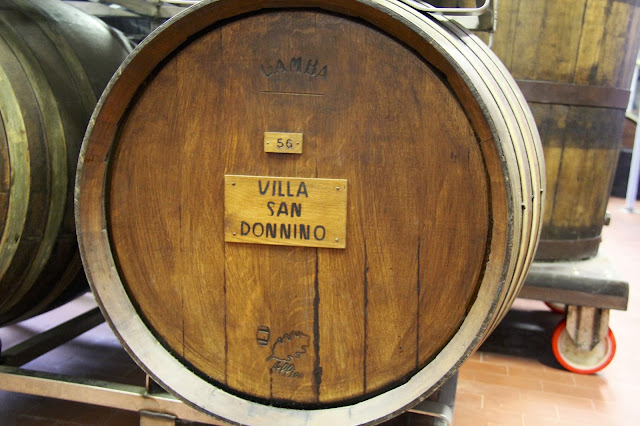
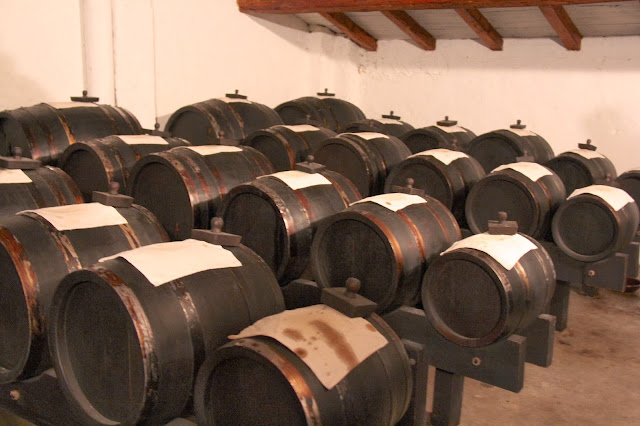
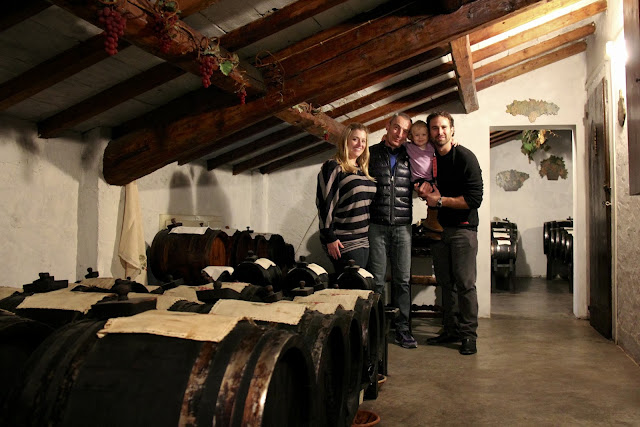
One of the barrels used for aging
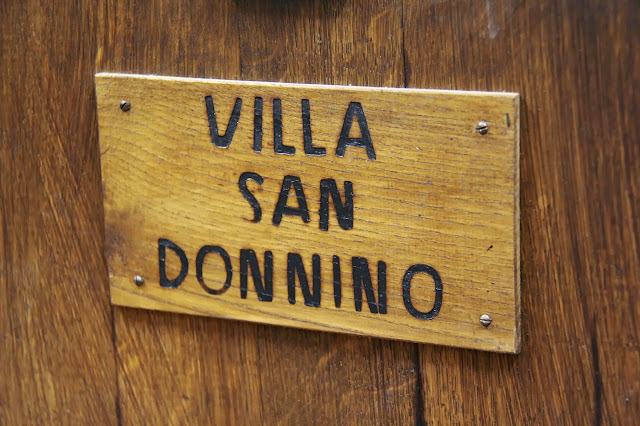
Villa San Donnino has been a family run business for three generations
When my aunt Deborah and uncle S came to visit, we ventured on a road trip to the Emilia-Romagna region of Italy. If you read that particular post, you learned that Emilia-Romagna is widely known for two things – cars and food. One of the most significant contributors to the food column is the aged balsamic vinegar that is produced exclusively in Modena. On our final day of the road trip, we arranged for a private tasting with a local producer, Villa San Donnino. Jen had learned that a tour and tasting at Villa San Donnino was one of the top-rated attractions on Trip Advisor. Once again, our favorite online guide for all things travel hit a home-run.
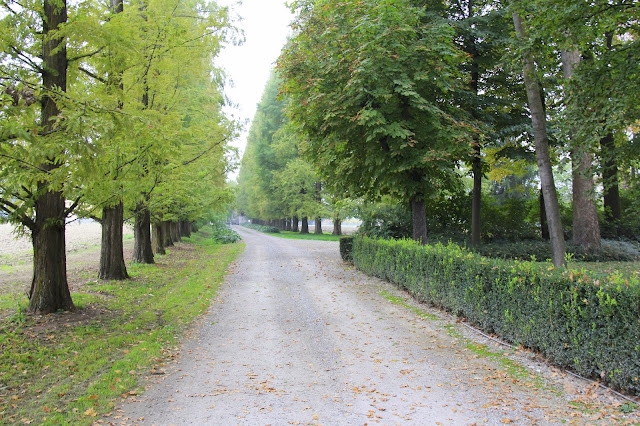
The driveway leading toward the villa
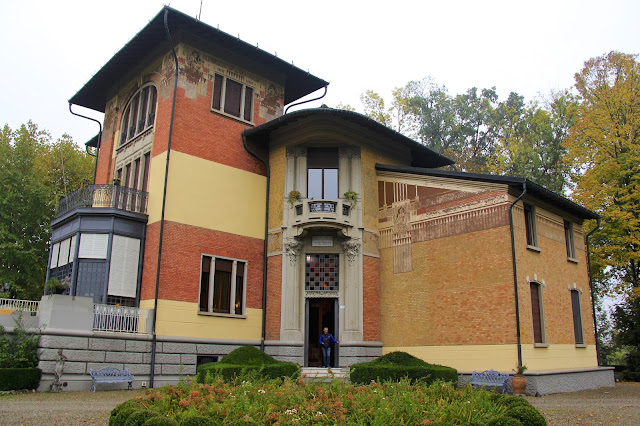
The villa of, Villa San Donnino
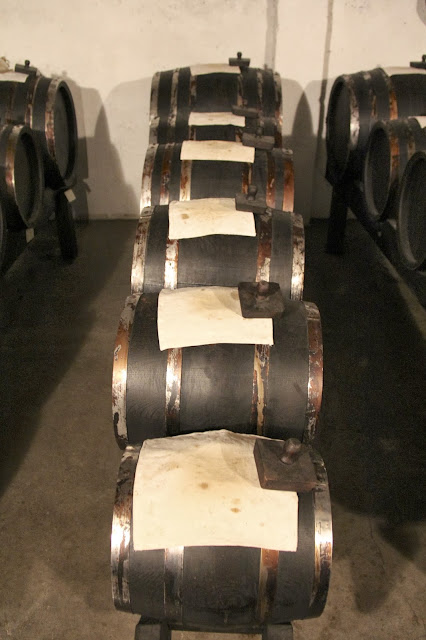
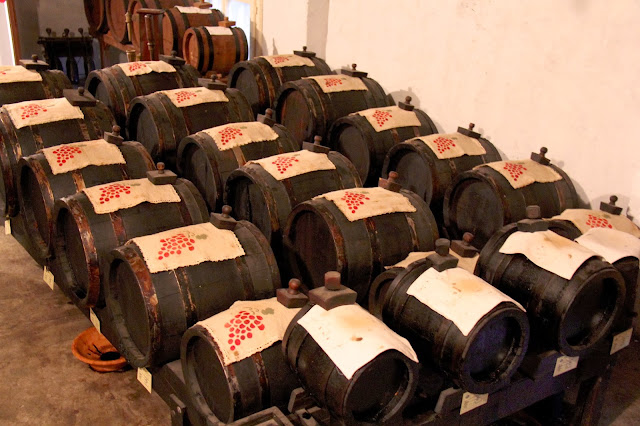
The important aging process begins here, in these barrels
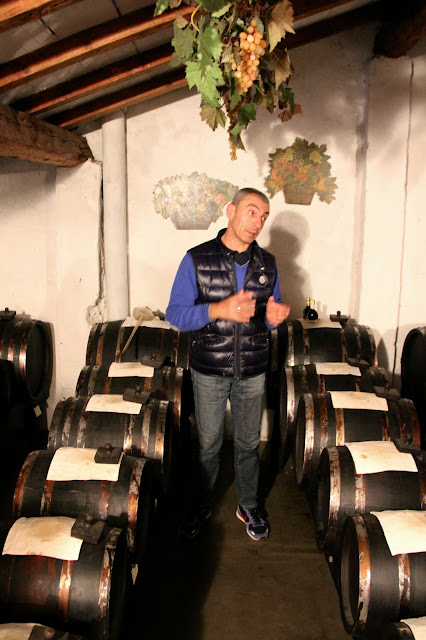
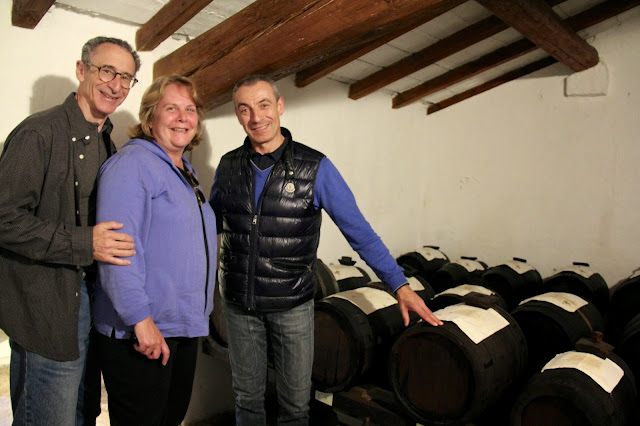
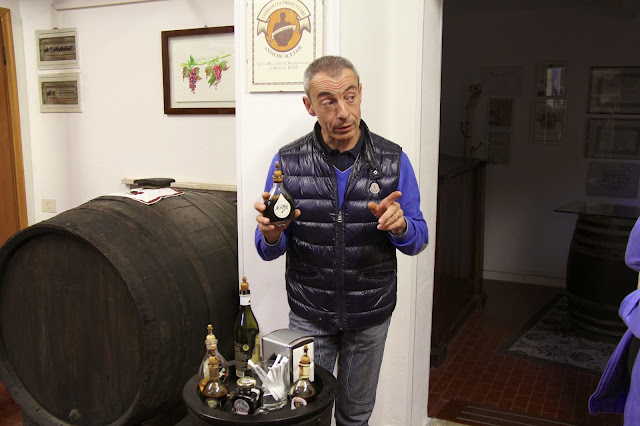
Not only did the overall experience exceed our expectations – it raised the bar for what events like this should be all like over the country. The owner and third generation producer, Davide greeted us warmly and took us into the portion of the property where the vinegar is aged. He first gave us a brief explanation of the vinegar itself. It was summarized nicely in a marketing brochure I took from the villa, so I will copy the text below:
Davide explains the rigorous balsamic making process
Traditional Balsamic Vinegar of Modena is unique from all other vinegar based condiments. Unlike ordinary vinegar which has its origins in an alcoholic liquid, balsamic vinegar is produced directly from grape juice. Grapes, harvested in the region in which balsamic vinegar is produced, are crushed and their liquid – “must” – is boiled in an open vat over a fire. This liquid is then placed in a high quality wooden barrels in which, through an oxidation process, it is transformed into vinegar. The barrels are kept in a vinegar loft – acataia – where over a number of years, the precious liquid inside is lovingly cared for through a special technique involving transfers and topping up. Over many years macrobiotic and enzymatic modifications unite to achieve an exceptional balance in the fragrance and flavor.
As we climbed the stairs to the acataia (vinegar loft) we were first greeted by the unique and pleasant aroma permeating throughout the loft. Davide began to explain the aging process, having already described that his balsamic vinegar juice comes exclusively from grapes on his property. In order to properly age vinegar, you must use a batteria, a series of five or six barrels that descend in size. A process of “topping” off from the larger barrels into the subsequent smaller barrels is done over many years in order to replace evaporated liquids. Since the last, smallest barrel is the object from which the final contents are removed for bottling – there is no way to identify a specific amount of time in the barrels (i.e. twelve years). Because the liquids have been mixed from the larger barrels over many years, a unique system of labeling was created. A balsamic vinegar that was aged for 12 years will have been aged for at least twelve years (meaning, that 12 years is the youngest portion allowed in that mixture). The same is true for 25 years and the extremely rare 50 year vintages.
A batteria, aging the vinegar
Another room with a different collection of barrels
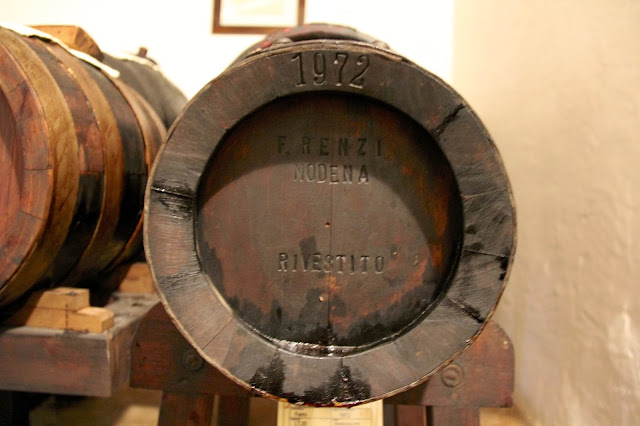
This reserve vinegar has been aging since 1972
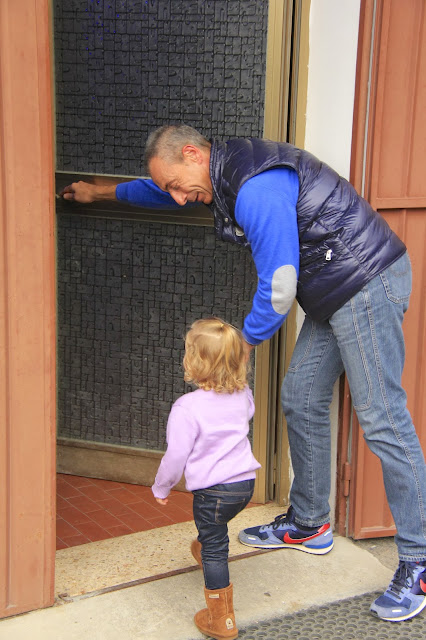
As Davide was explaining the process, we all noticed that he acquired a little two-foot groupie. Our little Julia seemed more than just enamored with Davide, she fell head over heels for him! She kept asking him to pick her up and would require his attention at almost every point hereafter. It was hard for Davide to focus on the remainder of his tour, when at each turn he would hear a little voice saying, “Davide… hold me!” If she liked him this early on in the tour, she loved him when he brought out the gelato (ice cream) for us to try.
Davide with S and Deborah
Julia holds Davide close for a photo
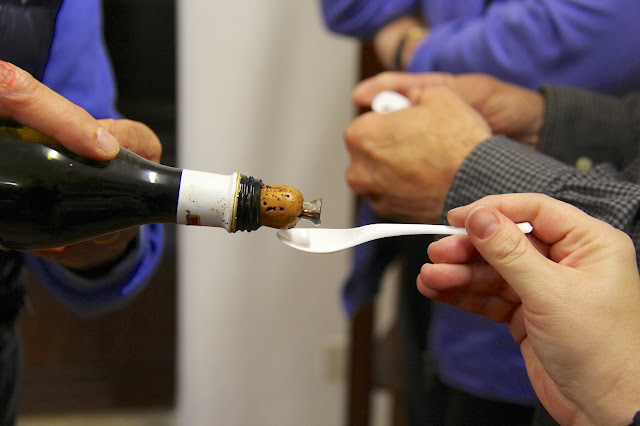
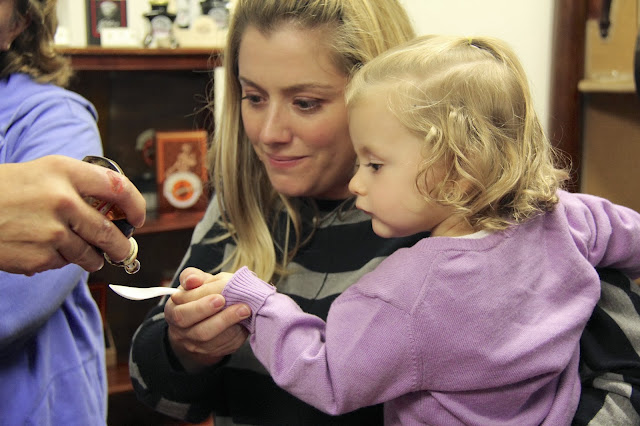
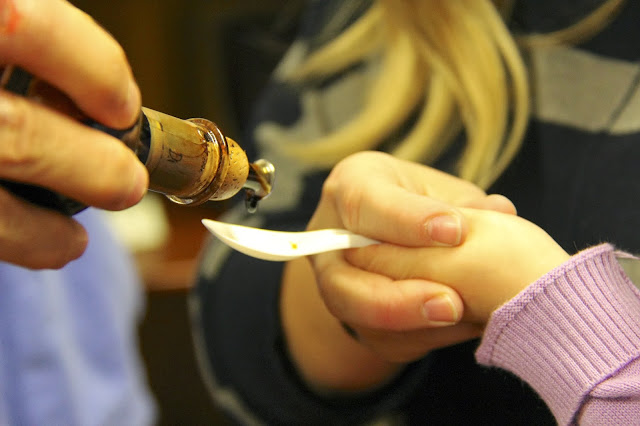
Davide brings Julia in to taste the vinegar with ice cream – she wouldn’t let him go
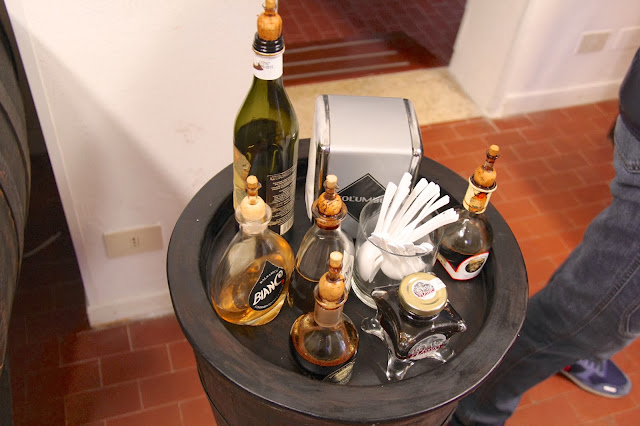
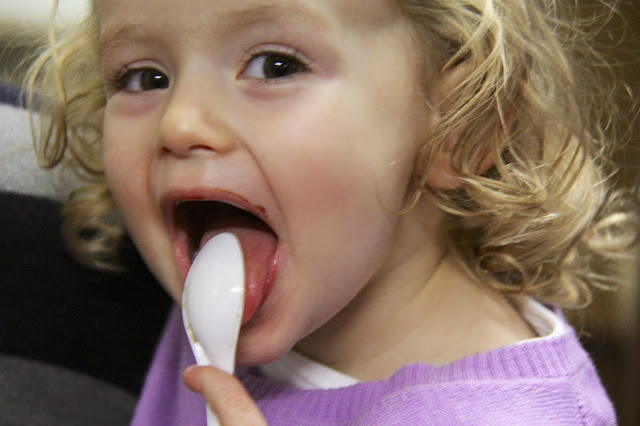
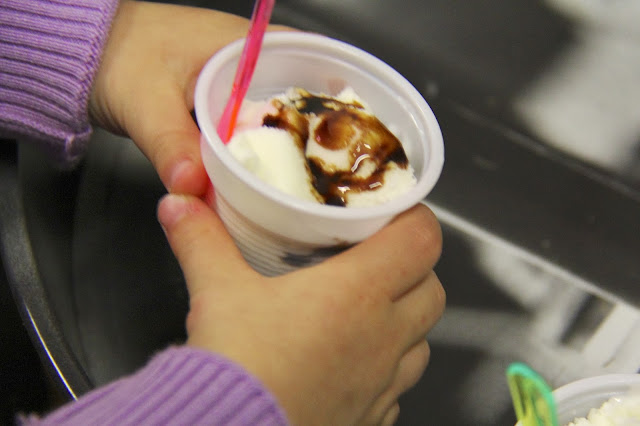
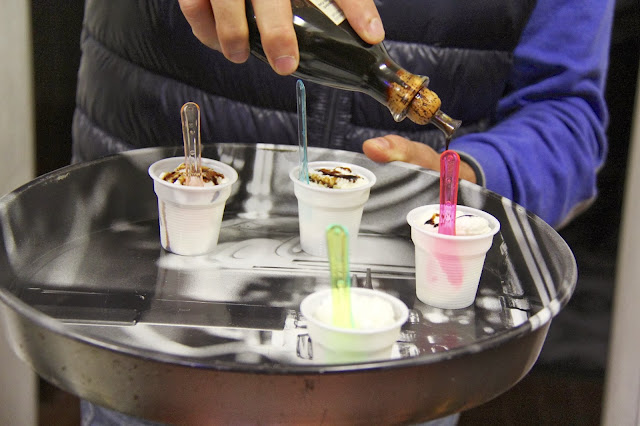
You see, as I mentioned earlier, aged balsamic vinegar has a wonderfully sweet taste with a somewhat thick consistency. It pairs wonderfully with fruit (melon, strawberries), meat (a nice hearty steak), cheese (a few drizzles over parmigiano) and especially ice cream!* In order to prove this point, Davide had arranged a tasting – a “flight” of vinegars, if you will. We started with a store-bought, uncertified vinegar. It was not good. Then we moved onto his white vinegar before climbing the ladder through his 12 year and on to the 25 year. Each one was more magical than the last. When he drizzled it on the ice cream, we couldn’t believe how well it paired. Julia was such a fan of the vinegar that she didn’t want anything to do with the ice cream, and just wanted more vinegar! This is one Italian baby!
A display set, ready for us to taste
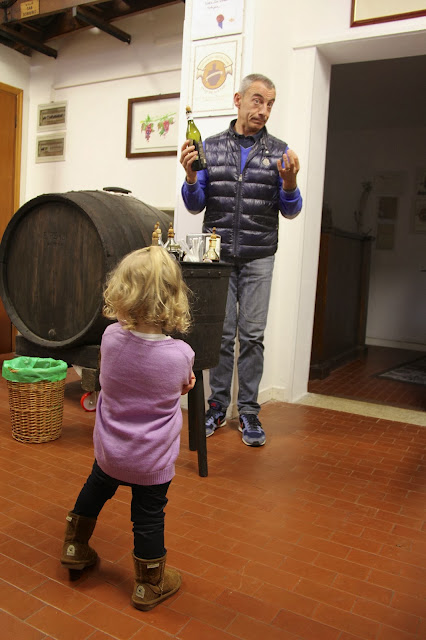
Davide explains the differences of the vinegars to an enamored fan
“Let the tastings begin!”
Davide gave us a very informative and interesting lesson
Julia did not want to miss her turn tasting
She loved the vinegar of Villa San Donnino
“More please!”
The vinegar coats the ice cream like a sweet syrup
Davide drizzles the vinegar for the rest of the group
As the tour wound down, Davide was starting to feel more like a family member than someone we had just met. Each couple bought some of his wonderful aged balsamic. Jen and I got some to use here in Italy and some for when we move home (unlike olive oil, the vinegar can last for many years in the bottle). I think S and Deborah bought his entire supply, including an affinato (aged 12+ years), an extravecchio (aged 25+ years) and the riserva (aged 50+ years). I think I’ll risk facing ten years in prison to smuggle home a wheel of parmigiano-reggiano cheese if S will promise to drizzle some of his riserva on it!
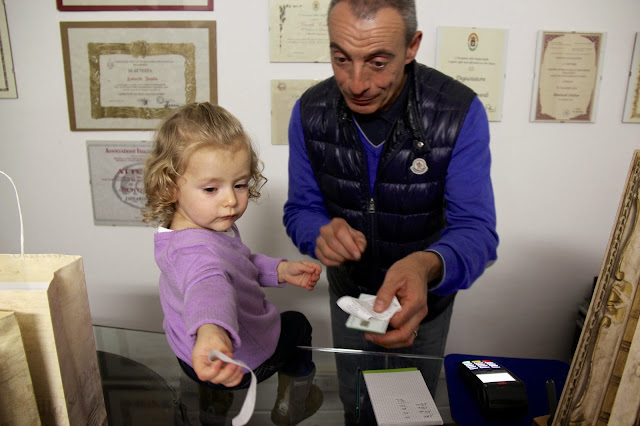
Julia helps Davide ring her father up
S and Davide take a picture with his new 50 year Riserva
All of a sudden, we all heard, “anche io” (“me too” or “so do I)
Julia didn’t want them taking a picture without her
Davide holds Julia for a hug
Julia gives Davide a big hug
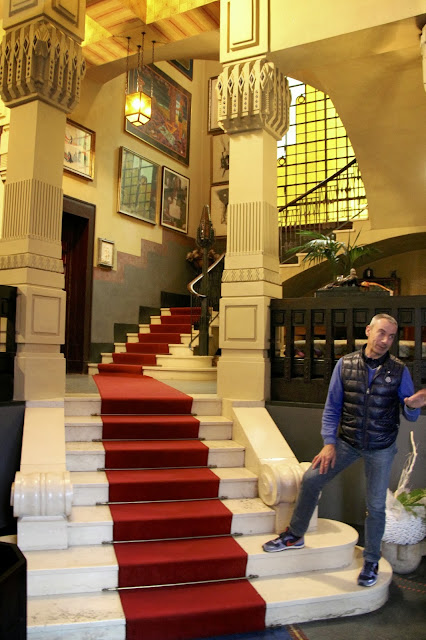
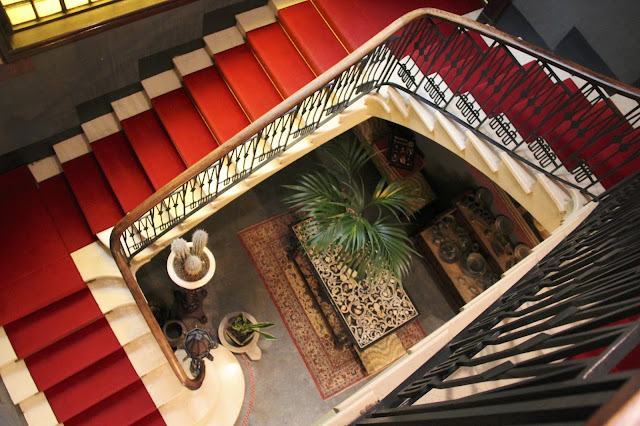
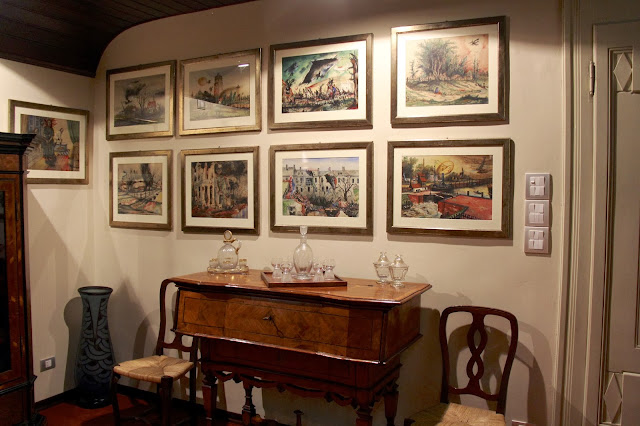
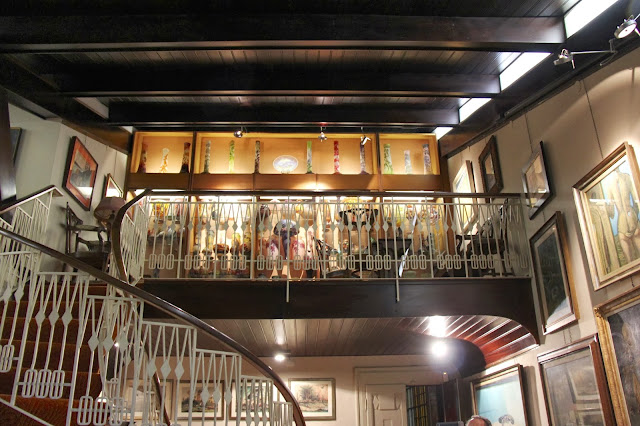
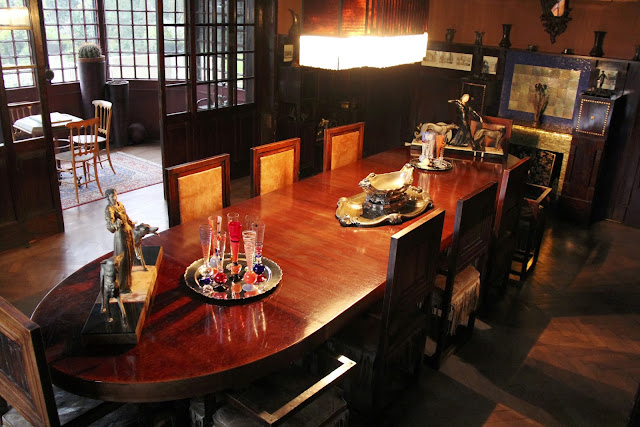
When we had completed the tour and acquisition of our newfound condiments, Davide did something that I suspect he doesn’t do for most tour groups. He offered to open his private home to us, the villa pictured in the brochure. This villa was acquired by his grandfather in the 1940’s and has stayed with the family ever since. In fact, the villa itself plays an integral role in the history of Acetaia Villa San Donnino. After acquiring the property, his grandfather happened upon a barrel used for making vinegar and so he thought he would “give it a try”. Over seventy years later, the family is still making vinegar in the traditional way. Davide explained that to be included in the small fraternity of roughly 80 producers in the world… you must have time, patience and a passion that cannot be taught. The tour of his home was simply amazing, jaw dropping examples of art and collectables abound around each corner. It was no wonder that Bernardo Bertolucci chose this location to film part of his movie, 1900, staring a young Robert DeNiro and Gérard Depardieu.
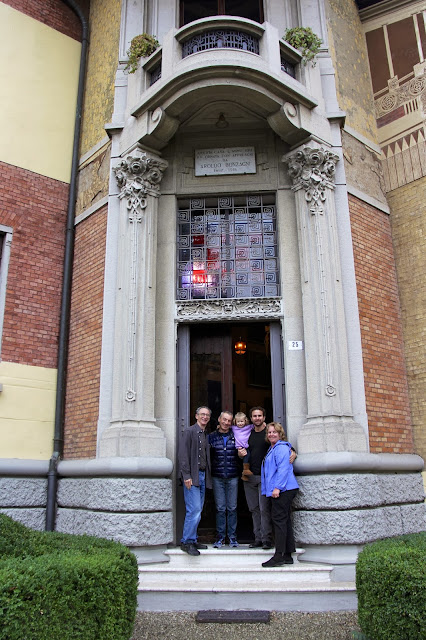
Everyone prepares to go into Davide’s home
Quite a grand entrance
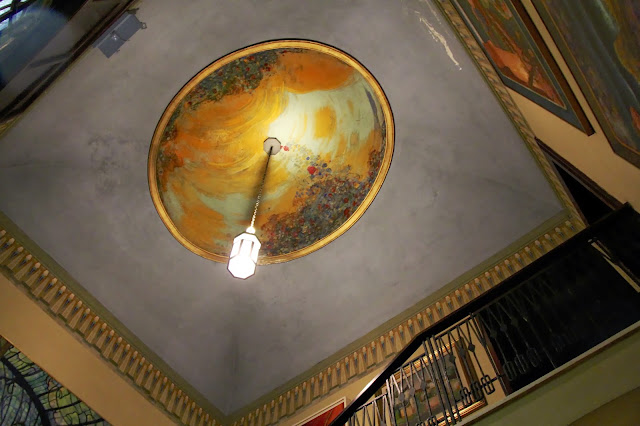
The ceiling above the staircase
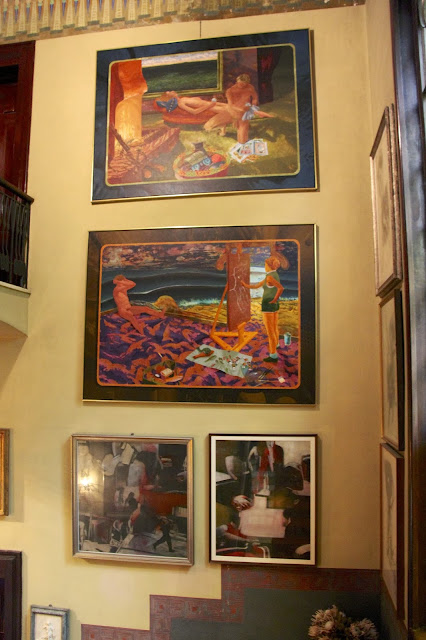
Stunning artwork adorns nearly every wall
The stairwell from the second floor
A collection of smaller original prints frame an antique desk nicely
A stairwell leads to an annex full of glass pieces
If this dining room could talk… I can’t imagine the history it’s seen. Robert DeNiro, for starters…
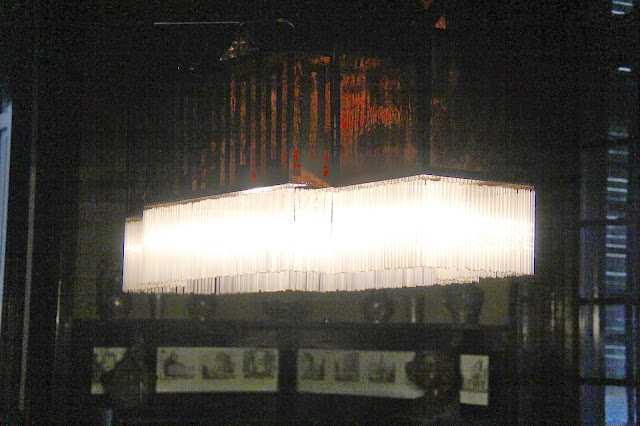
This was one of the more beautiful chandeliers I’d ever seen
As the sun was setting on a long and wonderful day, we bid Davide a fond farewell and Julia tossed her new friend many many kisses. We will definitely come back to see Davide again and re-stock our balsamic vinegar; if you find yourself anywhere near Modena, I suggest you pay him a visit as well!
*These are just a few of the wonderful uses for the condiment. While there are many, many uses for aged balsamic – most applications require a unique understanding of the complexities of this liquid gold. Since it is very expensive and can also overpower a dish with careless use, it is recommended that you do a quick bit of research before adding to your next dish.
Jennifer, Julia and I had a wonderful time when my Uncle S and Aunt Deborah came to visit us this past March. That’s why we were thrilled when they mentioned that they would like to come back to Italy again this fall. They wanted to do a bit of traveling and invited us to join them on their adventures, using our condo in Como as a “home base”. They had sketched a rough itinerary and just wanted a little help filling in the blanks – assistance I was happy to give. They knew that they wanted to spend some time with us here in Como, some time in Piemonte and Emilia-Romagna (two regions adjacent to our region of Lombardia) as well as a quick jaunt down to the historically significant city of Pompeii and another to Venezia.
S and Deborah standing near the divide of Lake Como
Jen and I share the responsibility of planning our trips – researching restaurants, activities and hotels. But they’re usually in three or four day stints and one location at a time. This time, I had to navigate through a two week itinerary, complete with activities, restaurants, hotel stays and all at new locations each day. Putting the puzzle pieces of their trip together was a challenge not for the faint of heart. Jen and I dug in, and by the time S and Deb landed in Milan, we had an itinerary that we were both proud of. I think all of us agreed that it came together quite nicely. Of course, the key ingredient was the company, mixed with a little food and wine!
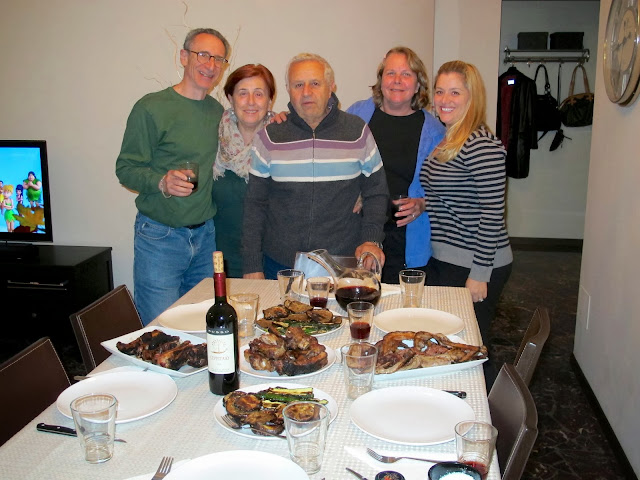
I manned the grill for a family feast on their second night. I’ll get Franco to smile for one of these pictures, yet…
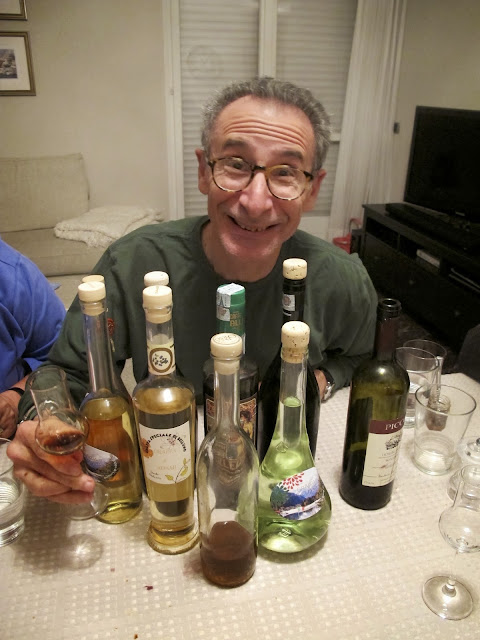
S enjoys a little grappa after our meal
S gives us a thumbs up as he displays our first two days worth of “work”
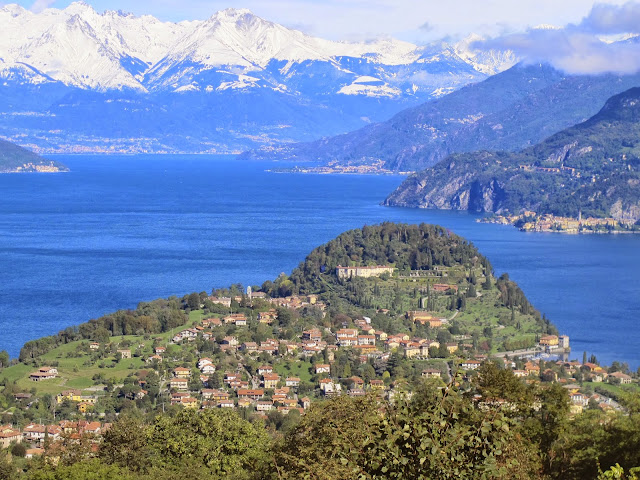
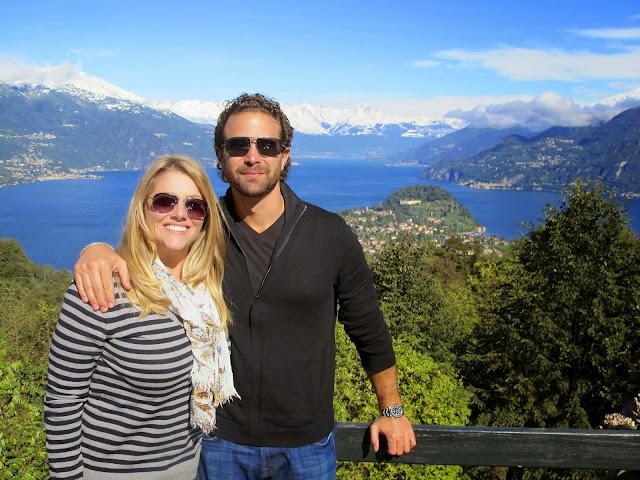
We divided the trip into the three things that Italy is best known for. Part I was wine. Part II was food. And part III was history. Jen and I accompanied S and Deb for parts I and II (our personal favorites) and let them venture off on their own for part III. This clean break in adventures divided the trip quite nicely and will also allow me to easily organize these blog posts into two parts. Easy breezy, vino-squeezy. However, before we hit the open road, we spent a day here on Lake Como in one of our favorite towns – Bellagio (if you’ve been reading this blog for a little while, you’ve seen us here many times before). The unique beauty of the town is like nothing else on the world.
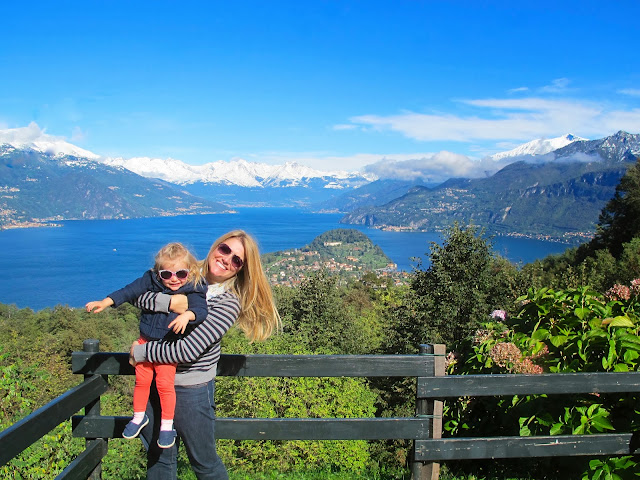
The weather was absolutely beautiful the day we drove to Bellagio
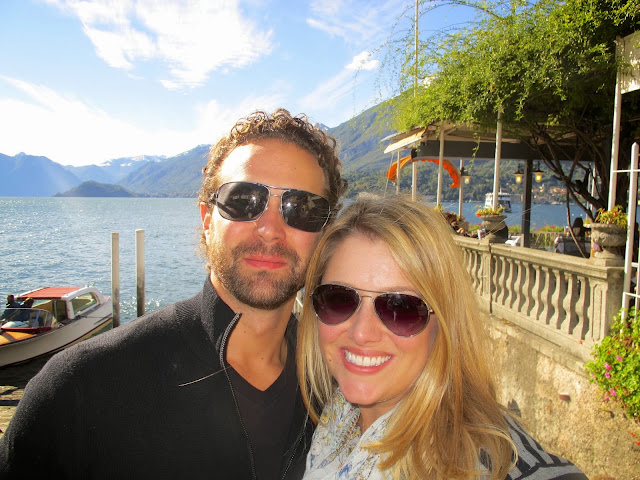
I teach my uncle how to take a “selfie” (after explaining what a “selfie” was)
Bellagio from above – a unique vantage point. Bellagio divides Lake Como into the two “legs”
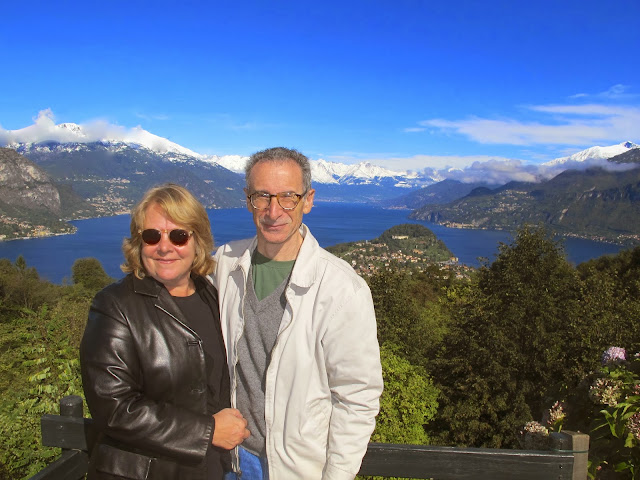
Jen and I pose for a picture
S and I take a picture together
My two girls
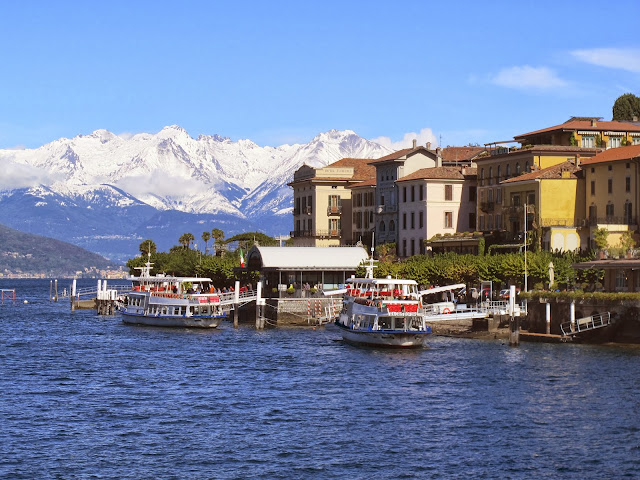
Bellagio is a beautiful town at the center of Lake Como
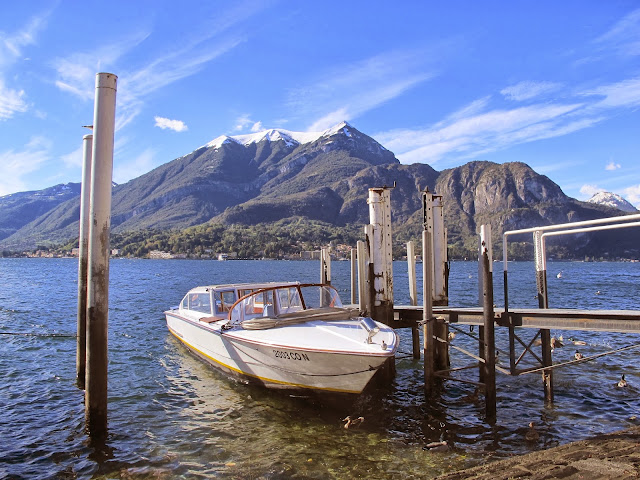
A boat rests after bringing passengers from another lake town
“Hey… I think I’ll make this my profile pic”
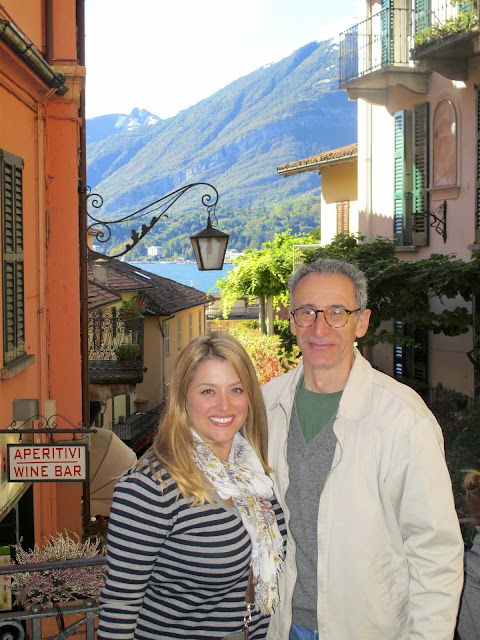
Jen and S stand near the wine bar where we had lunch
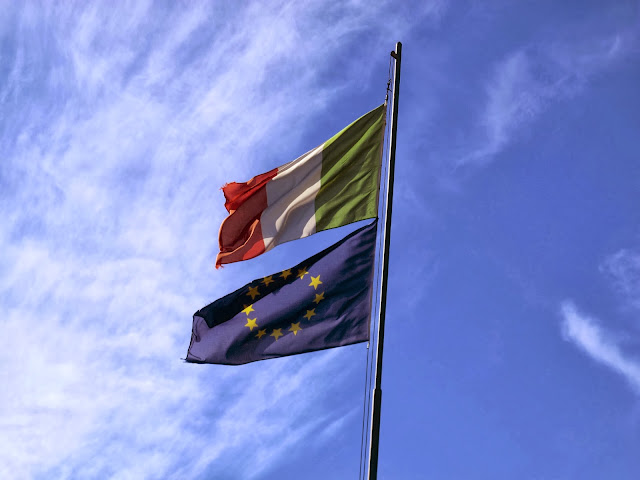
The Italian flag blows in the wind alongside the European flag
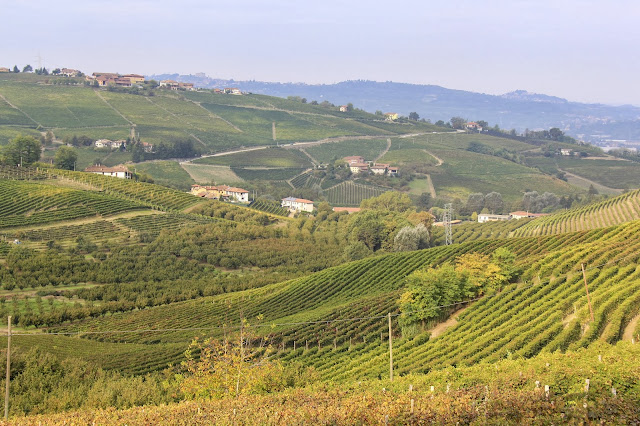
Piemonte (Piedmont) is a region in northwest Italy that borders France to the west and [our region of] Lombardia to the east. The capital city of Piemonte is Torino, which was once the capital of all of Italy and the springboard for the unification of the country. Of the twenty regions in Italy that each produce wine, Piemonte is probably the most well-renowned for their vintages. The rolling hills and mild climate result in some of the world’s best wine – the Barolos and Barbarescos produced here are often the prize jewels of wine cellars the world over. These wines, made primarily from the nebbiolo grape age very well, and in fact improve and develop richer and more powerful flavors as the decades pass. It was easy that to recognize that this portion of our trip was going to be entitled simply, Vino (wine).
The rolling hills of Piemonte are a perfect place to grow grapes
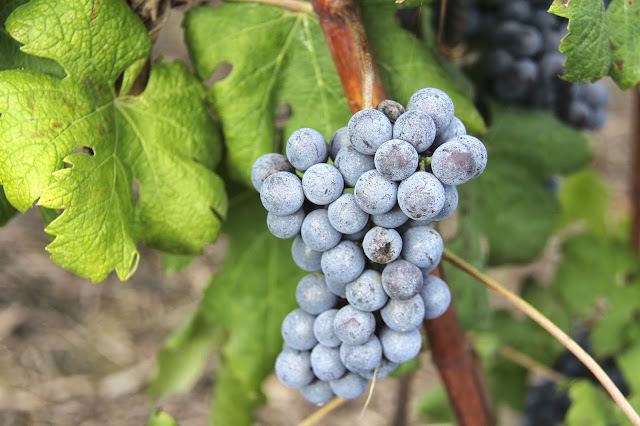
They look delicious now… just wait until they are turned into a Barolo or Barbaresco
S stands in front of a field of grape vines early in the morning
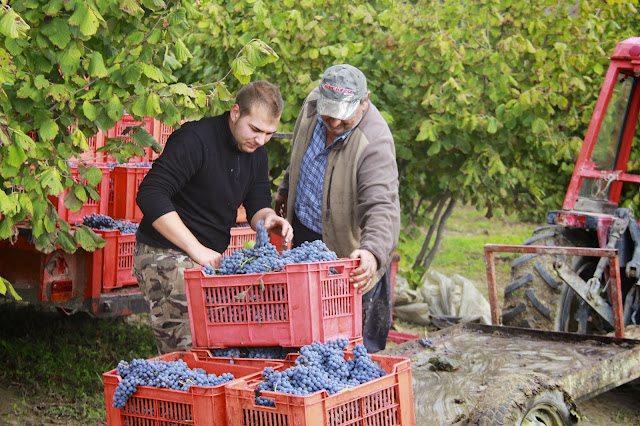
A father and his son load grapes onto a flatbed during their harvest
The finished product of our five nights together in the condo – wine was definitely a theme central to their visit
We spent the first day of our road trip in the small village of Barolo. During our drive to Barolo, S imparted some of his knowledge about the famous wine, which I’ll now share with you. Historically, Barolo wines were very rich on tannin and therefore could require as many as ten years to soften enough to drink. The long fermenting time and aging process in large, wooden barrels causes this complexity in the wine. The problem with this method is that it is very time-consuming and therefore expensive. A newer breed of producers have cut the fermenting time by as much as 2/3 and age the wine in smaller, French oak barrels. This allows the consumer to drink the wine much earlier and appeals more to the more modern, international palate (it creates a fruitier wine). As an aside, the more modern palates that prefer “big”, fruitier wines is often attributed to world-famous wine critic, Robert Parker (often referred to as the “Parkerization” of wine). The differing styles in Barolo has created a controversy between “old” and “new” – a conflict often referred to as the, Barolo Wars.
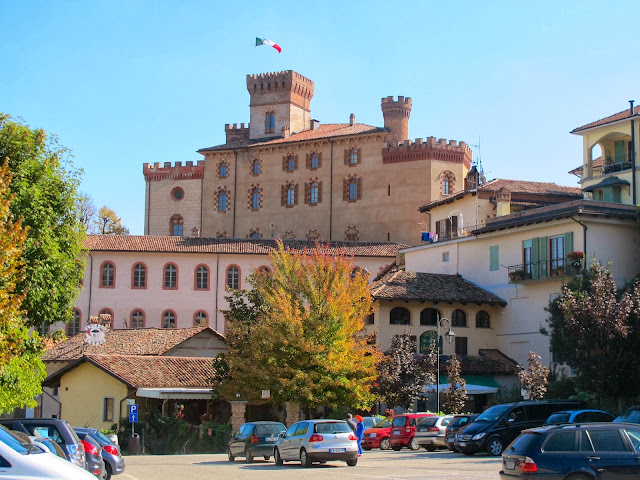
Castello di Barolo stands proudly overtop the town with the same name
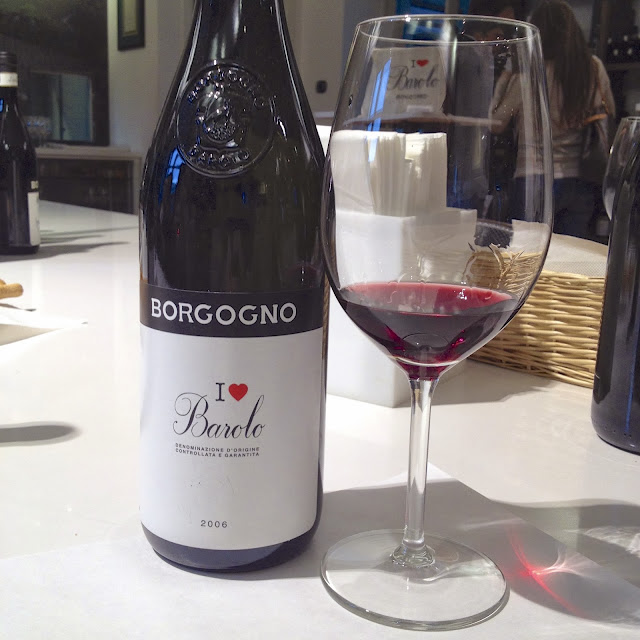
I ♥ Barolo!
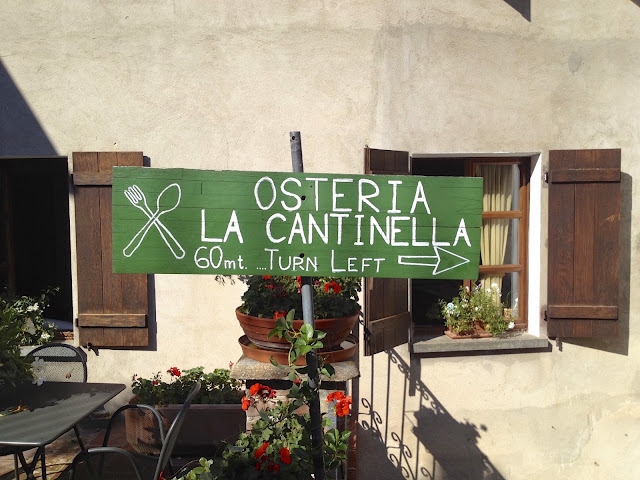
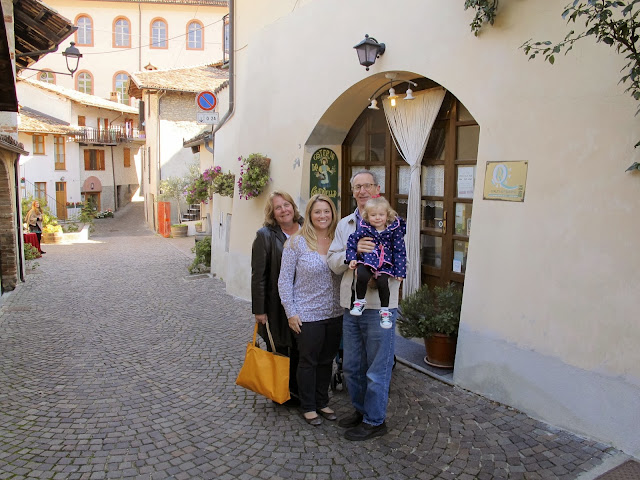
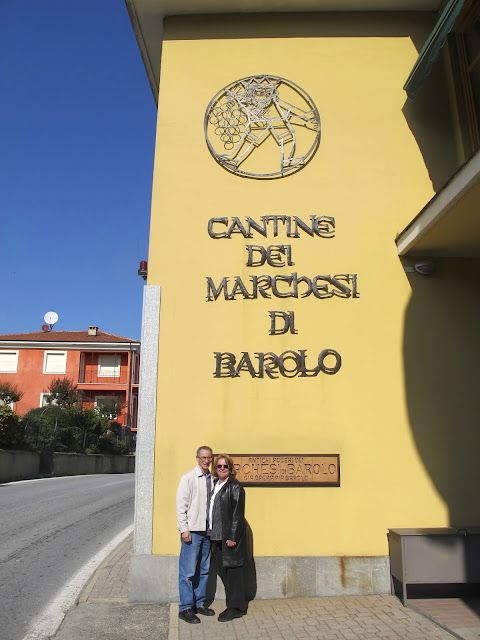
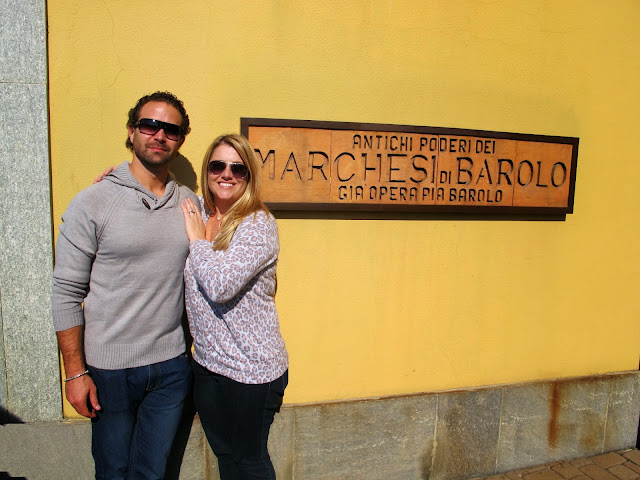
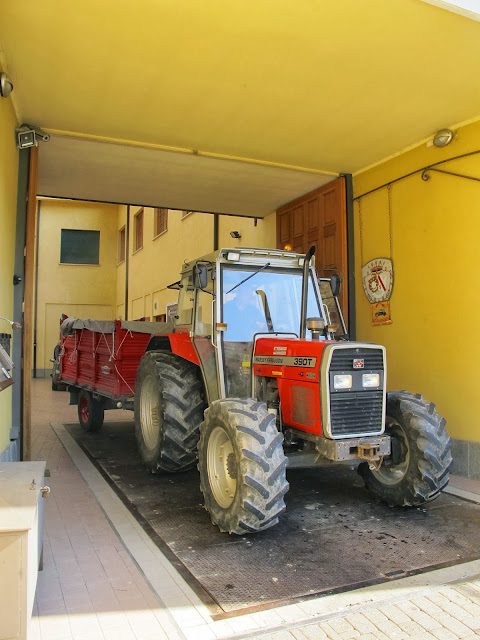
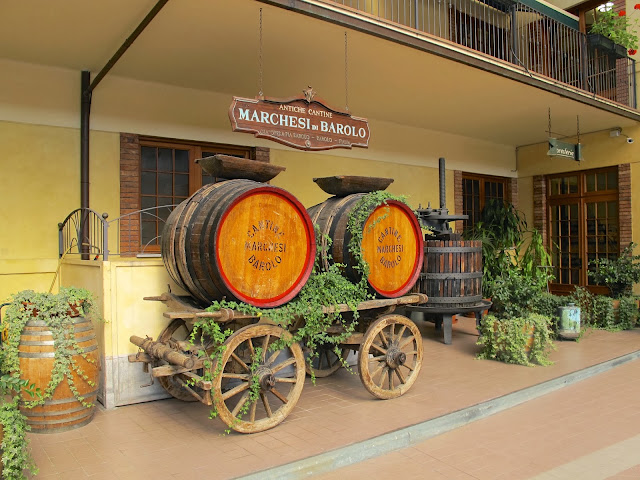
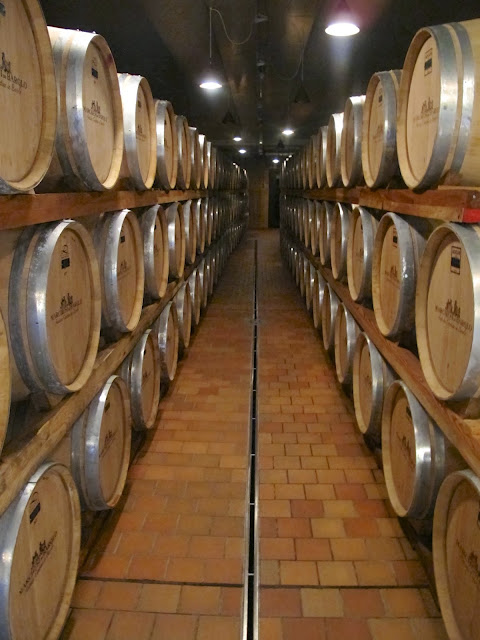
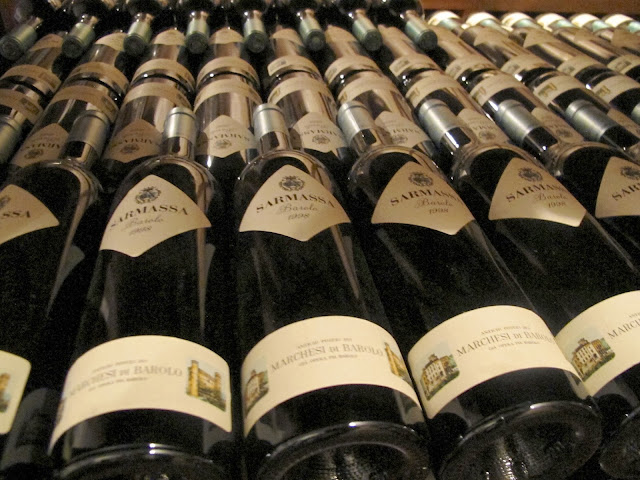
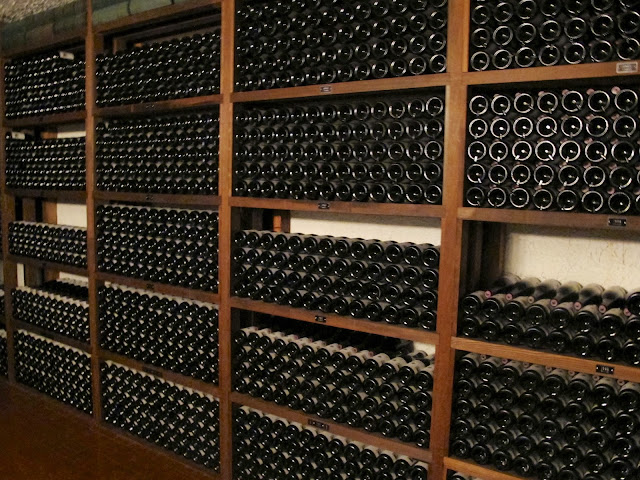
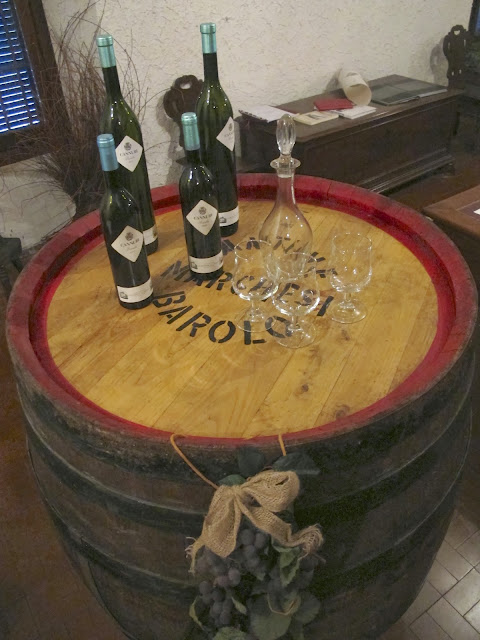
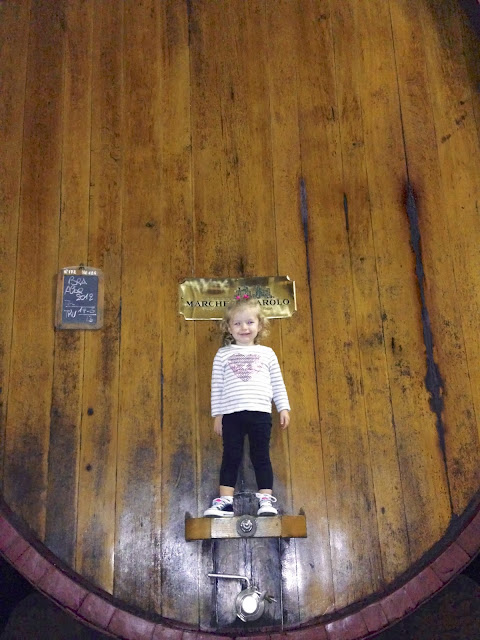
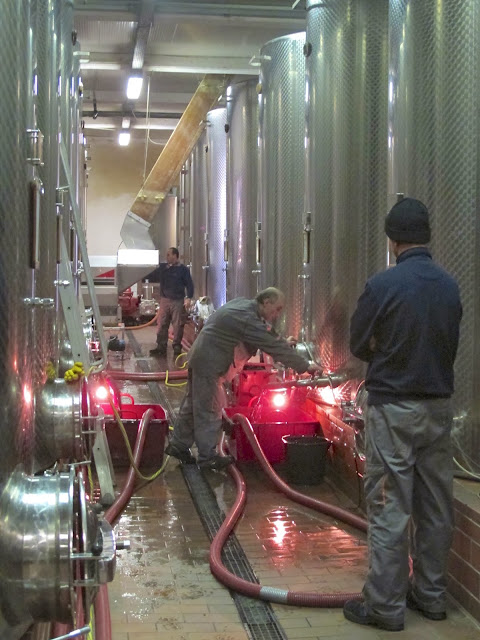
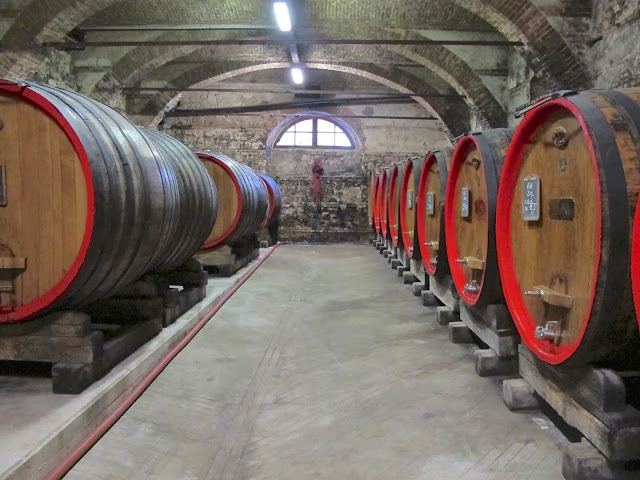
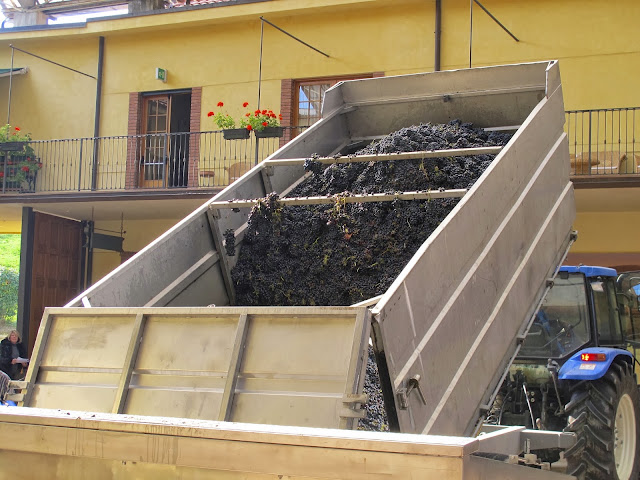
After a wonderful lunch at Osteria Cantinella, I had pre-arranged for a tour and wine-tasting at Marchesi di Barolo. This particular cantina boasts a very genuine and interesting history (I encourage you to click on the link and visit their website). It was explained to us that this particular winery was where Barolo itself was born – we even saw the original cask that was home the world’s first Barolo over 200 years ago. Our tour began in one of the cantina’s vast rooms where they were aging wine in botte di vino (wine casks). These barrels were made from oak from several countries. S and Deb saw some of the barrels were made by an American cooper (barrel maker) they know in Napa Valley. Small world! We next moved into the Marchesi’s private family cellar, where an impressive collection of wines rendered us all speechless. As we descended down into the heart of the cantina, we saw the juice of fresh “crush” flowing though long winding hoses, attached to the floor above where tractors were dumping the grape fresh from the “harvest”. This was exciting for all of us, knowing that we played a small part in the 2014 vintage (primarily by not tripping over the hoses and spilling the precious nectar on the floor). After the tour, we enjoyed a tasting of some of their finer wines – a wonderful way to casually spend the afternoon.
We merely had to follow the signs to reach our restaurant
Our group is eager to dine at Osteria Cantinella
S and Deborah stand just outside Cantine dei Marchesi di Barolo
Jen and I take a picture here as well
Tractors were coming in out along with us, bringing grapes fresh from harvest
A display in the interior courtyard shows an old fashioned way to transport the wine from town to town
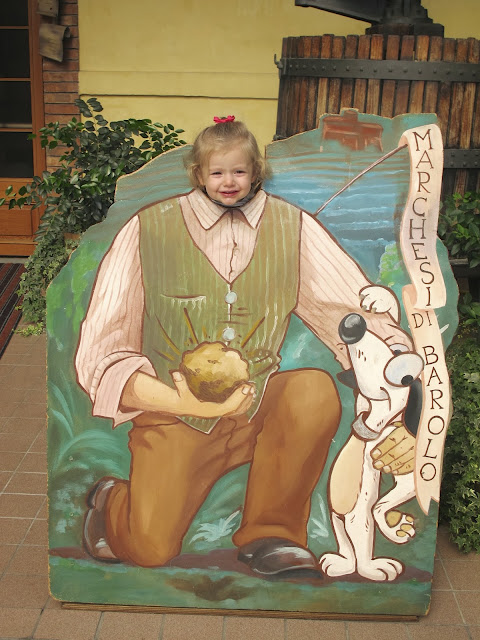
Julia also doubles as an expert Truffle Farmer
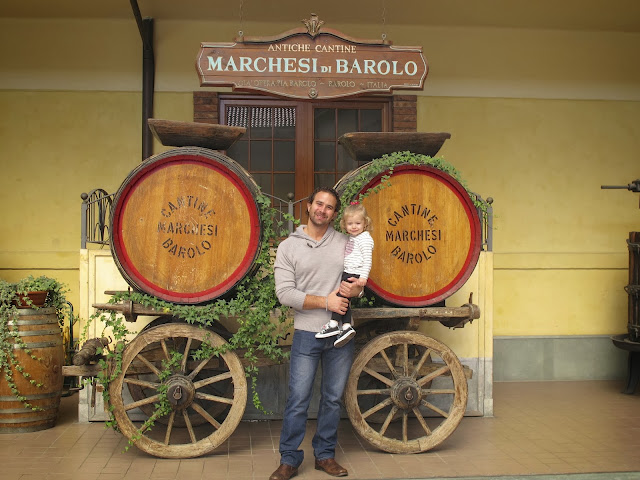
We smile in front of the old fashioned barrels and wagon
French oak botte in the first room we visited
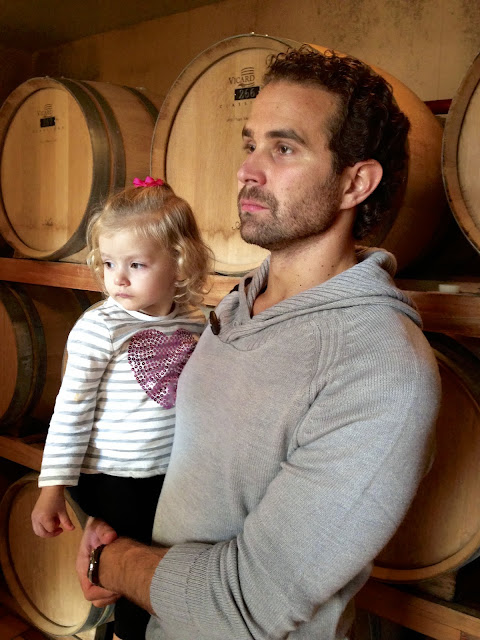
Julia and I listen to our tour guide
Barolo can age in the bottle for many years, most Barolo shouldn’t even be opened for at least 10 years
Going into the personal cellar of the family… quite the collection
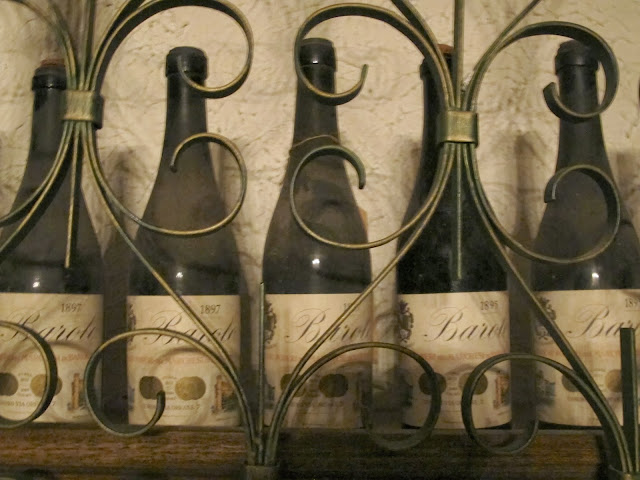
Some of the much older bottles are on display – these are no longer for drinking (hence the vertical position)
The oldest bottle in the cellar is from 1859 (not drinkable) and the oldest that is still drinkable is from 1938
A private tasting area
Some of these large barrels date back as far as the 1950’s
Downstairs the juice from the crush flow into these large steel vats through long hoses
These large barrels are made by hand and are very expensive
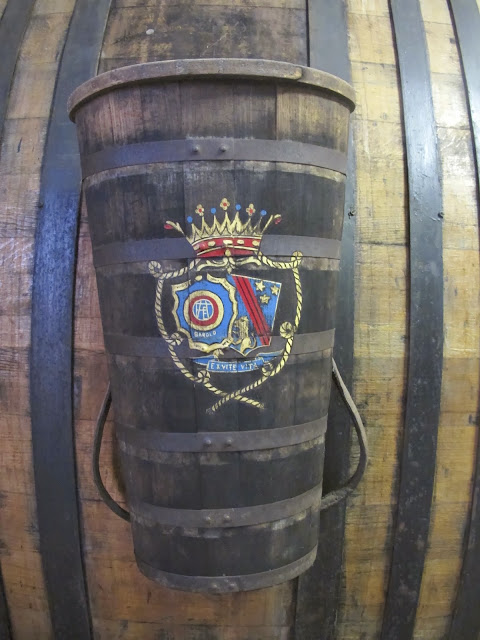
A basket that was once used for the harvest many years ago is now used as decoration
Tractors dump the grapes they collected at harvest into a machine that crushes them
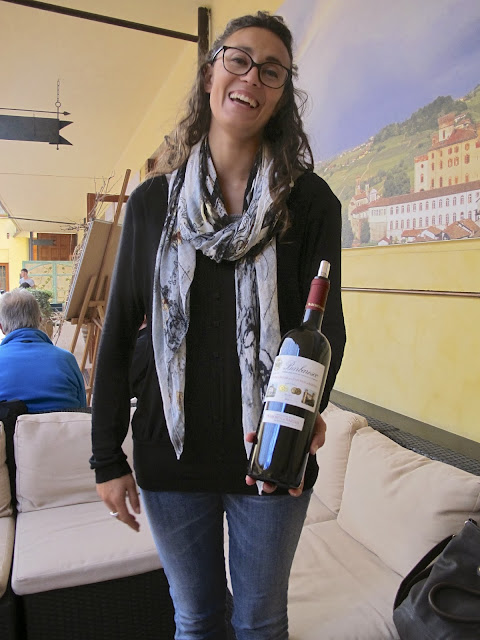
Our guide showcases one of the bottles that we would be tasting – this a Barbaresco
Deborah and Julia start a dance party
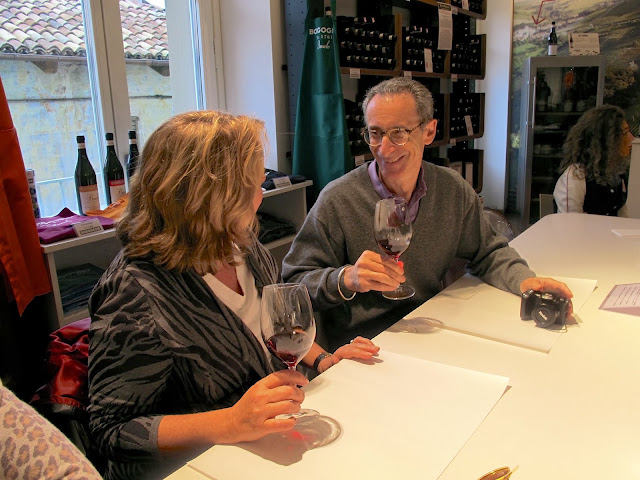
But we weren’t done – we still had another tasting on the books. We next went to Borgogno – a producer of fine wine since 1761. We opted for the more comprehensive vertical flight, consisting of six different wines. I cannot accurately describe to you the pure bliss one can discover whilst sipping on some of the worlds best wines, with fun people who’s company you really enjoy and basking in the glory of a napping baby. We tried our best to “play it cool” but I think perhaps got a little rowdier than we even realized. You have to give us a break, we had each had several glasses of wine at this point. Between me and S (mainly, S) – we bought so much wine that they included two of the four tastings and threw in canvas bags, custom wood cases and bottle openers. If you find yourself in Barolo – duplicate our exact schedule of eating and drinking – it was an amazing day.
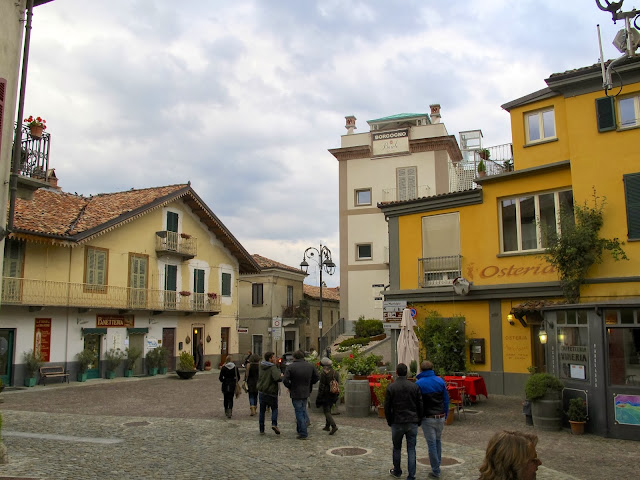
We walk through Barolo on our way to Borgogno (the tall white building)
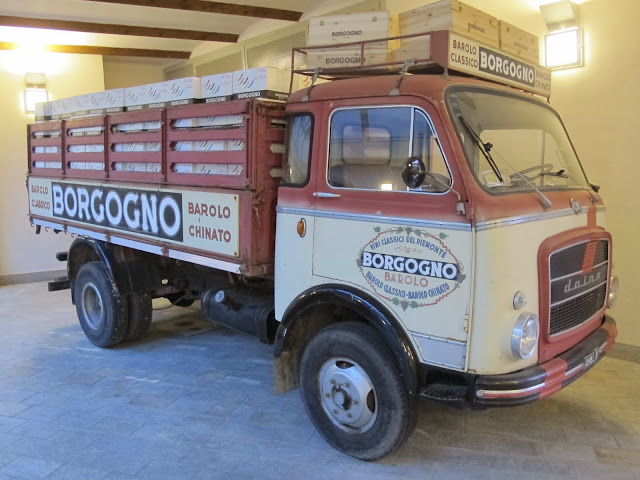
One of their old trucks now sits on display in the cantina
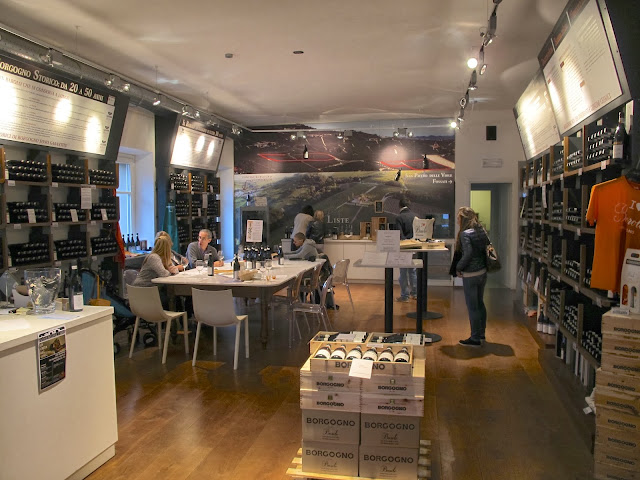
A wonderful place to taste wine, surrounded by all the amazing bottles that can be acquired with the simple swipe of a card
S and Deborah share a laugh
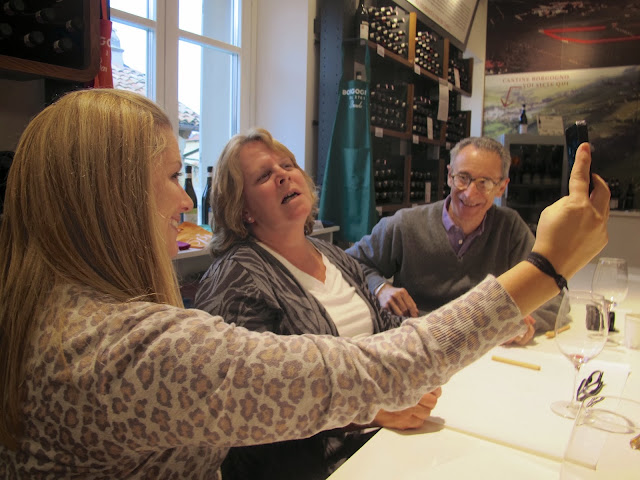
Jen explains what a “selfie” is and shows her how to do it
I wouldn’t call Deborah’s first attempt “successful”
“Here, let a pro show you how it’s done”
Deborah’s second attempt was much better – I think she’s nailed the “selfie”
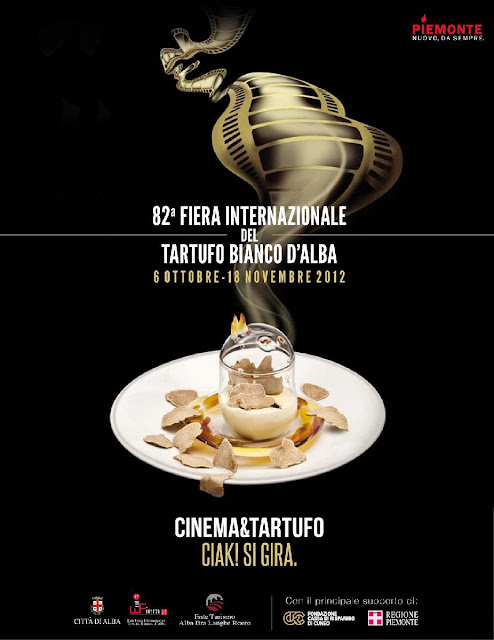
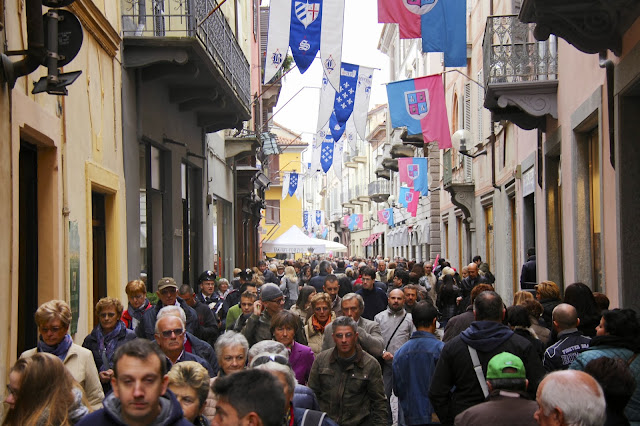
For 83 years, Alba has been host to the Fiera Internazionale del Tartuf Bianco d’Alba (International White Truffle Fair of Alba). This year, the festival is open for five weeks, from the 12th of October until the 17th of November, spanning across the entire city. There are hundreds of events (including a donkey race, music concerts and food & wine tastings), vendors set up in markets throughout the city, celebrity chefs dropping in all over town, cooking demonstrations and of course – thousands upon thousands of truffles. Admittedly, we were undertaking a “food” related activity in the “wine” portion of our trip – but we have learned that nothing pairs with the worlds most exquisite wine better than one of the world’s most elusive and desirable food items.
Last year’s poster for the event
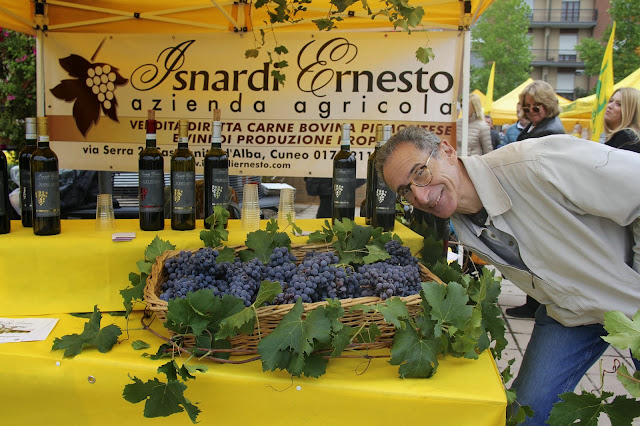
S gets close the grapes of a small producer selling his wine
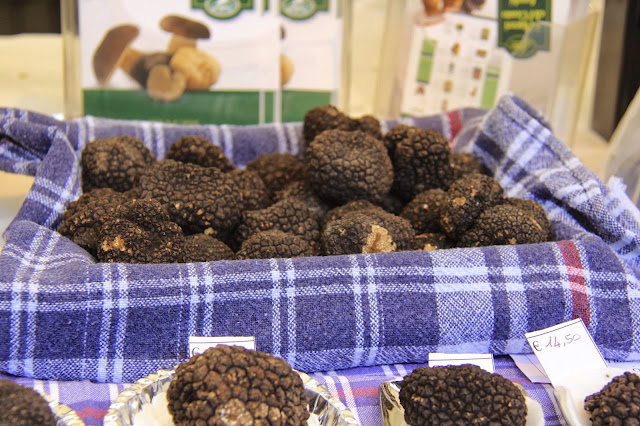
Some black truffles displayed for sale
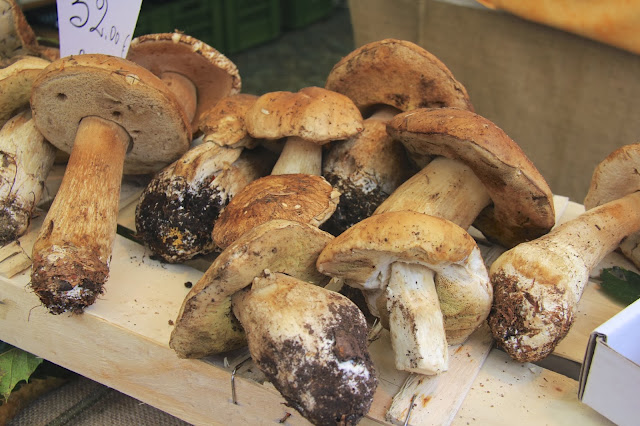
It is the season for truffles as well as mushrooms – there were some fine examples for sale
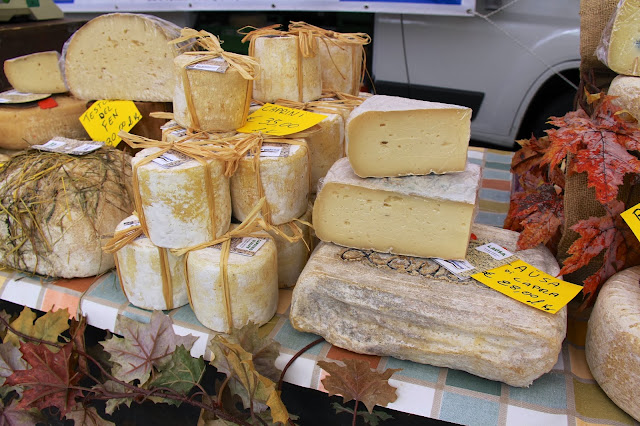
A cheese vendor showcases his various goat, cow and sheep cheese
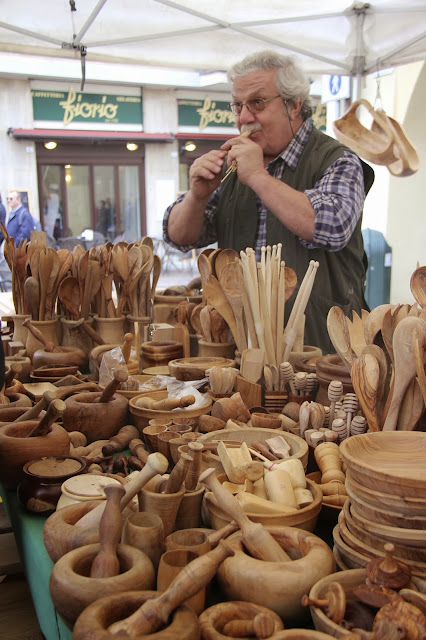
This artisan hand crafts items out of olive wood – Deborah got several spoons
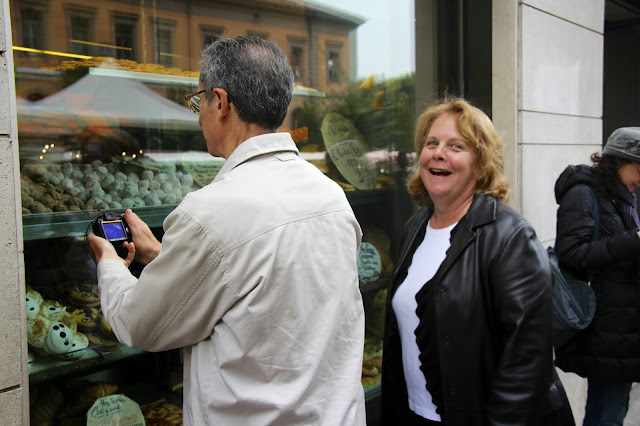
Deborah laughs as S takes a picture of the window display at a pasticceria (pastry shop)
Family photo in one of the markets
The city is flooded with thousands of visitors each day during the month-long event
Like many of the world’s finer foods, a truffle may seem strange to many people (caviar = fish eggs, foie gras = goose liver, etc.). A truffle is in fact, a fungus – but nonetheless, affectionately referred to by many as the diamond of the kitchen. It is no wonder that this event is considered the Sundance Film Festival of the culinary world. The likes of Mario Batali, Joe Bastianich and dozens of other celebrity chefs make appearances each year. Lesser known restaurateurs can be seen in the main truffle tent, intently smelling every single truffle and purchasing thousands of euro’s worth of this little, spongy item. They will use the ingredient in various recipes (soups, stews, meat dishes and anything else their creative minds can concoct), but primarily – they will shave the truffles over pasta, table-side.
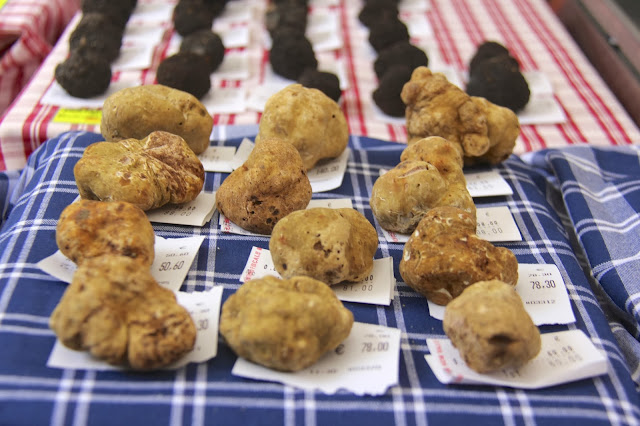
A collection of white truffles in the front – black truffles are in the background
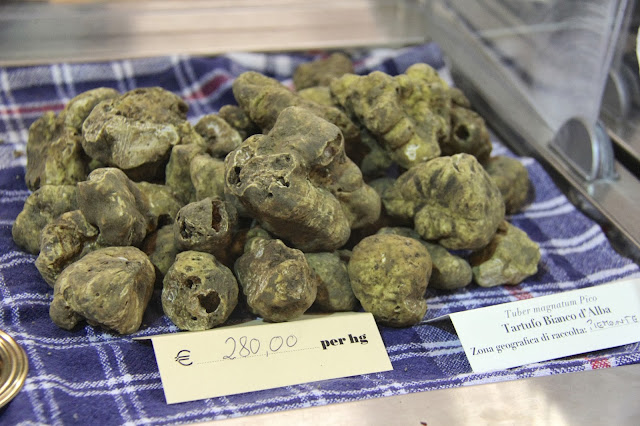
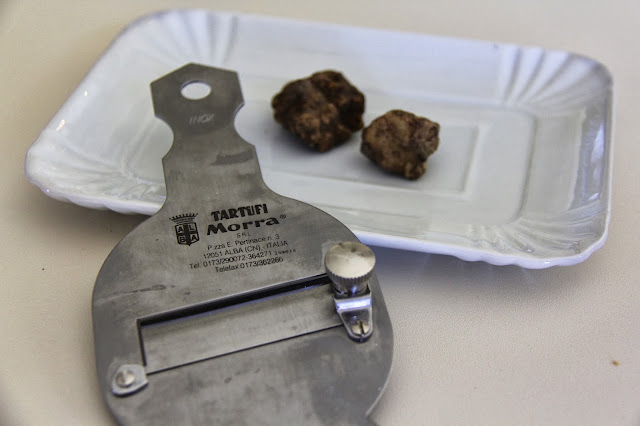
Truffles are small, hard to acquire and require the perfect soil conditions to achieve a proper balance. Italy is regarded as the foremost area for the natural cultivation of truffles (and the ultra-elusive “white truffle” grows in the Langhe area, specifically Alba as well as Tuscany and Abruzzo). As popularity and demand has increased, other countries have tried to cultivate white truffles (including Slovenia, Croatia and now even China). It is commonly accepted that these areas produce a lesser-quality truffle. One of the benefits of purchasing your truffles within the main enclosed tent at the festival is that you are guaranteed a certified, locally cultivated truffle. Many of the merchants selling their truffles were the actual farmers themselves. Today, farmers mainly use Truffle Dogs to sniff out the truffles. Historically, Truffle Pigs were used (because of their acute sense of smell and innate ability to find truffles) – but their love of the delectable treat often had them eating the merchandise before the farmers could snatch them from their snouts. The Truffle Dogs have to be trained to find the goods, but are much easier to control. We sniffed out some of our own truffles and plunked down €50 to acquire two small truffles and a truffle shaver.
White truffles for sale – they are not cheap!
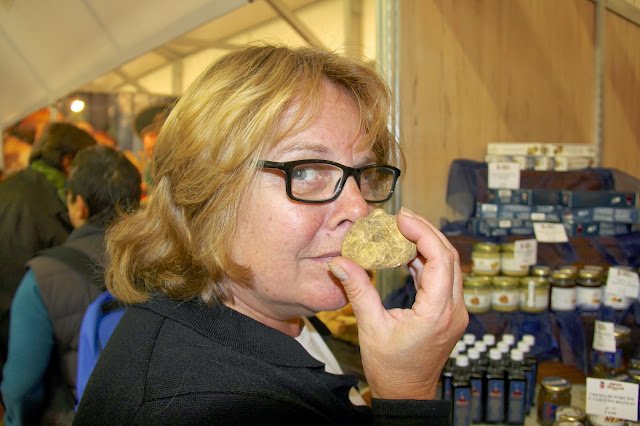
Deborah catches the scent of a beautiful specimen – that truffle probably cost around €300 ($400)
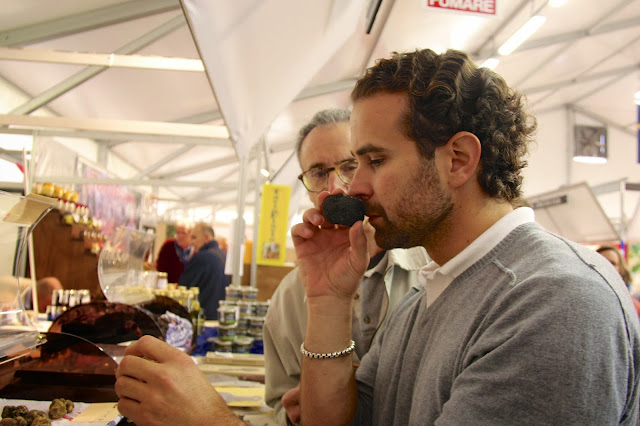
I give the truffle a smell as well
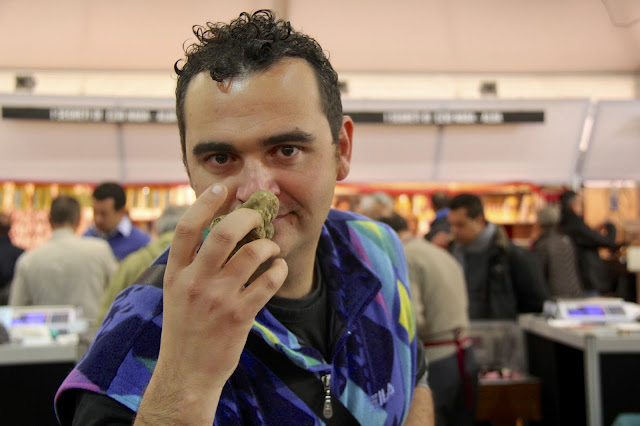
This guy really knows how to do it and shows us – it’s all in the wrist and perfectly timed nostril flare
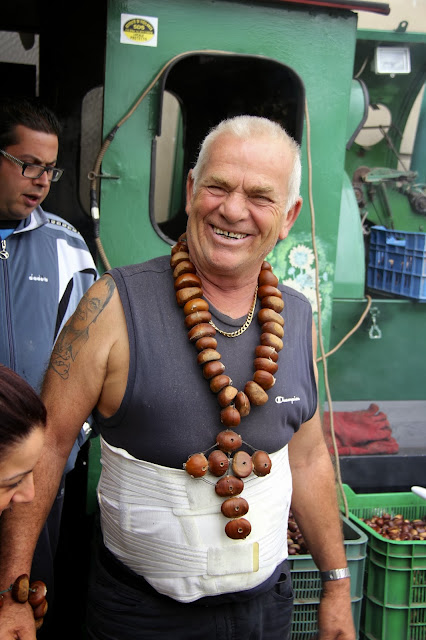
We found this guy selling roasted chestnuts outside
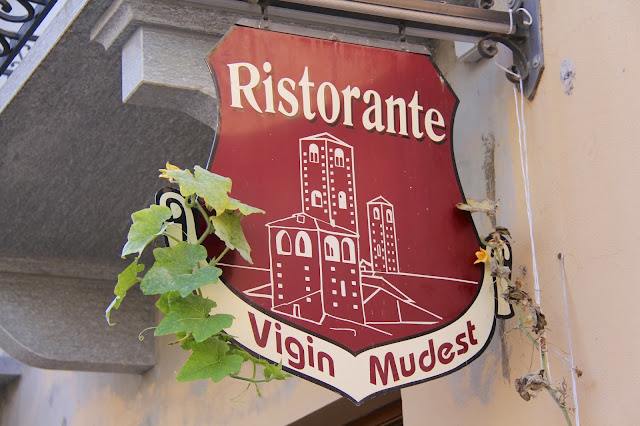
After touring the markets, we had lunch at Ristorante Vigin Mudest
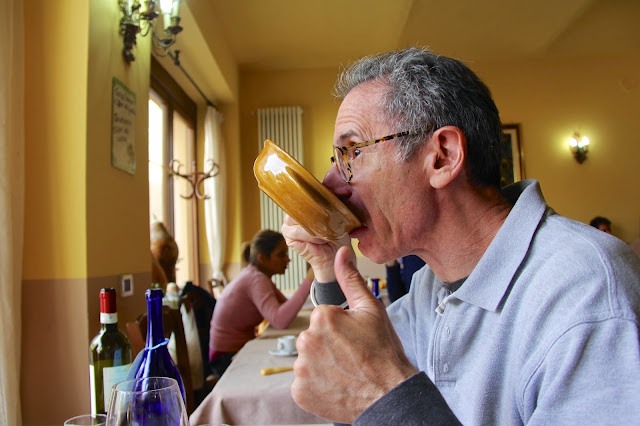
Ever heard anyone say, “this sauce is so good I could drink it”? Well, when S says it – he really means it
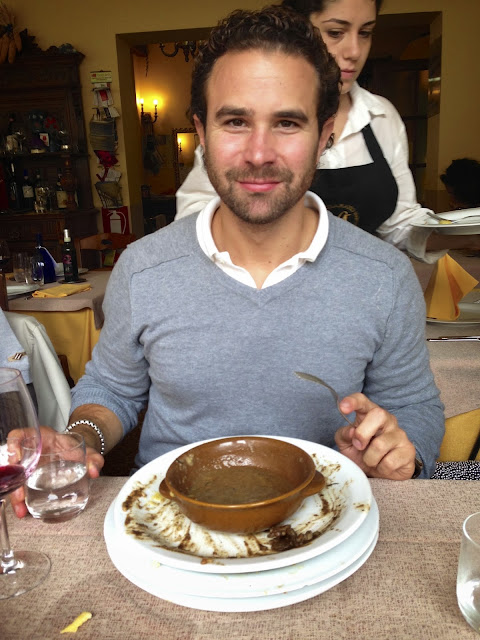
I became the “garbage disposal” of the group, finishing everyone’s plates (3 plates and a bowl)
Julia hugs her great aunt and uncle after lunch
Before we left Alba, Julia insisted on ripping her shoes and socks off
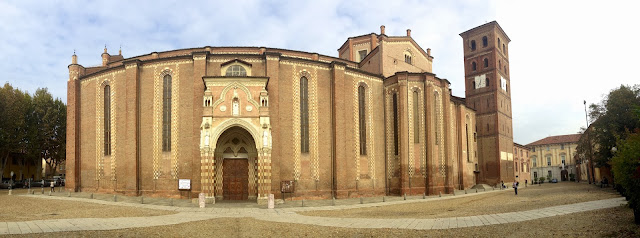
Our final stop in Piemonte was a visit to Asti, a city that has been occupied since the Neolithic Period and today boasts a population of about 75,000 inhabitants. Unfortunately, we caught the city on a Monday… during lunchtime. This meant that virtually every museum, shop and attraction was closed. We ate a makeshift lunch of pizza and flatbread on park benches before heading for home.
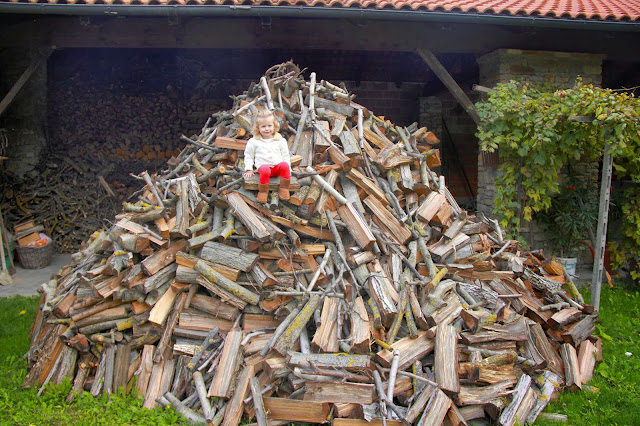
Julia built a throne of her own from some firewood at our agriturismo
Cattedrale di Asti (Cathedral of Asti) dates to 1309
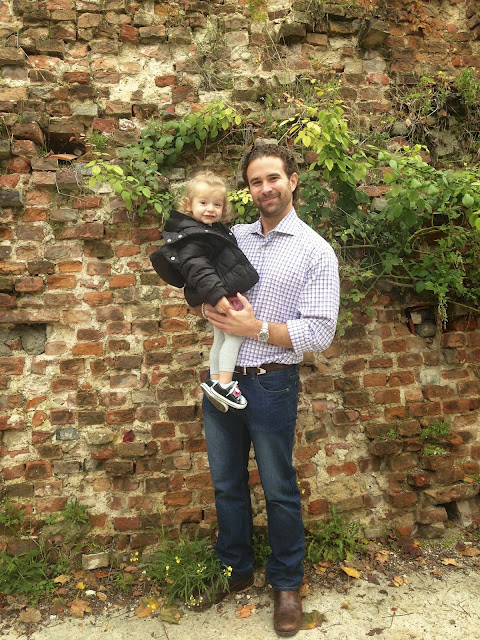
Ruins of an ancient tower that had been built into a more modern home
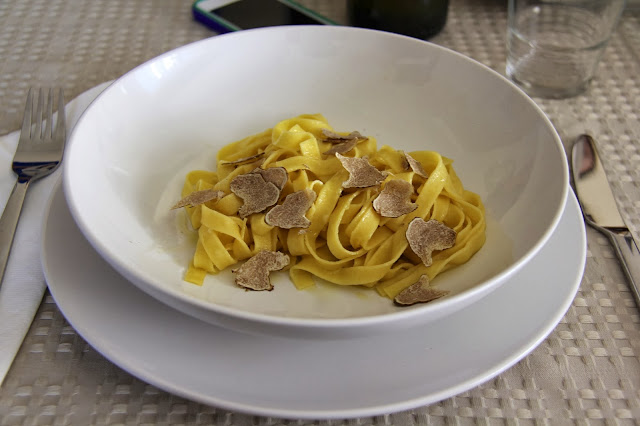
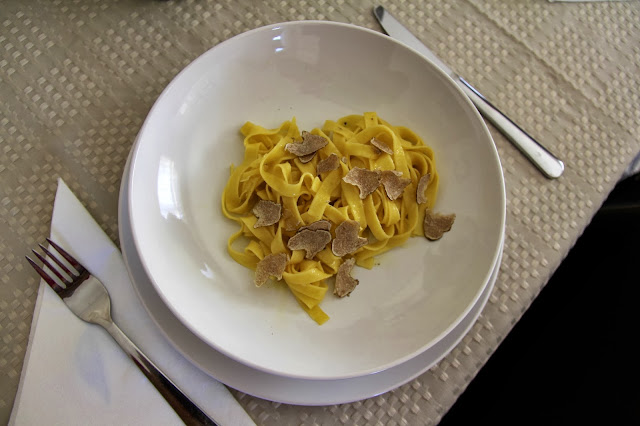
A couple days later, we took our prized truffles out of the refrigerator and cooked tagliatelle con olio with shaved truffle. It was a delicious lunch that nearly put us in a content, comatose state – a good way to tease our pallets for Part II of the trip. We would depart the next morning for Emilia-Romanga. If Part I was entitled Vino, then Part II of their trip would definitely be called Cibo (food).
This is what €50 ($68) worth of truffles looks like
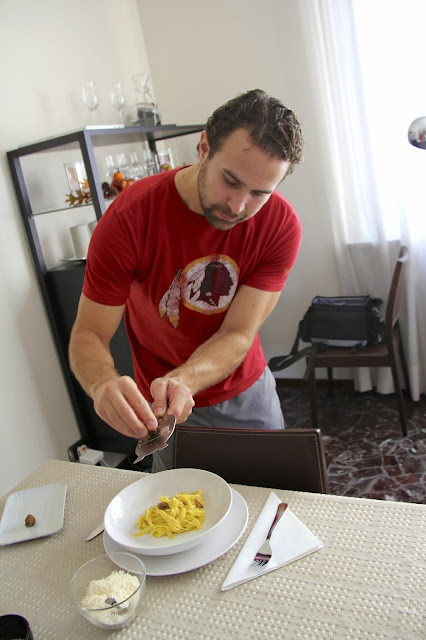
I shave the white truffle on my pasta
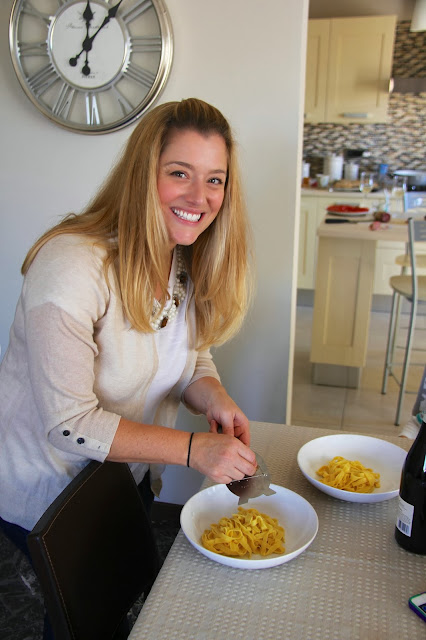
Jen takes her turn
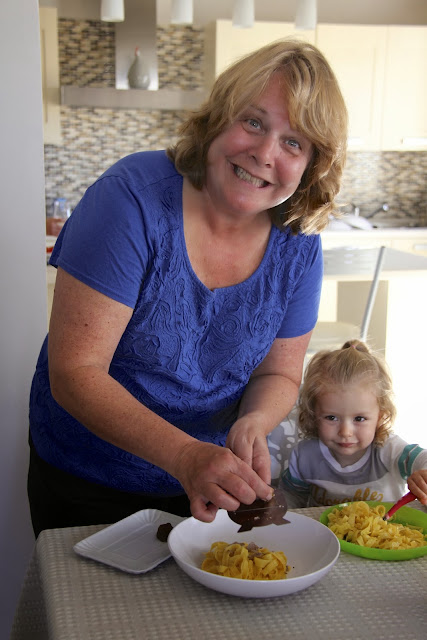
Deborah is happy to shave her truffles
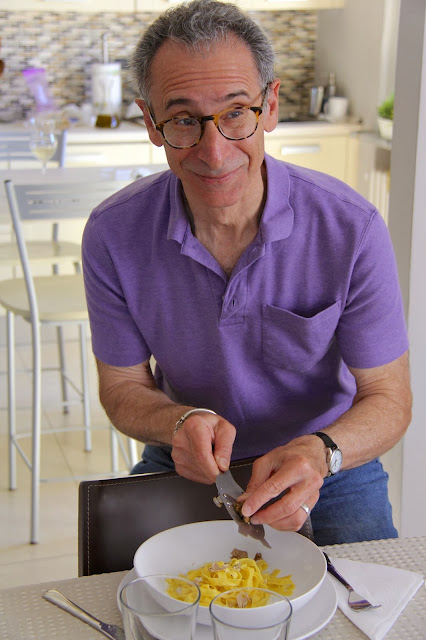
S looks great when he’s shaving truffles
Now that looks great!
It tasted great too
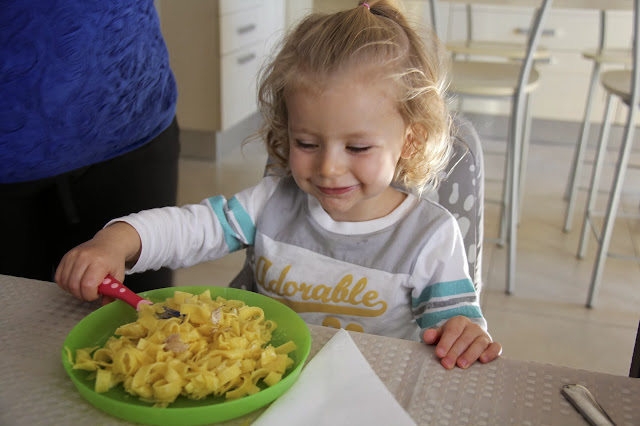
Even Julia got to try some truffles
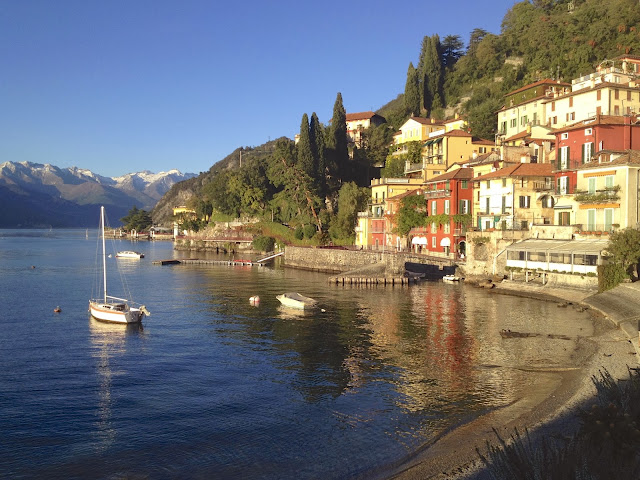
We visited Varenna after our truffle lunch
That night we all went to dinner at Ristorante Simposio to celebrate Claudia’s birthday – still can’t get Franco to smile
I know this is Jen’s Kitchen, but I’m sorry to report that you’ve got me (Greg) writing this one. This area of the blog is Jen’s domain – but she was having trouble getting her writing juices going, so I offered to give her a hand (her timing in the kitchen may be pure perfection, but if I don’t get this post going, it’s sure to be over-cooked).
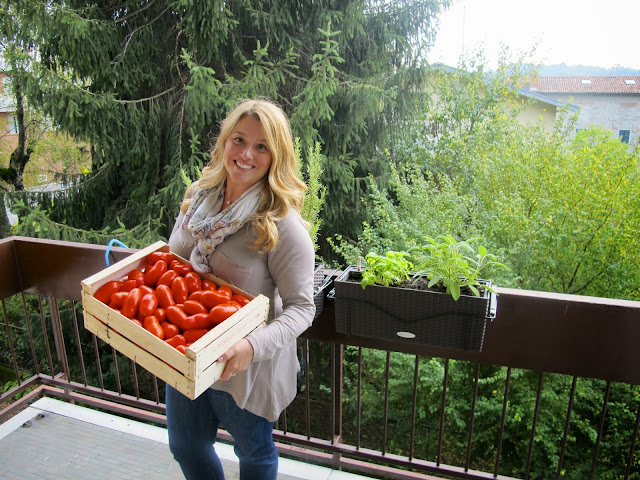
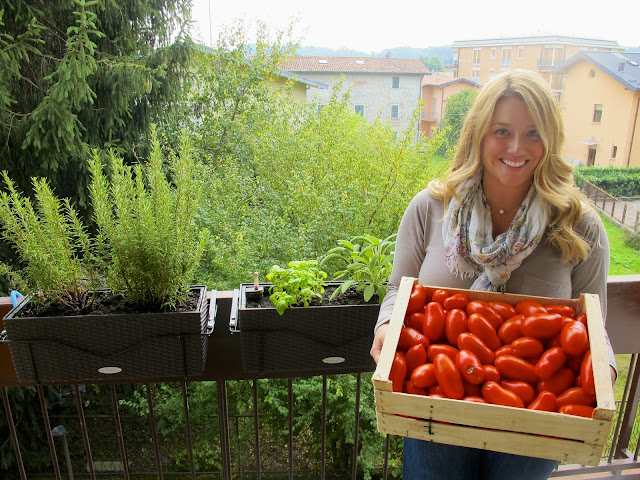
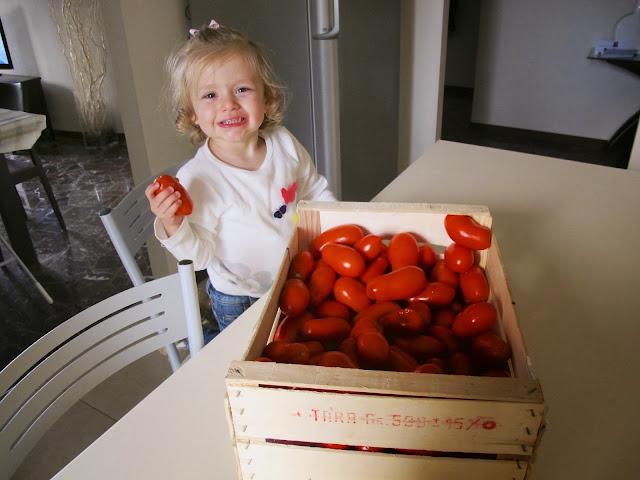
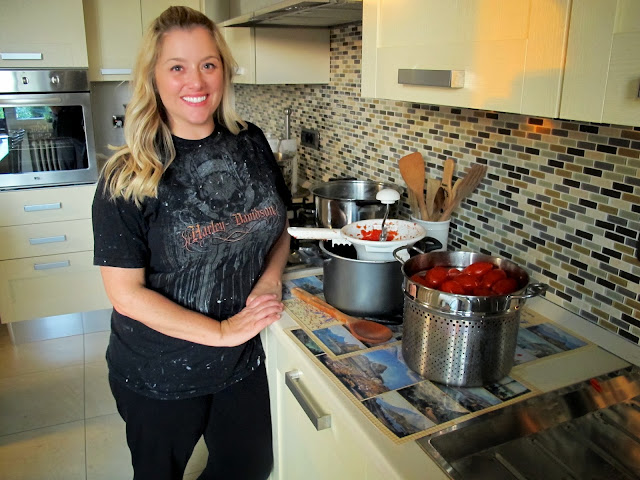
Jen shows of her tomatoes
I may not know a lot, but I have learned two things while living in Italy:
First, every home has two types of olive oil. They all have the generic store bought one (that’s still delicious) for cooking and salads as well as the “special” olive oil that is pressed by someone’s nonno in some small town in the mountains somewhere…
Second, (along the same vein) every home has homemade passata (tomato purée) that is either fatto in casa (made in house) or gifted by a friend of family member. Why the homemade passata, you ask? And what the heck is passata to begin with?! Well, let’s travel back several thousand years to a time when food was seasonal, fresh and delicious. In the time of the ‘hunters-gatherers’ people would eat whatever they could get – whatever was walking around and growing nearby that time of year. They quickly learned that proper storage of proteins (those delicious saber-toothed tigers) was an important part of surviving the winter. Fast forward to the early 19th century and technological advances allowed people to store fresh vegetables alongside their meat and fish. Since Italians love to cook with fresh, unaltered flavors – the benefit of having access to tomatoes year round was paramount. Grazie, Louie Pasteur for your contribution to Italian cuisine. So, the passata that we are talking about, is simply a puréed tomato that is jarred and stored in the cupboard for use throughout the winter.
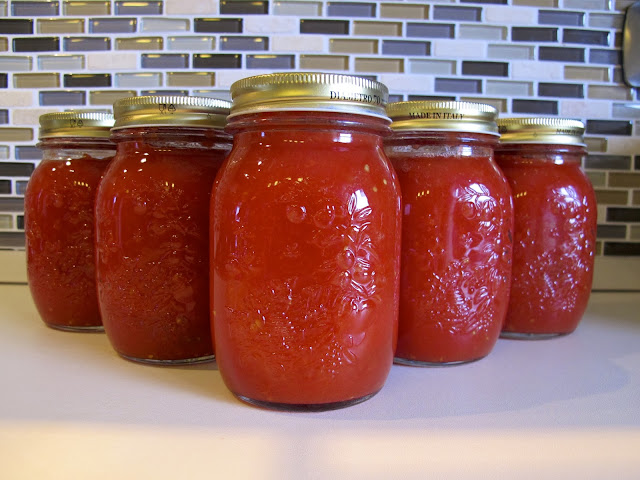
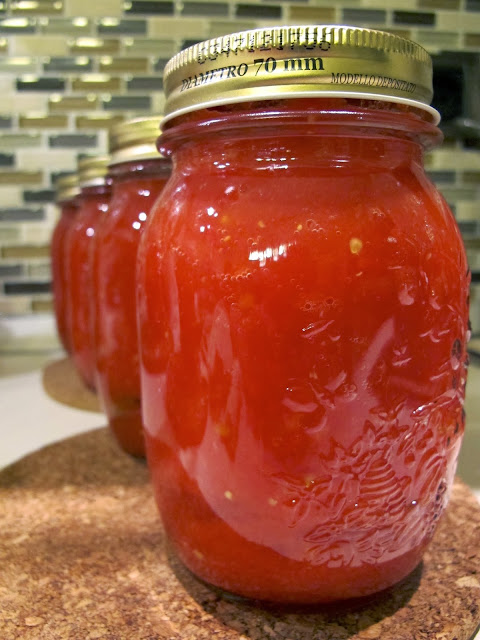
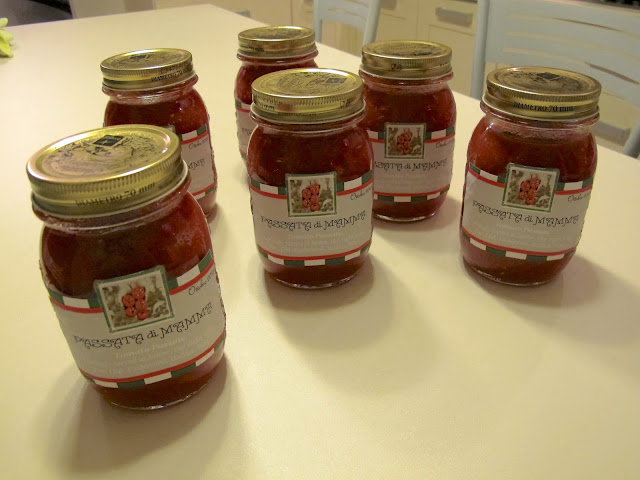
Our freshly jarred passata
Many recipes call for a tomato purée including soups, stews, sauces and dishes that require a tomato flavor (Jen’s easy and delicious marinara recipe). Most of the tomato purée sold in the US is processed and has a different consistency than passata. While that type of purée also has it’s purpose in Italian cooking, you can’t be without freshly jarred passata. At the end of the “tomato season” (early fall) all the grocery stores and fruit stands recognize this fact, and sell crates of San Marzano tomatoes for (in this case, we bought Roma tomatoes).
Here’s how you do it:
Equipment >Canning jars and lids (the ones that have the little “pop” and can be sealed)
>Several large pots
-One to boil the tomatoes
-One to puree the tomatoes
-One to boil the jars in order to seal them
>A passaverdura (vegetable mill)
>Funnel to pour the purée
>Kitchen dishtowels to separate the jars (in order to prevent breakage)
Ingredients
>The best tomatoes that you can find (Jen’s preference is San Marzano)
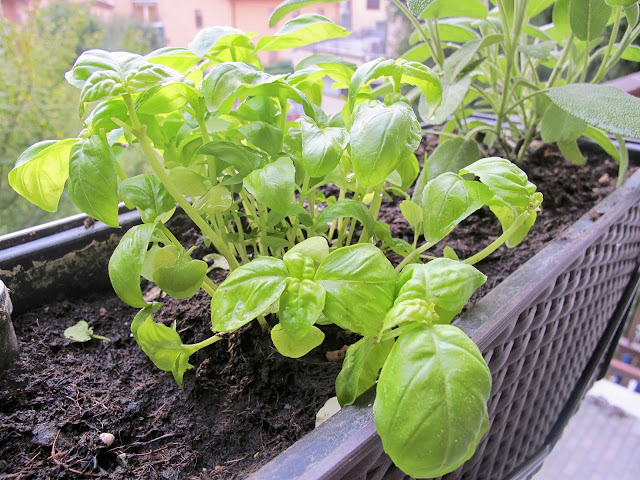
>Basilico fresco (fresh basil)
>Coarse salt (the kind you would use in pasta water)
*Note – the ratio of tomato to passata roughly 2 to 1 (so for 10lbs of passata, you’ll need 20lbs of tomatoes)
Get the freshest tomatoes you can find
It’s always a benefit if you have a willing helper
We have basil growing on our balcony
Steps
>Clean and sterilize your jars (run them through your dishwasher)
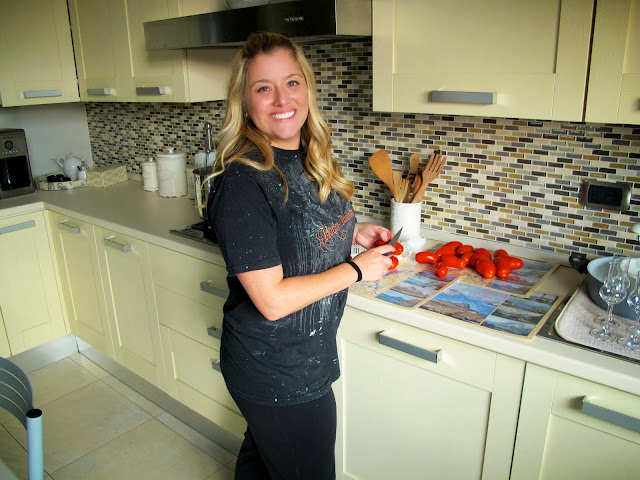
>Put on your husbands nasty old painting tee-shirt; you will get messy
Clean any bruised or damaged tomatoes
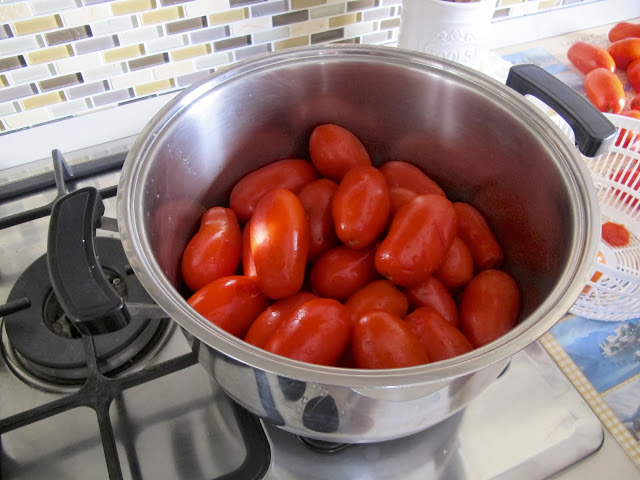
>Place the tomatoes in the pot, cover with water
Place your tomatoes in a pot and cover with water
>Add salt to the water (you’ll need 7 teaspoons of salt for 20 pounds of tomatoes)
>Cover pot and bring water to boil
>Once water boils, remove lid and let simmer for 15 minutes
>Remove tomatoes and place into the vegetable mill (which will rest over another large pot)
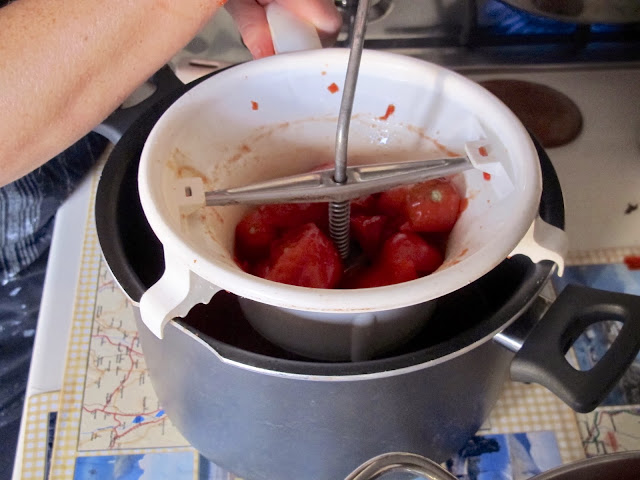
Place the tomatoes in the mill
>Grind tomatoes through the mill, which remove the skins and seeds
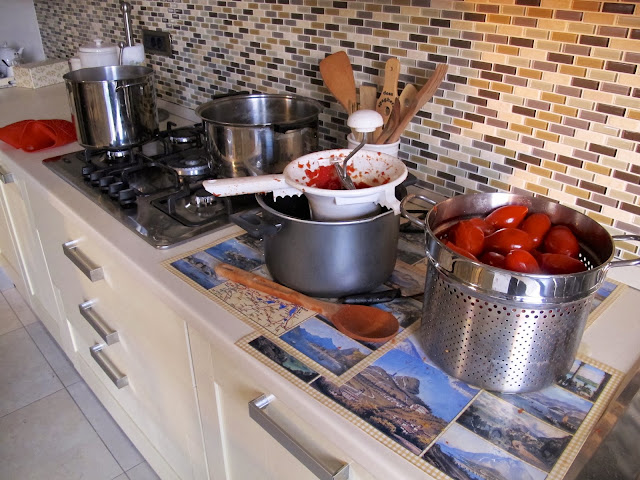
You can see the entire station set up here – it’s quite the process
This one was a pro managing her assembly line
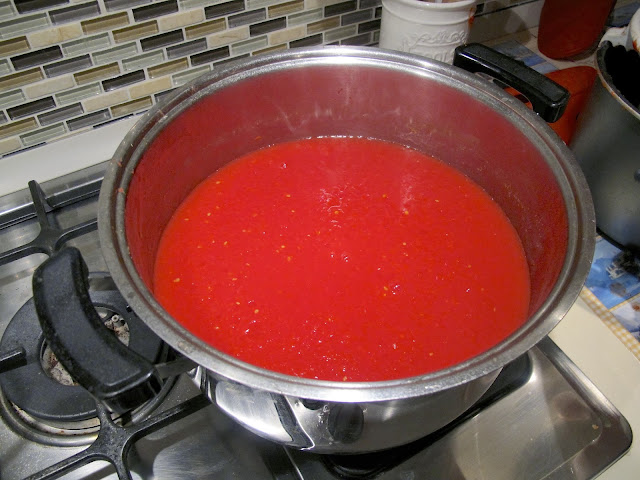
The passata once it has been strained through the passaverdura (mill)
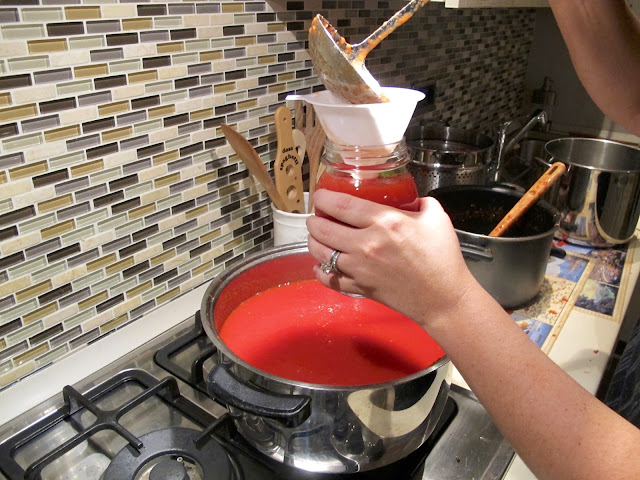
>Now you’re jarring begins – place 3 fresh basil leaf in the bottom of each jar and filter the passata through the funnel to the top of the jar
Pass the passata through the filter so that it all fits into the jars – leave about an inch at the top
If your husband is a dream and a catch wrapped up in a bundle of charm – maybe he’ll make you a snack
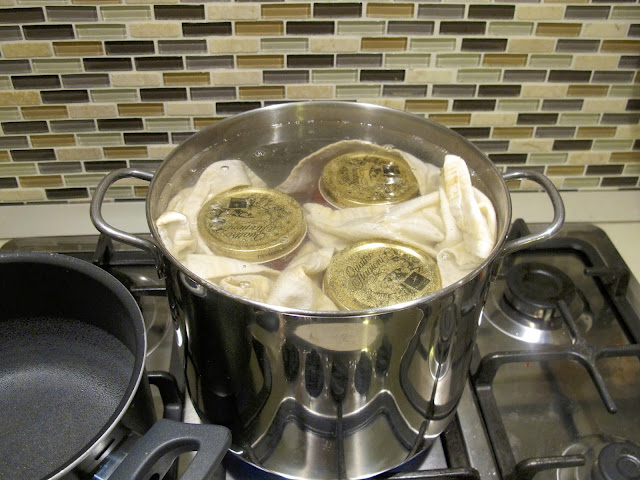
>Place a towel in the bottom of your third pot and place jars inside, separating by additional dishtowels. This will prevent breakage while working with a fragile medium
>Add enough water to cover the jars by roughly an inch (lukewarm water; cold water will cause the jars to break)
The simmering bottles, protected from one another by a dishtowel
>Simmer on a low boil for 45 minutes, removing once they are cool enough to touch
>Rest in a cool, dry place and leave them alone. The jars will create a vacuum seal within the next 12 hours. You can test the seal because the little “pop” in the center of the lid will “suck down”
You’ve done it! You have passata
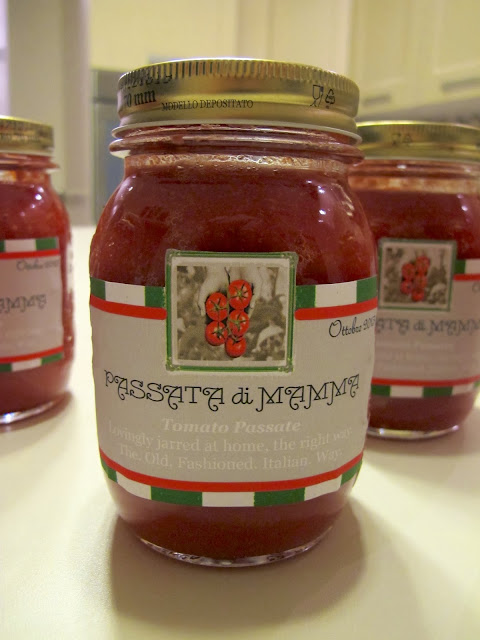
Congratulations! You have just made genuine, Italian passata! One last step is to have fun creating your own labels. I made these for Jen at the same time I made our grappa labels. Do you like them?
Have fun – add some custom-made labels
Come have some of our “Passata di Mamma” – we would love to make some sugo for you
Let us know if you try this and have the benefit of enjoying fresh tomato passata all winter long!
Before Jen blindsided me so many months ago with the suggestion that we move to Italy, I never thought I would know how to make grappa. Honestly, I never thought that I would ever even like grappa! But like so many other things I swore I’d never change about myself, living in Italy has transformed that part of me (keep an eye out for me sporting a “puffy” coat this winter – a style I hated when I first moved here and now think is the coolest thing to come of the runways of Milano).
A selection of grappa offered in a restaurant in Lago Maggiore
Grappa is an alcoholic beverage that is served in Italy as a digestivo (digestive) after a meal. We have learned that Italians take the digestion of their meals very seriously and have structured the order of eating in such a specific way as to aid in the digestion. A full blown Italian meal will include the following:
You’ll notice that you’ll begin with the antipasto as a medium to enhance the appetite. The pasta course lays the “foundation” for the meal and acts as a base (note: when served as a primo, you should only serve roughly 80 grams of pasta). Next you’ll move onto your main dish and vegetables – the “center” of the meal. After that you’ll progress on to your salad (as opposed to having the salad first) because Italians believe that finishing your meal with the light and refreshing salad helps aid in digestion (add this to the list of things that I’ve changed in my daily life). Finally, the dessert rounds out the meal and the coffee always comes last. But when you eat like this, you’ll need one final component to assist in proper digestion – your ammazzacaffè (coffee killer). In many cases, this will come in the form of a grappa.
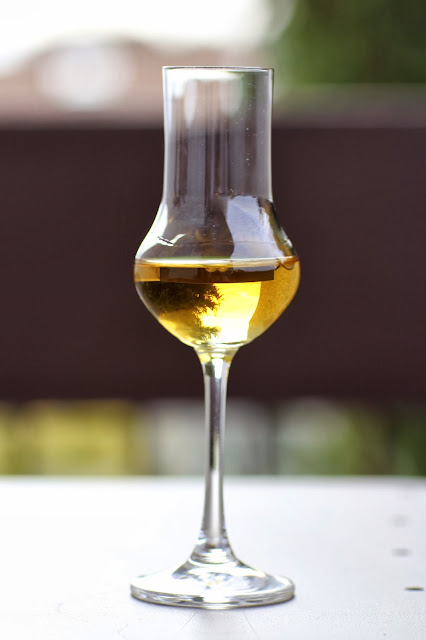
A glass of my favorite grappa in a proper bicchierino (small glass)
I have had the good fortune to have visited Italy many times before moving here, so grappa was not foreign to me. I’d choked the stuff down on many previous occasions, admitting to the table that I wasn’t a fan – but not leaving a drop behind, lest my manhood be challenged. However, somewhere along the way I have not only grown accustomed to drinking grappa – I have become quite the fan. I seldom finish a heavy meal without a grappa and I would be lying to you now if I didn’t tell you that I am presently sipping a nice Grappa Casereccia as my fingers glide across the keyboard (the same grappa pictured above).
The only thing better than drinking grappa is making your own grappa. You see, while the distilling process of grappa is more or less the same, the taste can vary greatly between types (grappa is made by distilling the skins, pulp, seeds and stems left over from the winemaking after pressing the grapes). The quality of grapes used, the specifics within the distillation process and any additional processes can alter the flavor of the grappa.
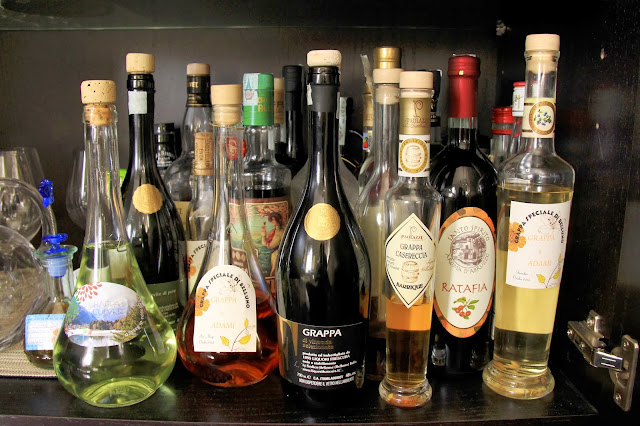
Claudia (Jen’s aunt upstairs) is fortunate enough to be from a region in Italy that [I personally believe] stands out above many other fabulous grappa-producing areas. She has brought back many different types for us to try and our liquor cabinet has expanded and contracted like the aged wood of the barrels themselves. In addition to supplying us with some of Belluno’s best grappa, she has an incredible knack for making her own. She taught us her secrets and now I’m going to impart them on to you.
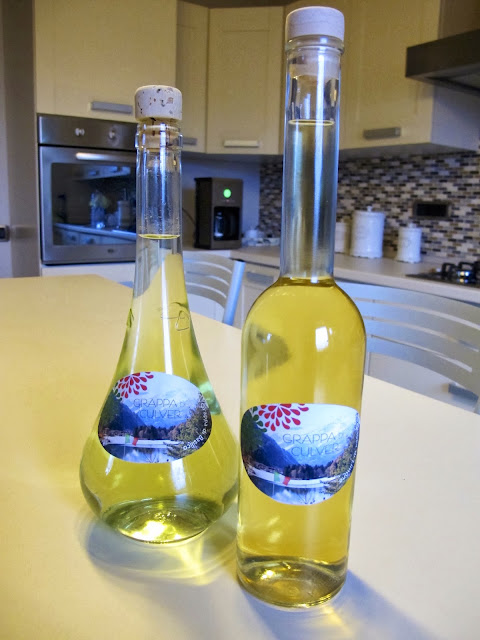
Our liquor cabinet – please don’t play “I spy” with how many bottles of grappa are in there!
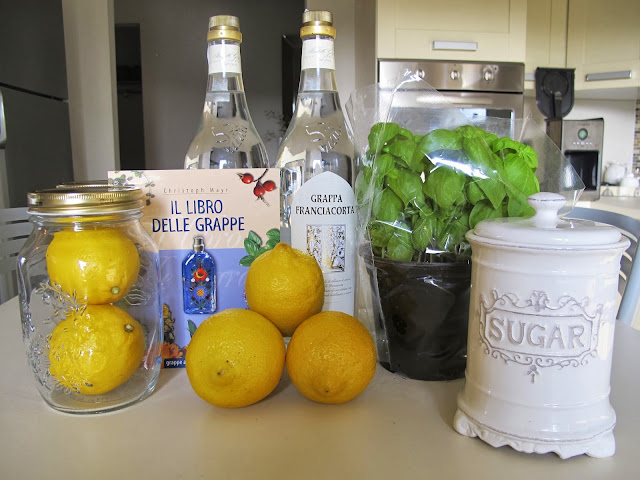
First, you start with a “white” grappa. This is a plain grappa that does not have any flavors and uses the traditional distilling process. Next, you pick your “flavor”. This can be anything from a melissa (a plant that tastes a lot like mint) to a pino mugo (a small pine-cone unique to the Dolomites). For our first batch of grappa, Jennifer selected basilico (basil) and limone (lemon).
The ingredients
BASILICO (BASIL)
Ingredients
>1 liter of grappa (white)
>20 leaves of fresh basil
>Lemon peels
Preparation
>Place the grappa into a jar
>Add 10 unwashed leaves (if the plant is dirty, wash and let dry)
>Leave the liquid for three weeks in a warm place, not exposed to the sun
>Filter the basil and leave for another three weeks with remaining leaves
Note: basil is particularly suitable to be combined and to macerate together with other fine herbs
LIMONE (LEMON)
Ingredients
>1 liter of grappa (white)
>Lemon peels of two lemons
>6 leaves of sage
>2 cloves
>1 tablespoon of sugar
Preparation
>Add all the ingredients of the grappa in a jar and leave in a hot place for two weeks
>Shake the bottle occasionally
>Filter and leave for another four weeks
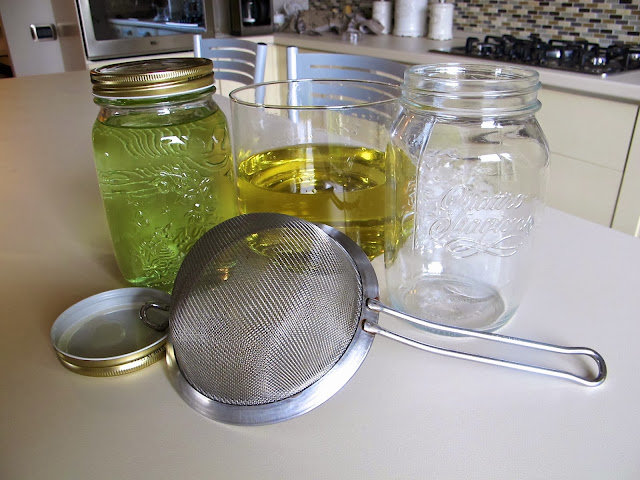
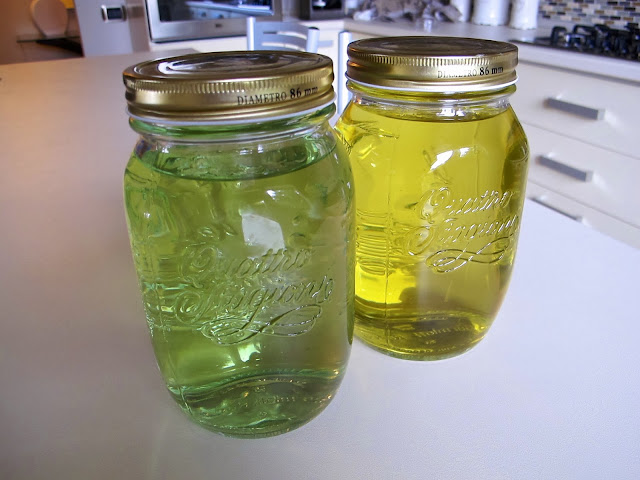
The jars after the filtration process
Now that they’ve been filtered, they’re set to rest a little longer
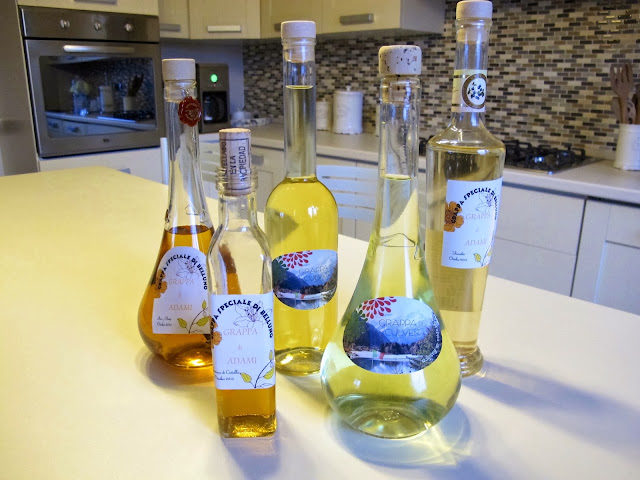
Once complete, pour contents into bottles of your choosing (in our case, old grappa bottles)
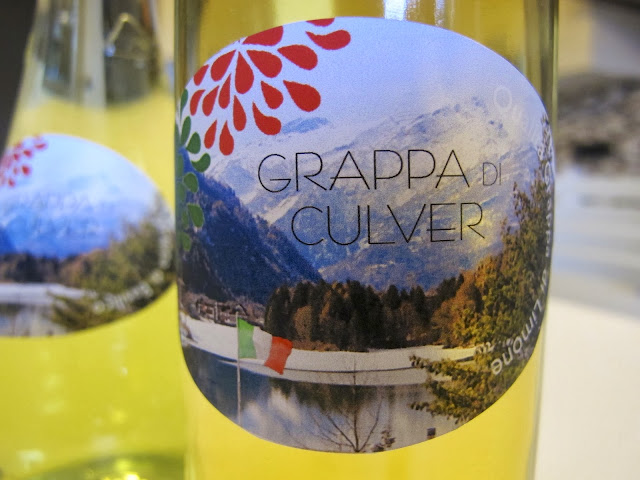
If you really want to get nutty, make custom labels
Claudia was simultaneously making grappa of her own and gifted us many bottles (hers was better)
I hope that you’ve found this to be informative and fun. Making grappa is not the hardest thing in the world, you just need some time and access to good grappa (admitadly, we did chose two of the easier recipes). If you end up trying it at home – let me know. And if you haven’t tried grappa yet, eat a big meal and have a sip. You may be cursing me as the first taste burns your throat, but thanking me as it frees open your full stomach.
When our friends, Nathan and Danielle had come to visit this past spring – Danielle pointed at a unique outdoor-oven-with-a-chimney-thingy in a neighbors yard and asked what it was. I replied with all the confidence in the world that it was an Italian-style BBQ, but in reality I wasn’t positive. I had seen the smoke billowing through the chimney and I had seen many of these things in other neighbors yards – but I had never inquired about it. I asked my “go-to guy for all things Italian”… Jen’s uncle, Franco. He confirmed that it was in fact a BBQ and a fairly typical one in Italy. So, my educated guess was right. Whew!
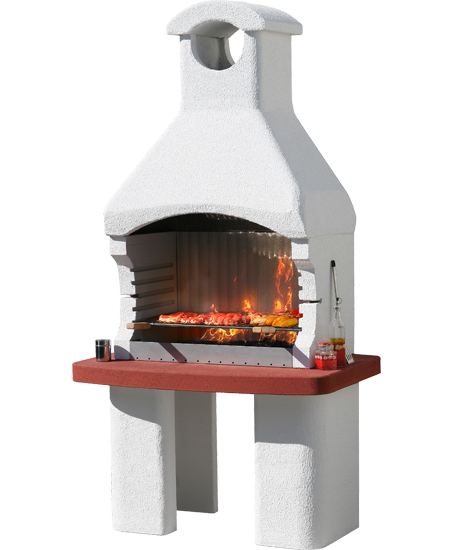
Classic Italian style outdoor grill
I noticed shortly thereafter that the typical gas Weber grills we’re accustomed to using in the States are non-existent here. In fact, it’s possible you may see a round charcoal grill – but more often than not, it’s one of these large, permanent fixtures that people use to grill.
Jen may rule the kitchen around here, but I’ve always loved to rock the grill! As soon as I learned of this wonderful outdoor oven (it’s really more of a wood burning oven, than a simple grill) I knew that we absolutely needed one. However, we live in a condo with other families and we needed everyone’s approval before one of these beauties could bask in our communal yard. Franco became the champion of the project and pitched it at the very next board meeting. The grill got a unanimous vote and so when Jen’s parents were here visiting, we went to acquire the grill.
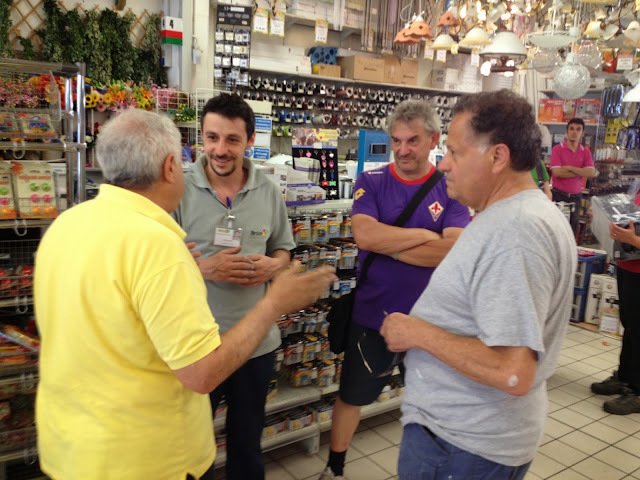
Franco, Dominic and Gianfranco discuss the various merits of certain grills with the clerk
Once again, I learned that things that are usually simple in the States (i.e. buying a car or procuring cell phones) is not necessarily the case in Italy. Buying a grill requires many visits to the store, many discussions, lots of construction and many more discussions. I was a little taken aback when Franco picked up cement and outdoor paint, realizing this was going to be a much bigger project than I originally expected.
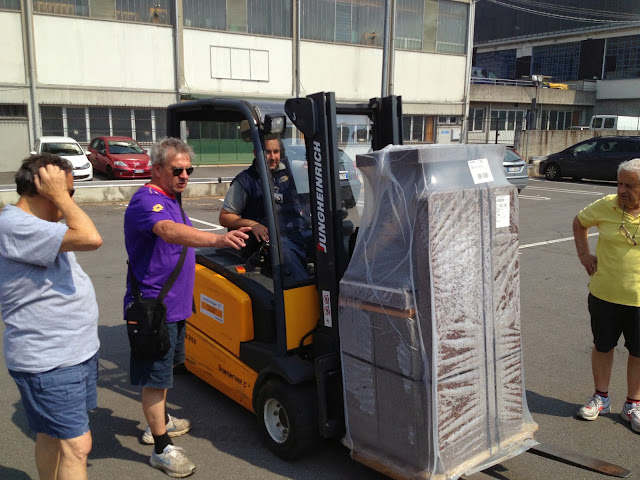
Collaborating on the best way to load the grill into the truck
After our second or third visit to the hardware store, Dominic purchased the grill and we loaded it onto a friend’s truck. He helped us deliver it to the building and we carried the unbelievably heavy grill, piece by piece into the yard. A week or so into the project and we were only marginally complete. The grill lay disassembled, piles of cement and stone until we all returned from a quick jaunt to Scotland. By the time I was finally able to roll up my sleeves and start slinging cinder blocks – Jen’s parents had boarded a plane bound for the States. Sadly, Dominic never got to enjoy the BBQ that he helped acquire. That certainly didn’t stop his brother, Franco from encouraging me to send him images of our first festa (party). Brothers will be brothers!
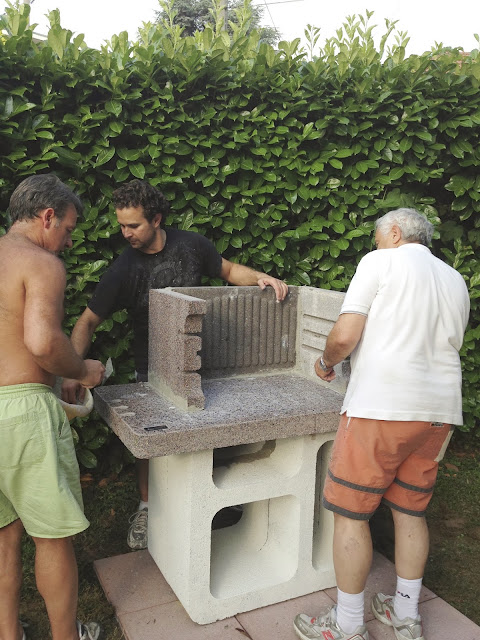
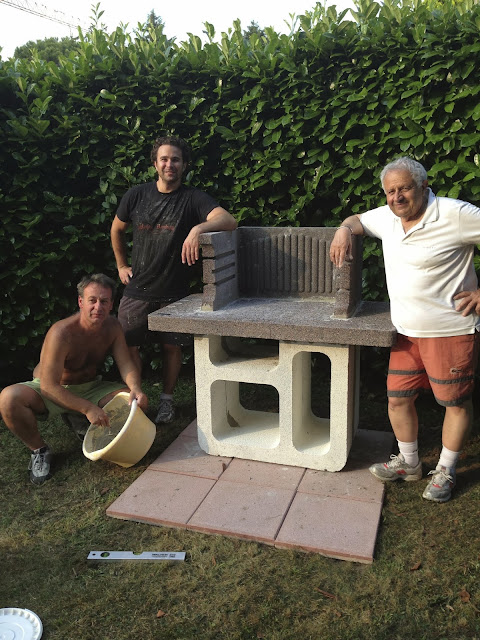
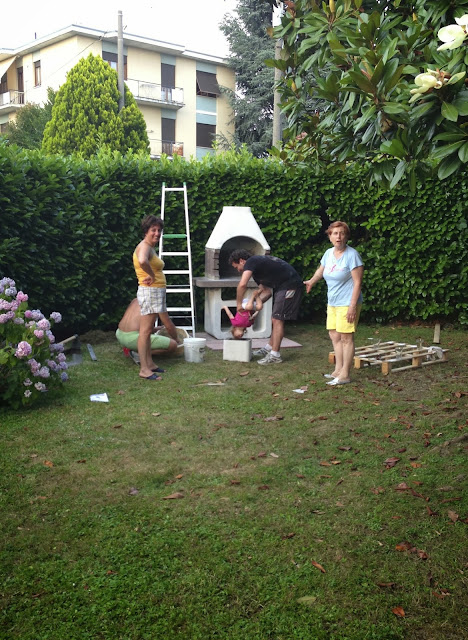
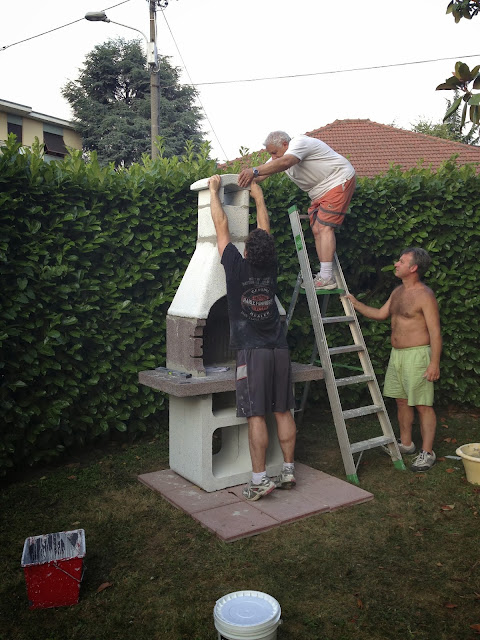
Construction begins
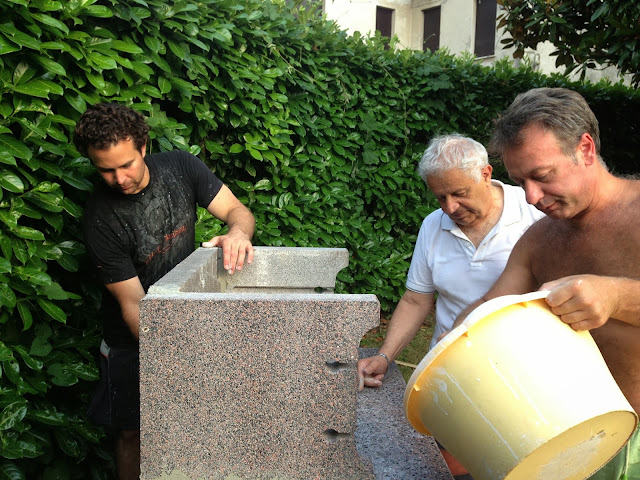
Stefano helps mix the cement as Franco and I set the frame
Stage One complete!
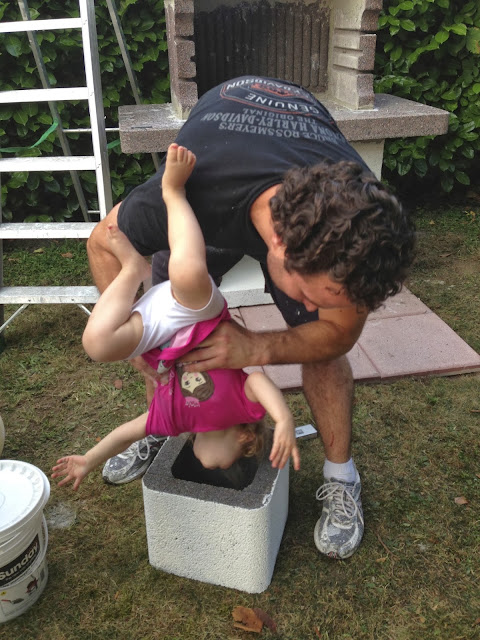
Claudia scolds me in Italian for dunking Julia’s head
Julia thought this was the funniest thing
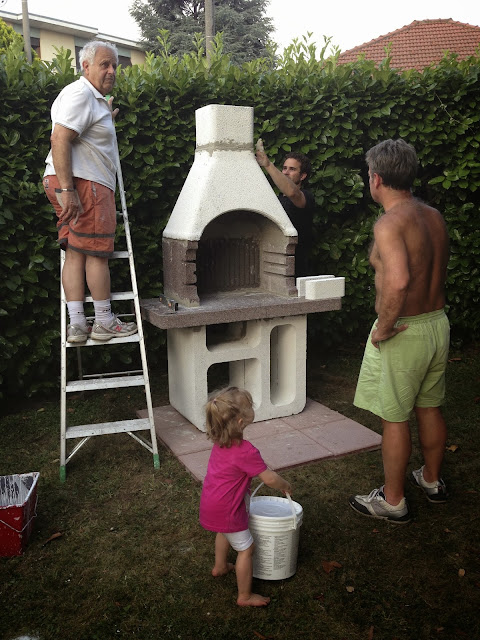
Julia wanted to help
We place the final piece
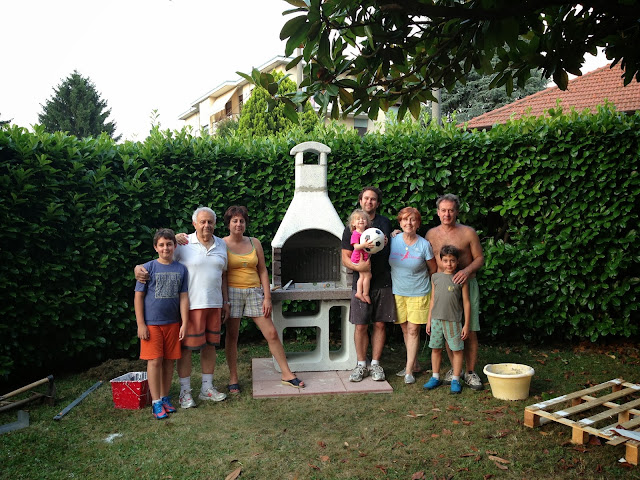
And we’re done! Our new grill is complete
My beautiful baby
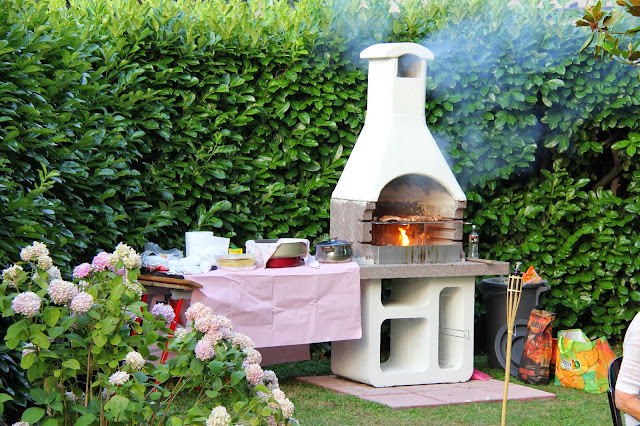
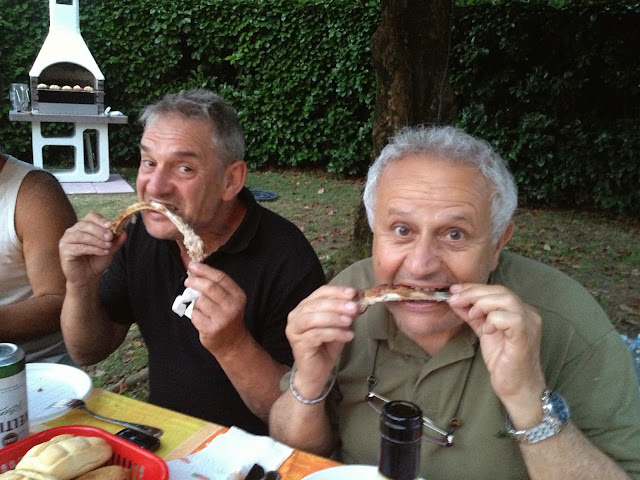
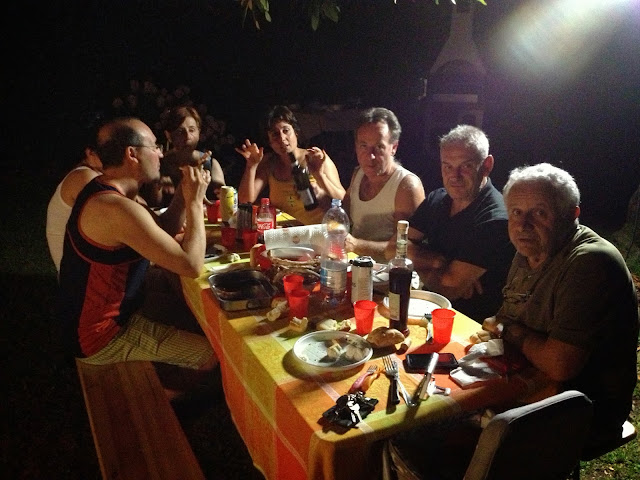
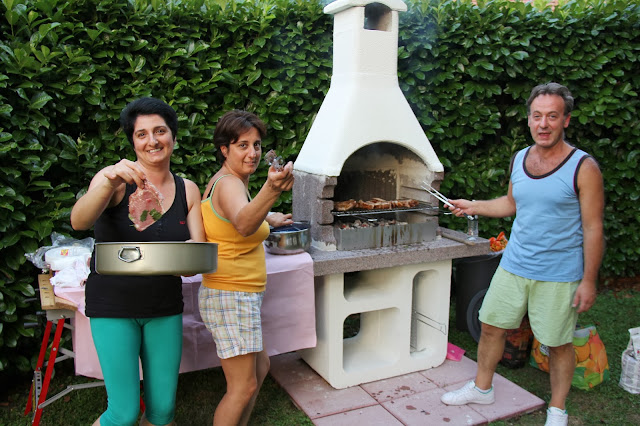
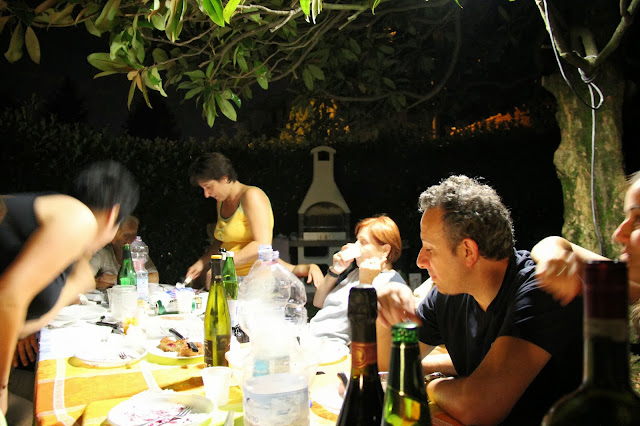
The first party we had was a blast. Our neighbors below are from Naples – and boy, do they know how to party. They had extended family show up and bring delectable treats with them. I was pushed away from the grill as Aurelia and her husband, Stefano took over. As I watched a jaw-dropping amount of meat depart the grill – I was glad I had been sent to the sidelines. I know now that I was out of my depth. We feasted on pork ribs, beef ribs, lamb, porchetta, speck and various types of salsiccia (sausage). Our waistlines thanked us for the grilled vegetables – eggplant, zucchini, peppers and more. We devoured homemade salumi and cheeses that kept appearing each time I turned around. Of course, the cheeses were from all over Italy (“this is from Veneto… aged 24 months” or “my grandmother made this in Napoli… it stayed under ground for 36 months”). Hours later, the desserts (insert image of the best homemade tiramisu’s I’ve ever had) and then the coffee appeared. This was quickly followed by round after round of grappa (homemade, of course). All this – and it was just a first of many parties!
Franco shows me how it’s done
This was the first image that I sent to Dominic – I still feel guilty, but Franco and I got a kick out of it
Our first festa went late into the night
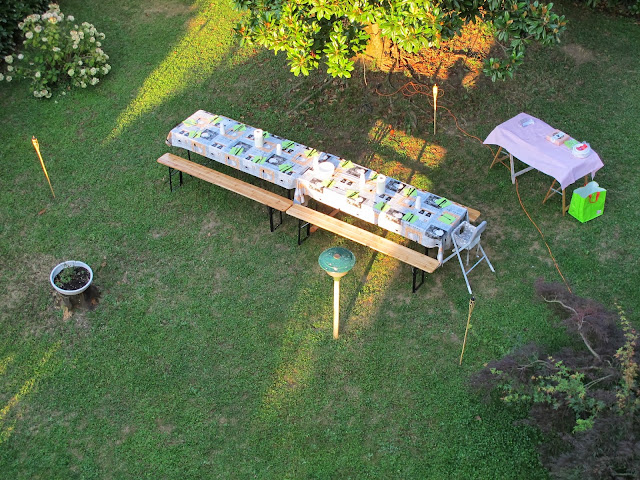
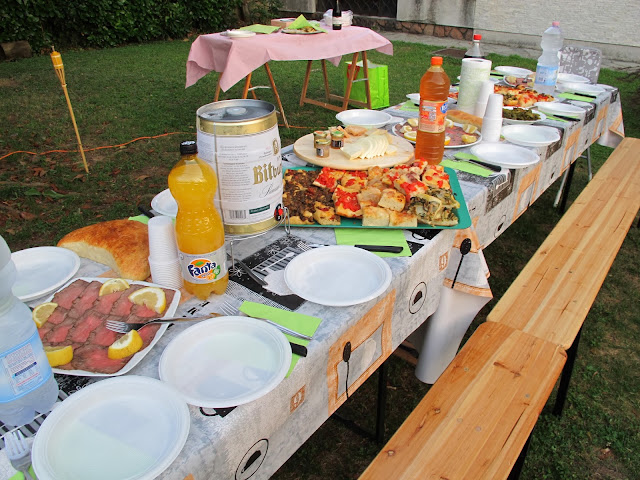
Since then, we’ve had many more outdoor parties – including a pizza party, where all the Napolitane baked their own bread and made pizza from scratch.
Setting the table
Now the food has arrived
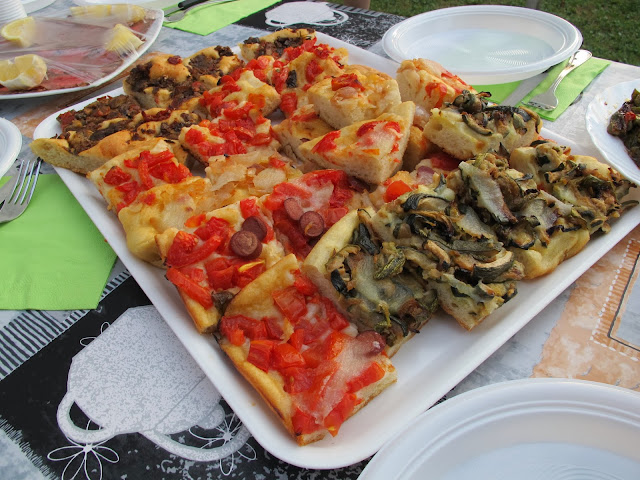
All different types of homemade pizza
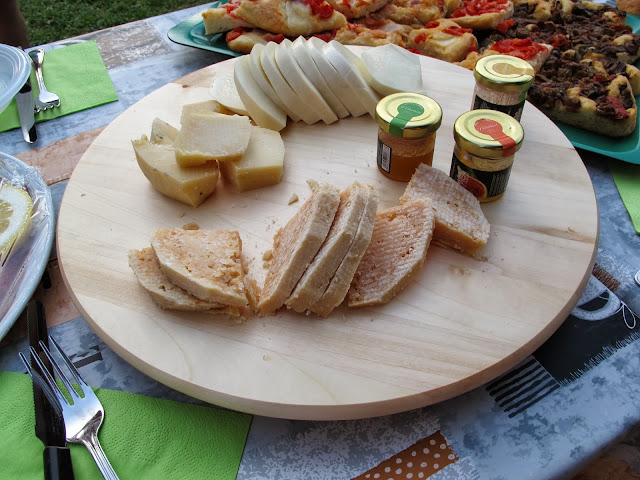
Various types of homemade cheeses from Napoli
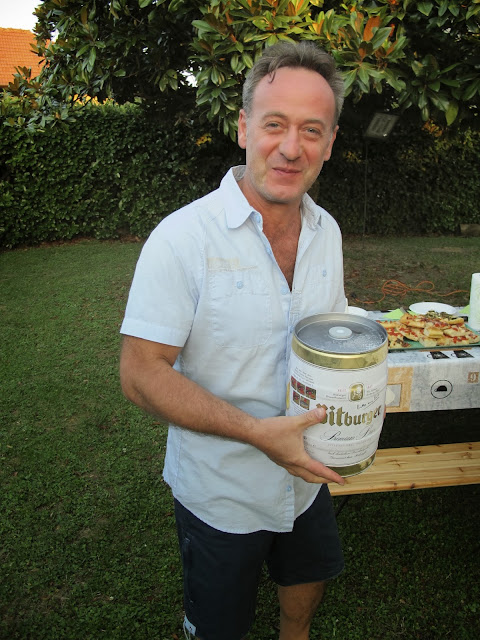
Stefano got a mini-keg of beer
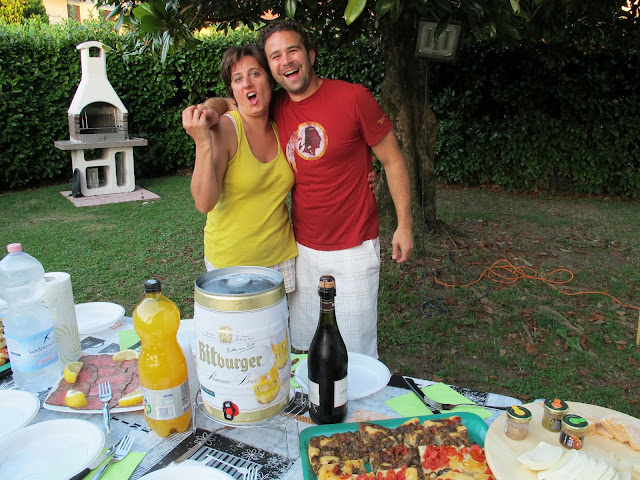
Aurelia teasing us for taking so many photos
The food was delicious
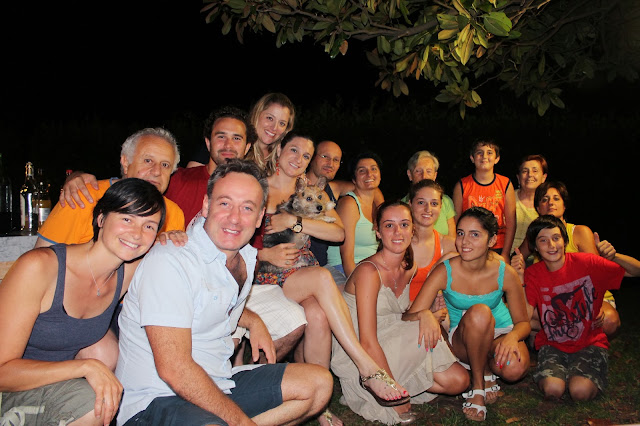
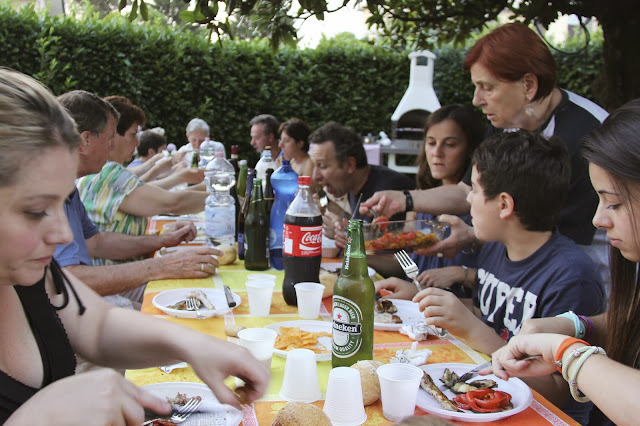
Cousins and nieces and nephews. Neighbors and friends – the best kind of pizza party
This seemed to be the easiest way to transport all the grappa
When my parents were here visiting, we decided it was another good time for a BBQ.
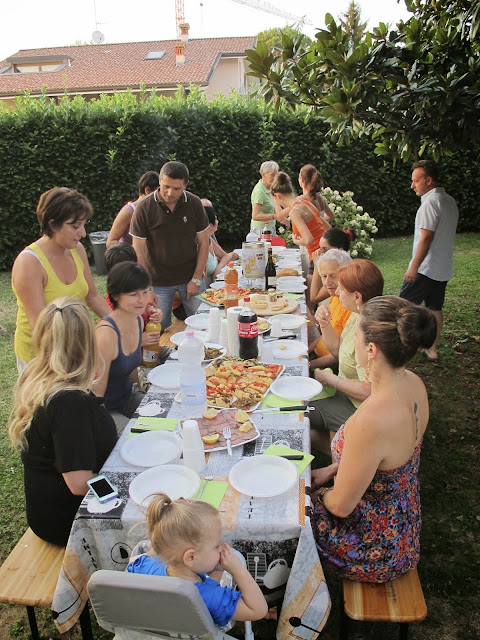
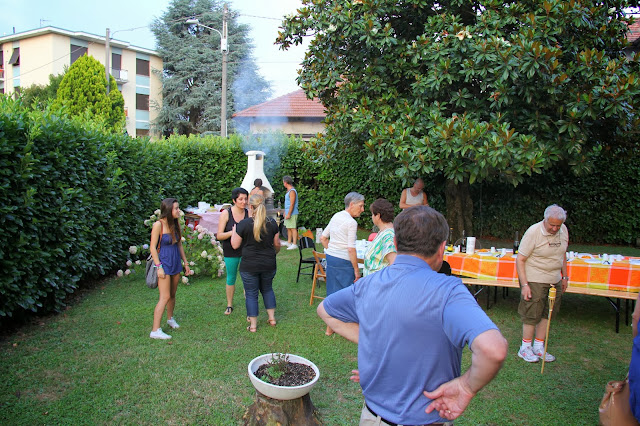
Everyone gathers around, doing various tasks
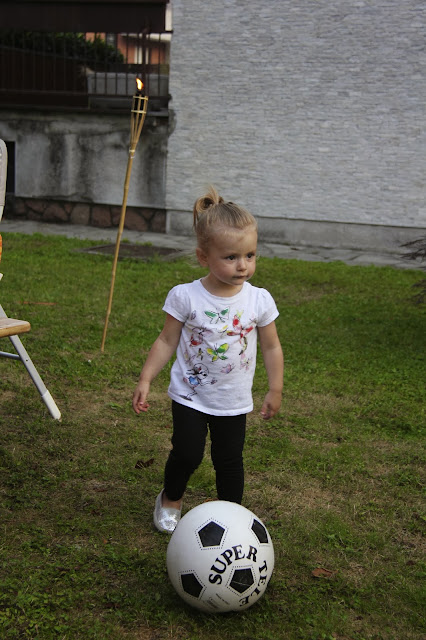
Julia plays a little calico (soccer)
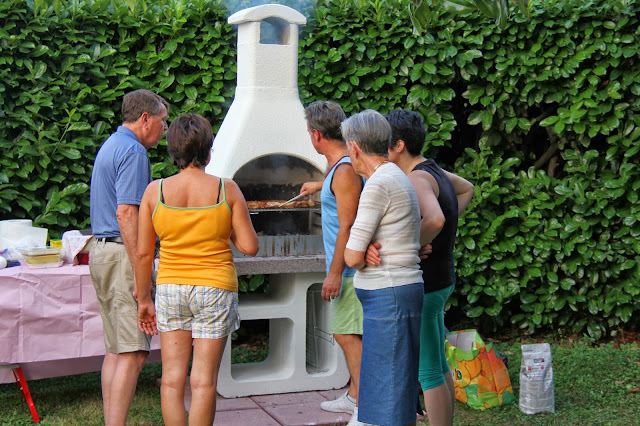
Stefano gets a few lookey-loo’s while grilling (including my dad, who couldn’t understand a word being said)
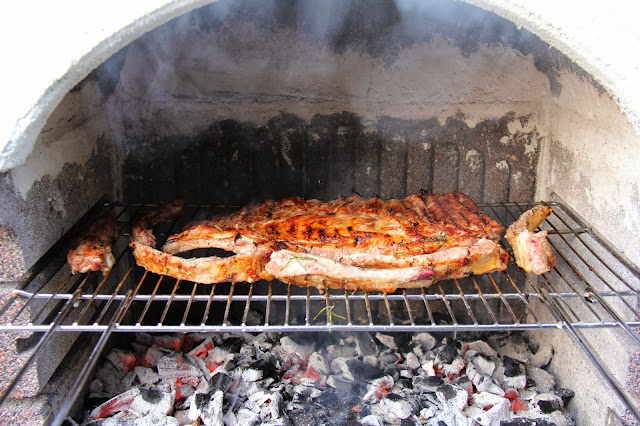
Beef ribs get a nice sear while the charcoals glow beautifully
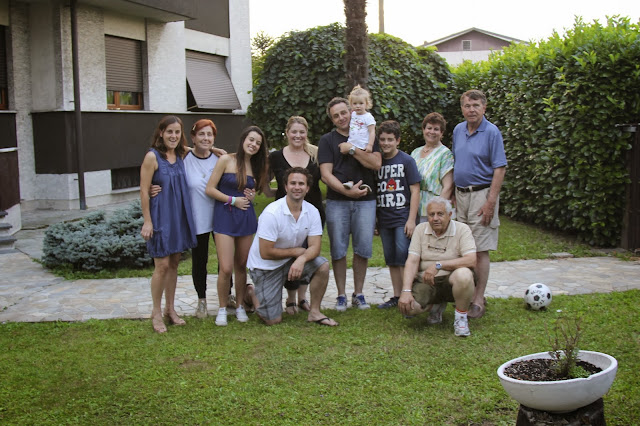
Jen’s cousins, Franco and Claudia and my parents
Aurelia telling me “smettere” (stop) with the photos. Her sister Angelina shows me the meat
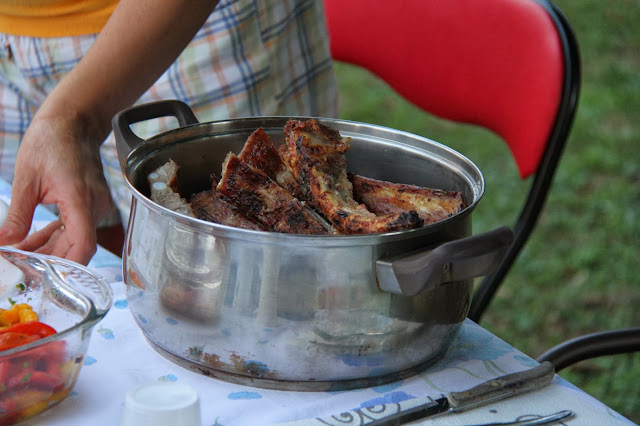
The pot kept getting magically refilled with grilled meat before it was ever emptied
Everyone digs in
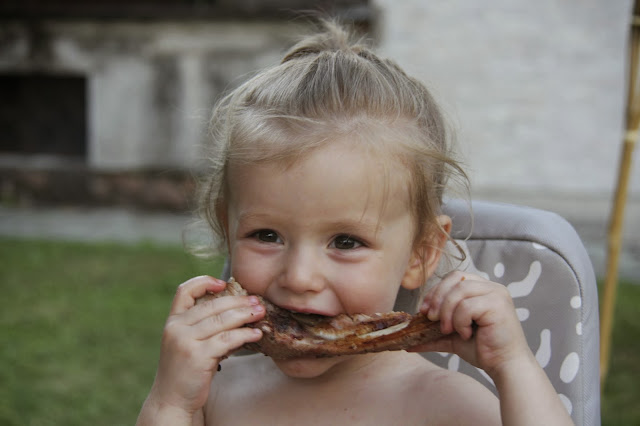
Julia was certainly no exception
Another late party
Another time, we wanted to bring all the family together and so all of Jen’s cousins came for a festa.
The younger generation of cousins pose together
I’ve used the grill for a simple meal for the five of us (myself, Jen and Julia along with Franco and Claudia) and not to be outdone by any Italians – I got about three times more meat than necessary.
Would you eat an entire picante peperoncino – Franco shows us how it’s done
All told, we’ve had a wonderful grilling season and while I’m anxious for the fall and then winter – I’m already looking forward to the time when I can dust off the ol’ tongs and have another Italian-style BBQ!